

FANAWAY NEXUS Installation Instructions
9 |
P a g e
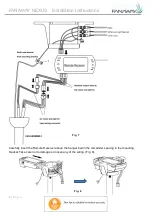
FINISHING THE INSTALLATION
•
After completing the electrical connection at the mounting bracket terminal block, connect the ceiling fan
wiring via the quick connector plug.
NOTE: Ensure the earth wiring is secure and correct, by performing an earthing continuity
test from the fan’s accessible metal body back to the earth terminal at the terminal
block on the mounting bracket.
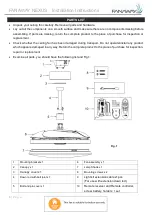
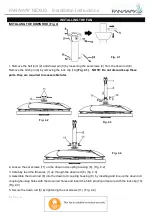
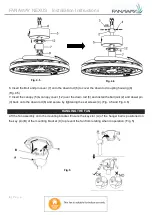
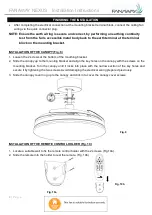
INSTALLATION OF THE CANOPY (Fig. 9)
1.
Loosen the 2 screws at the bottom of the mouthing bracket.
2.
Slide the canopy up to the mounting bracket and align the key holes on the canopy with the screws on the
mounting bracket. Turn the canopy until it locks into place with the narrow section of the key holes and
secure it by tightening the two screws. Avoid damaging the electrical wiring prepared previously.
3.
Slide the canopy cover ring up to the canopy and click in to cover the canopy cover screws.
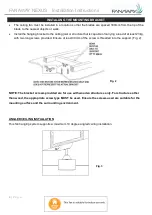
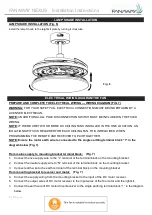
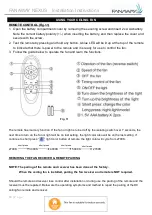
INSTALLATION OF THE REMOTE CONTROL HOLDER (Fig. 10)
Fig. 9
1.
Locate a suitable wall to fix the remote control holder with the 2 screws. (Fig.10a).
2.
Slide the remote into the holder to rest the remote. (Fig. 10b)
Fig. 10a
Fig. 10b