background image


- 5 - 


B

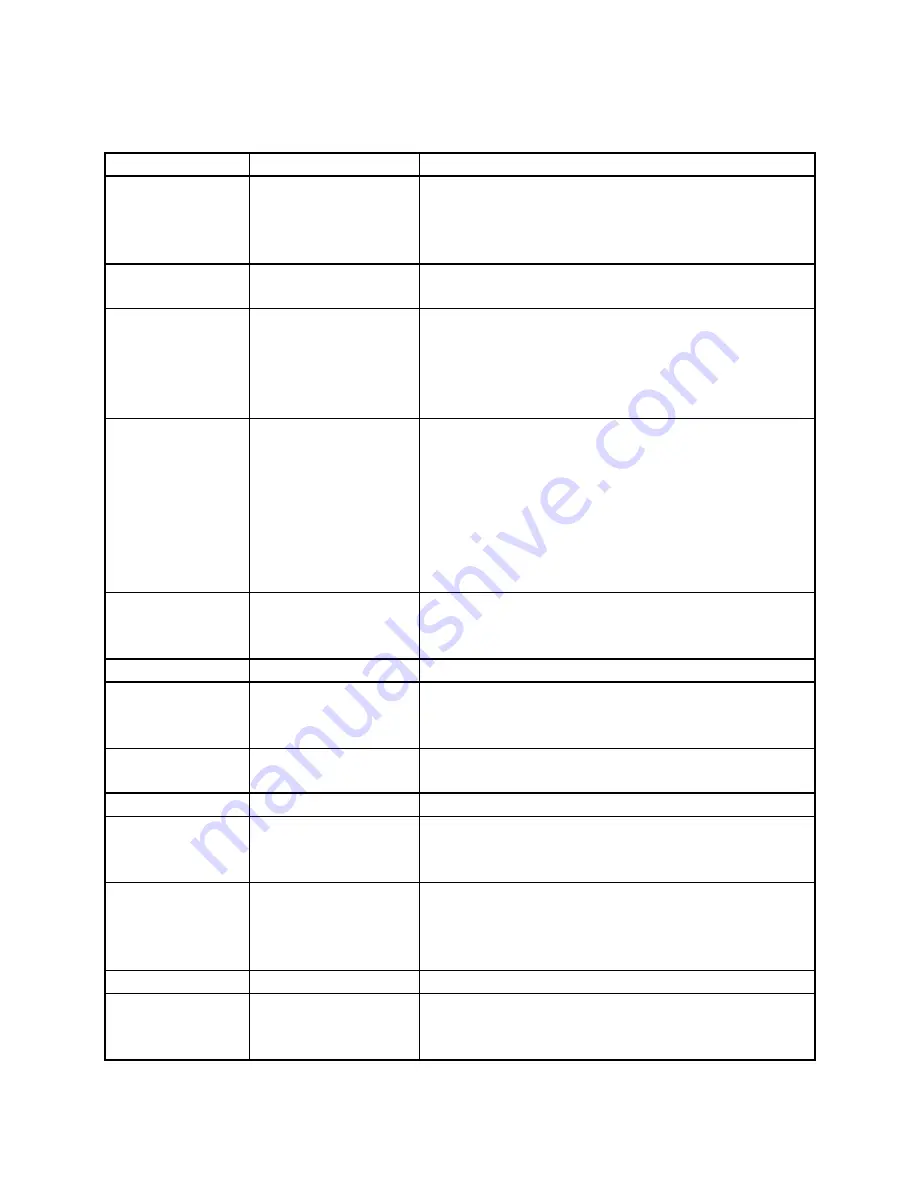
Button and Interface Instruction


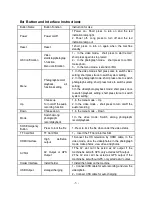
Button Name 

Button Function 

Instruction for Use   

Power 

Power on/off 

1.Power  on

Short  press  to  turn  on  and  the  red 

indication lamp light. 
2.  Power  off

Long  press  to  turn  off  and  the  red 

indication lamp out. 

Reset 

Reset 

1.short  press  to  turn  on  again  when  the  machine 
standby 

OK Confirmation 

Video 
start/stop/photograp
h function 
Menu confirmation 

1

  In  the  video  mode

  short  press  to  start  record, 

short press again to stop record 
2

  In  the  photograph  mode

  short  press  to  confirm 

make photo 
3

  In the menu mode

set and confirm 

 
Menu 

Photograph/record/ 
playback, 

all 

functions setting 

1. In the video mode: short press once to switch video 
setting; short press twice to switch system setting. 
2. In the photograph mode: short press once to switch 
photograph setting; short press twice to switch system 
setting; 
3.In  the  video/photo playback  mode: short press once 
to  switch  playback  setting;  short  press  twice  to  switch 
system setting; 

Up 

Choose up 
Turn on/off the audio 
recording function 

1. In the menu mode 

Up 

2.  In  the  video  mode 

short  press  to  turn  on/off  the 

audio recording   

Down 

Choose down 

1. In the menu mode 

Down 

Mode 

Switch among 
photograph/ 
record/playback 

1.In  the  video  mode:  Switch  among  photograph/ 
record/playback. 

SOS Emergency 
Button 

Press to lock the file 

1. Press to lock the file when under the video status. 

TF Card Slot 

TF Card Slot 

1

  Insert the TF Card into this Slot 

HDMI Interface 

High 

definition 

output 

1.Sonnect  the  HD  television  by  HDMI  cable,  in  the 
video  mode,  view  the video/photos; in the photograph 
mode, make photos, view video and photos.   

AV Slot 

AV  Output  or  GPS 
Output 

1.The  AV  slot  can’t  be  acted  as  AV  output  if  the 
machine be set with GPS, only acted as GPS output. 
2.The  AV  slot  can’t  be  acted  as  GPS  output  if  the 
machine be set without GPS, only acted as AV output. 

Holder Interface 

Install holder 

1.Install the holder on the machine 

USB Output 

storage/charging 

1

  Connect USB cable for auto recording, and view the 

video/photo. 
2

Connect USB cable for auto charging 

Содержание FalconEye 1296P

Страница 1: ... 1 FalconEye 1296P Dash Cam Manual Please read this manual thoroughly before operating the device and keep it for future reference V 1 2 ...

Страница 2: ... products can meet your needs and long term service to you Using this product enjoying the real high quality life This manual in the printing process the machine because of the appearance software or hardware repair process leads to the same part of the manual operation of non conformance the Company has maintained the final interpretation Do not put the machine into the damp working condition thi...

Страница 3: ... Structure chart B Button and Interface Instruction C Charge and Power on off instruction D Photograph Video Playback basic operation instruction E Menu Setting Instruction F Product Specification G Frequently Asked Questions ...

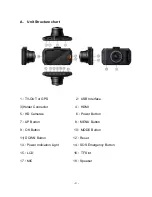
Страница 4: ...r GPS 2 USB Interface 3 Holder Connector 4 HDMI 5 HD Cameras 6 Power Button 7 UP Button 8 MENU Button 9 OK Button 10 MODE Button 11 DOWN Button 12 Reset 13 Power Indication Light 14 SOS Emergency Button 15 LCD 16 TF Slot 17 MIC 18 Speaker ...

Страница 5: ...tting short press twice to switch system setting Up Choose up Turn on off the audio recording function 1 In the menu mode Up 2 In the video mode short press to turn on off the audio recording Down Choose down 1 In the menu mode Down Mode Switch among photograph record playback 1 In the video mode Switch among photograph record playback SOS Emergency Button Press to lock the file 1 Press to lock th...

Страница 6: ... Operating guide Auto power on off After the car connect with the car power this machine support auto video record when the car startup auto power off and save the video when the car shut down 2 1 the car startup cigarette lighter connect power auto power on and video record 2 2 the car shut down cigarette lighter disconnect power auto power off and save the video PS The key for power on off 1 The...

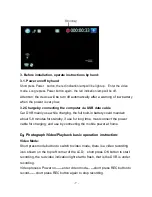
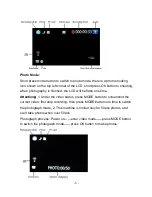
Страница 7: ...hile charging the full built in battery could maintain about 5 8 minutes for standby if use for long time must connect the power cable for charging and use by connecting the mobile power at home D Photograph Video Playback basic operation instruction Video Mode Short press mode button to switch to video mode there is a video recording icon shown on the top left corner of the LCD short press OK but...

Страница 8: ...CD will be flash one time Attention 1 Under the video status press MODE button to screenshot the current video first stop recording then press MODE button one time to switch the photograph mode 2 This machine is limited only for 50pcs photos and can t take photos when over 50pcs Photograph process Power on enter video mode press MODE button to switch the photograph mode press OK button to make pho...

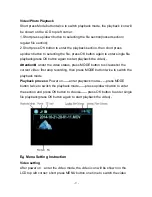
Страница 9: ...yback the video Attention Under the video status press MODE button to screenshot the current video first stop recording then press MODE button twice to switch the playback mode Playback process Power on enter playback mode press MODE button twice to switch the playback mode press up down button to enter the section and press OK button to choose press OK button to enter single file playback press O...

Страница 10: ...e setting options short press OK button to enter the setting short press up down button to modify the setting and short press OK button to confirm the modification Attention Under the video status no any use to press MENU button first stop recording then press MENU button again to switch the video mode 1 Chipset A7LA50 Six modes 2560 1080 30P 21 9 2304 1296 30P 16 9 1920 1080 30P 16 9 HDR 1920 108...

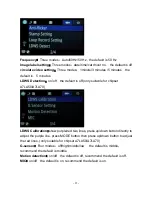
Страница 11: ...only suitable for chipset A7LA50 A7LA70 LDWS Calibration show purple red two lines press up down button directly to adjust the purple line press MODE button then press up down button to adjust the red lines only suitable for chipset A7LA50 A7LA70 G sensor Four modes off high middle low the default is middle recommend the default is middle Motion detection on off the default is off recommend the de...

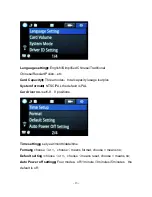
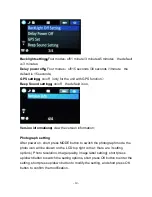
Страница 12: ...s at the second page Time setting Format Default setting Auto Power off setting there are 4 setting options at the third page Backlight setting Delay power off GPS setting Warning tone setting there are 1 setting options at the forth page Version information short press down button to switch the setting options short press OK button to enter the setting short press up down button to modify the set...

Страница 13: ...y usage surplus System format NTSC PAL the default is PAL Car driver no set1 9 9 positions Time setting set year month date time Format choose or choose means format choose means no Default setting choose or choose means reset choose means no Auto Power off setting Four modes off 1 minute 3 minutes 5 minutes the default is off ...

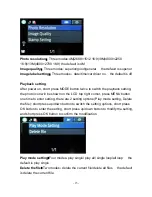
Страница 14: ...n Version information view the version information Photograph setting After power on short press MODE button to switch the photograph mode the photo icon will be shown on the LCD top right corner there are 3 setting options Photo resolution Image quality Image label setting short press up down button to switch the setting options short press OK button to enter the setting short press up down butto...

Страница 15: ...con will be shown on the LCD top right corner press MENU button one time to enter setting there are 2 setting options Play mode setting Delete the file short press up down button to switch the setting options short press OK button to enter the setting short press up down button to modify the setting and short press OK button to confirm the modification Play mode setting Four modes play single play...

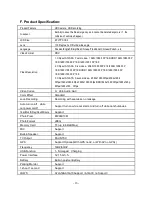
Страница 16: ... 720 30P 16 9 3 Chipset A7LA70 Seven modes 2560x1080 30fps 2304x1296 30fps 1920x1080 60fps 1920x1080 30fps HDR1920x1080 30fps 1280x720p 60fps 1280x720 30fps Video Codec H 264 Audio AAC Color Effect Standard Loop Recording Recording with seamless no leakage Auto turn on off while car power on off Support turn on while car starts And turn off while car shutdowns Year Month Day Hour Minute Support Ph...

Страница 17: ...PS information the professional player must be installed firstly 1 Please install the file provided in the unit 2 Please copy the file to computer and install Using the player software 1 Please open and install it for the first use 2 Click File Open to choose the file which need play and open the play mode directly as below ...

Страница 18: ...en replay the photo video Uncompleted files because of TF card storage error please format your TF card Fuzzy image please check if the lens stay with dirt fingerprints please cleaned lens with paper before shooting Dark image whenshooting the scene of sky or water There will have an impact on the exposure when the big difference between the scene Please adjust the EV in the menu setting The color...

Отзывы: