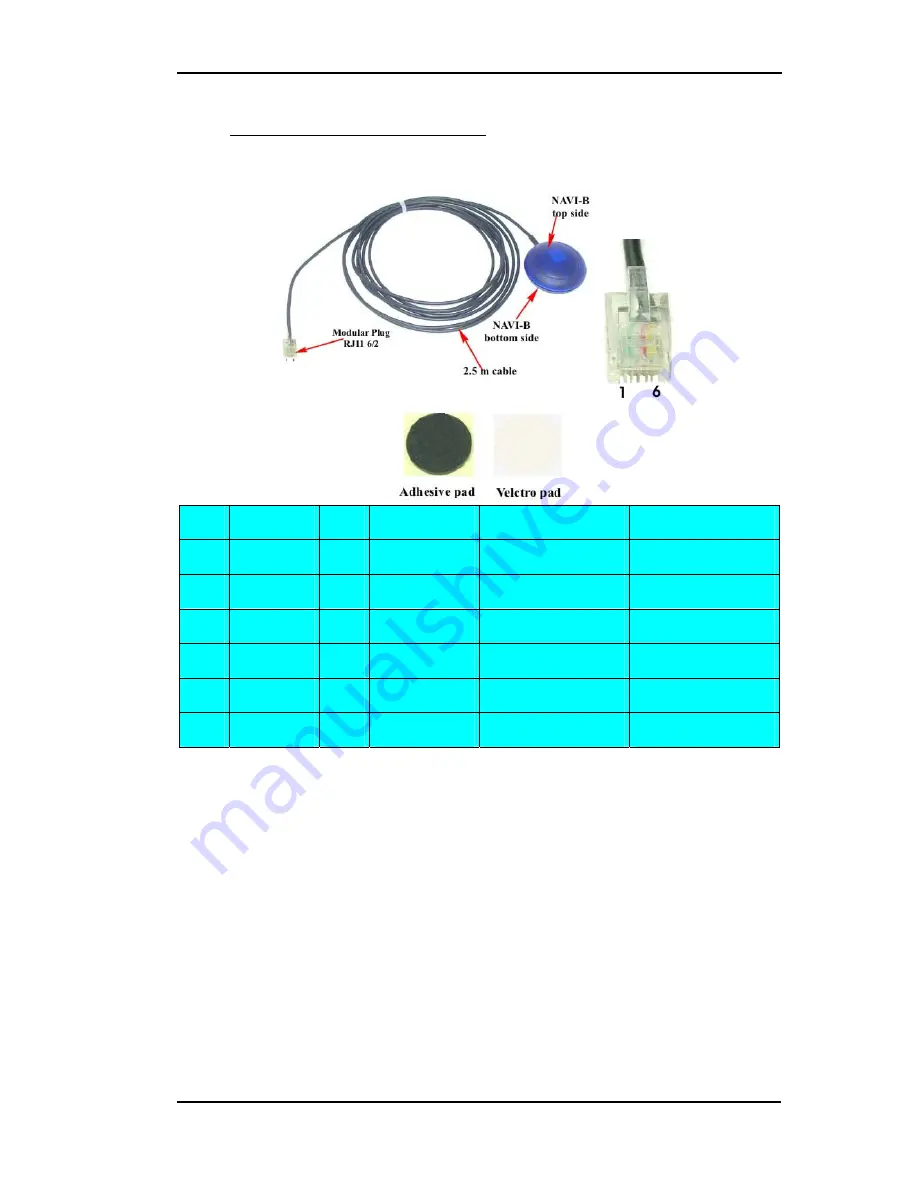
NAVI-B-H VERSION
1.00
4.1.1 Connect the device to power supply
Extend the cable and connect it to the power supply, the pin out on the RJ11
6/2 of NAVI-B-H is described in the table below.
Pin
Name
I/O
Colour
Description
Level
1
NC
-
-
Not connected
-
2
GND
-
Green
Ground
-
3
NC
-
-
Not connected
-
4
NC
-
-
Not connected
-
5
V+
I
Red
Power supply
+ 10 to +32 V DC
6
NC
-
-
Not connected
-
4.2 PC/Laptop and NAVI-B-H Bluetooth™ Connection
To set up a connection between PC (in this case running Windows 2000,
WIDCOM Bluetooth™ software Rev. 1.4.1 as well as a Typhoon
Bluetooth™ USB adapter) and the NAVI-B-H, please, follow step by step
the instructions below. To set up a connection between Pocked PC (handled
device) and NAVI-B-H, refer to chapter
4.3
.
1. If the Bluetooth™ software is not installed in your control device yet,
please install it, plug your Bluetooth™ USB adapter into one of the free
USB COM port before you begin the next steps.
2. Power up your NAVI-B-H. Once the Bluetooth™ receiver is turned on,
the internal LED indicator (blue colour) flashes every one-second (the
Bluetooth™ is on, and ready for connection). (
The Bluetooth™ LED is
internally but is viewable when it flashes.
)
3. Activate the Bluetooth™ on your PC. Open the Bluetooth™ install
directory and double-click on its icon. If the Bluetooth™ icon on the
bottom right-hand corner of the PC screen is blue-red, you will need to
This confidential document is the property of FALCOM GmbH and may not be copied or circulated without permission.
Page 15


