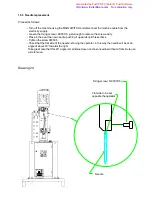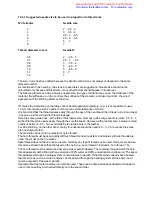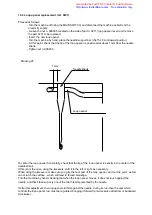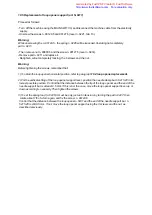
10.9 Replacement flexible cord
Do as followed :
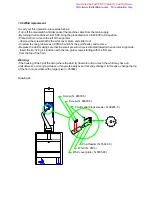
· switch off the machine with the general switcher and take off the electrical plug,
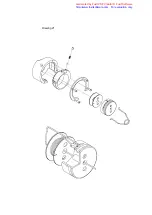
· extract the tip n. 5504.00 unscrewing the two grub screws n. 90503.5,
· unscrew the two screws n. 90011.5 that fix the posterior carter n. 5575.00 of the horn,
· unscrew the two roundheaded screws n. 7509.02 that fix the base of the flexible cord and extract the flexible
cord n. 7507.02,
· check that the flexible sheating n. 7516.12 is not worn out in any part, if it is the case, replace the sheating
as described in paragraph Replacement flexible sheating,
· check that in the sheating there is no broken part of the flexible cord as soon as it is extracted and that there
are no sediments or rusts,
· insert the new flexible cord (already greased),
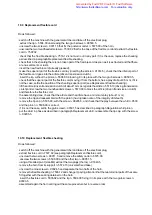
· make the superior part of the flexible cord lay (inserting the article n. 91014.5), check that the inferior part of
the flexible cord goes into the article (driven transmission clutch),
· insert the tip, without the pinion n. 5506.00, blocking it in its place with the two grub screws n. 90503.5,
· check that the superior part of the flexible cord, moving it from the bottom, has a play of about 0.5 mm, if it is
not the case, settle the position of the sheating superior part (see Replacement flexible sheating),
· lift the article (driven transmission clutch) of about 1 mm as regards the article n. 5516.10 (driving transmission
clutch) and screw the two roundheaded screws n. 5573.00 to block the article (driven transmission clutch)
and therefore the flexible cord,
· the assembling done, check that the article and the article have a minimum play (about 1 mm),
· remove the tip and reassemble it with the pinion (having taken care of the integrity of its teeth),
· remove the tip cap n. 5505.00, with the screw n. 90205.5, and check that the play between the whirl n. 0533
and the pinion n. 5506.00 is correct,
· if it is not the case, settle the grub screw n. 90531.5 as described in paragraph Regulation whirl pinion,
· put the whirl in phase as described in paragraph Replacement whirl, reassemble the tip cap, with the screw
n. 90205.5.
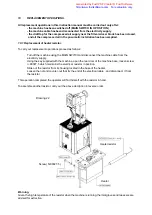
10.10 Replacement flexible sheating
Do as followed :
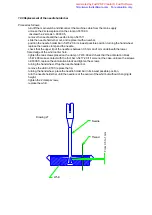
· switch off the machine with the general switcher and take off the electrical plug,
· extract flexible cord n. 7507.02 (see paragraph Replacement flexible cord),
· unscrew the two screws n. 90011.5 and remove the safety carter n.5575.00.
· unscrew the two screws n. 5596.00 and the other two n. 90051.5,
· using a threaded pivot (size M4) extract the two plugs (thorns) n. 91640.5,
· remove the horn from its support n. 5574.10 (universal fixed base),
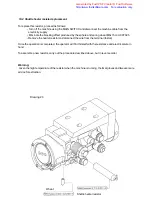
· unscrew the nine screws n. 90024.5 and separate the two halfs of the horn,
· remove the flexible sheating n. 7506.12 and change it, paying attention that the two terminal parts of the same
fit together with the seating obtained on the horn,
· insert the flexible cord n. 5535.02 and the tip n. 5504.00 fixing it in its place with the two grub screws n.
90503.5,
· assembled again the horn carring out the same procedure but in reverse order.
Generated by Foxit PDF Creator © Foxit Software
http://www.foxitsoftware.com For evaluation only.

