background image


1.03 Before you start


Please take some time to read through these instructions 

and always practice on offcuts until you 

achieve a satisfactory result.

  Please observe all relevant safety requirements for the use of 

routers and never lift the router away from the jig until the cutter has stopped rotating and is fully 
retracted. 
 

1.04 How the jig works


Depending on the particular cut required, the pegs are placed in the holes indicated in the 
instructions.  The jig is offered up to the worktop and clamped in position.  The jig is then used to 
guide the router.  Most cuts are made in stages with the waste being progressively removed, 
followed by a final stroke which provides a perfect finished edge. 
 

1.05 Conventions and important points


All

 references to left and right hand joints in these instructions use the convention described 

in the diagram engraved on the face of the jig. 

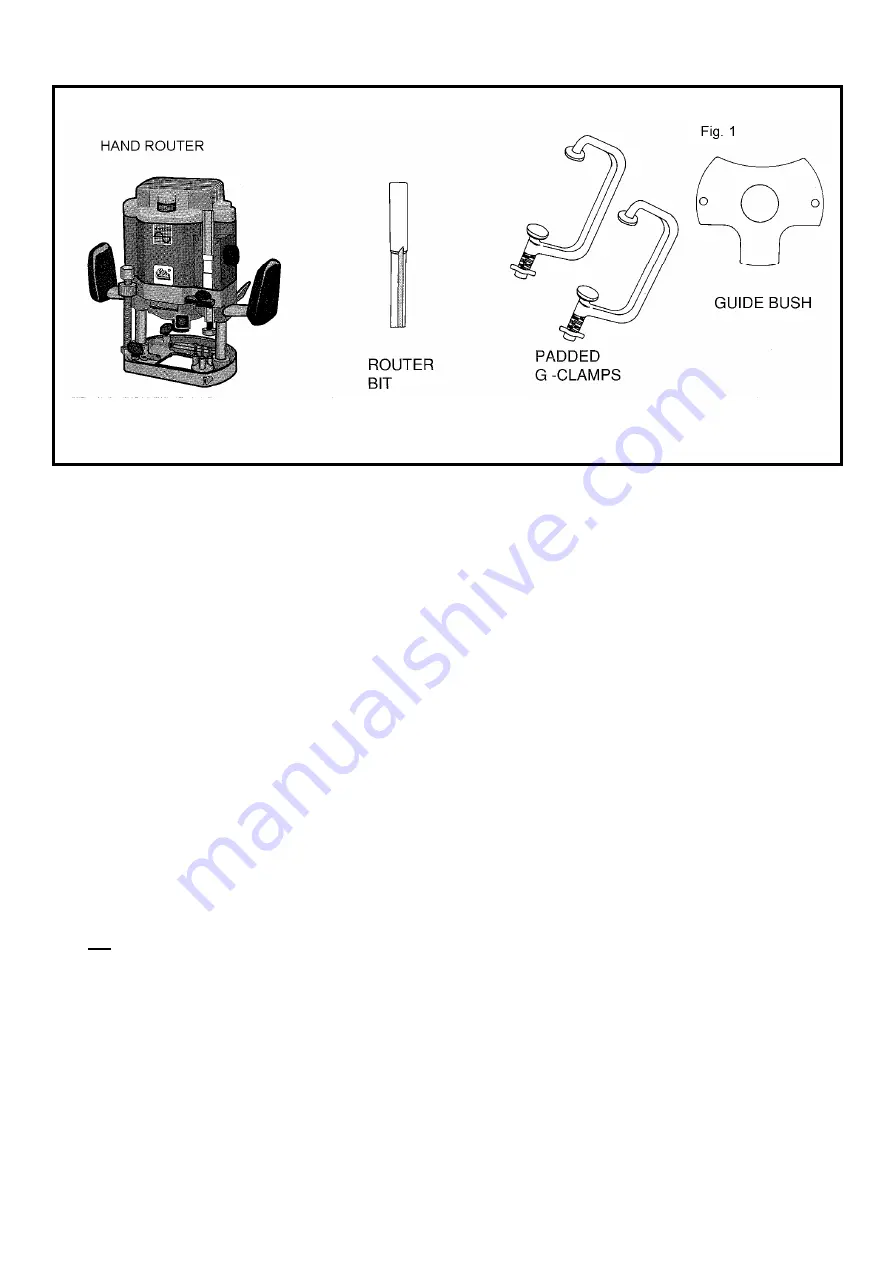
  Always use a sharp cutter and ensure the guide bush is firmly attached to the base plate. 

  Always work from left to right 

never the other way round

  Make sure the pegs are well seated and are not proud of the surface of the jig. 

  Wherever you see letters in 

italics

 on the jig (e.g. 

LF

), this is a reminder that this cut is 

performed with the worktop face down. 

  The holes surrounded by a square indicate that a peg should 

not

 be inserted from this side 

when performing any of the cuts. 

  When working with the centre slot the side 

nearest

 you is 

always

 used 

first

 for the waste 

removal followed by the side 

furthest

 from you for the finished edge. 


2

Содержание PRO Jig

Страница 1: ...edge and as a radius guide The Jig also has a unique quick reference guide to the various types of cut engraved on the face and a comprehensive system of labels to allow easy use without constant ref...

Страница 2: ...hich provides a perfect finished edge 1 05 Conventions and important points All references to left and right hand joints in these instructions use the convention described in the diagram engraved on t...

Страница 3: ...his is particularly relevant when you are unable to support waste which would fall away in the cutting process It is important that you work the router from left to right To work the router right to l...

Страница 4: ...justment when cutting the male component You should be fully conversant with the usual functions of the jig before attempting this type of adjustment 2 02 90 Corner Left hand female cut Place the work...

Страница 5: ...entre slot Set the cutting depth to 10 15mm and start the router Pass the router steadily along the centre slot using the side of the slot nearest you to guide the router Repeat this process increasin...

Страница 6: ...uide the router Working clockwise around the slot remove all the waste Note worktop widths 400 550mm will only accommodate 2 slots 2 07 Joining bolt slots in 90 Males Place the worktop face down The j...

Страница 7: ...e back edge of the worktop Tip the jig used in straight edge mode can help greatly with your marking out on this type of corner see 4 01 With the jig logo side down place 3 pegs in the holes marked CF...

Страница 8: ...ktop face up and follow instructions as per 3 03 3 05 Corner Cooking Solution Female bolt slots Place the centre piece face down The jig should be logo side up for left hand females CFL fig 12 or logo...

Страница 9: ...4 02 Breakfast bar radius end mode The jig can be used as a guide when adding a radius to the end of a worktop or panel You may use any of the 3 horizontal arrays of holes indicated in fig 14 for the...

Страница 10: ...up Inconsistent results wandering edges Irregular gaps on RH male and or LH female face Probable Cause Incomplete routing process Incomplete routing process Incorrect size of cutter and or guide bush...

Отзывы: