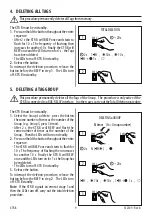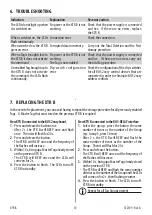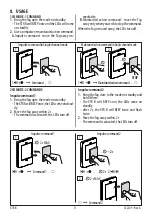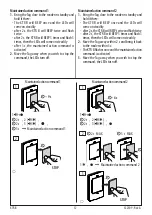
XTR B
4
532109 - Rev.A
2. SAFETY INFORMATION
!
The packaging materials (plastic, polysty-
rene, etc.) must not be left within reach
of children as they are potential sources
of danger.
F
Always switch off the electricity supply
before making electrical connections.
When you have finished with them, dis-
pose of the packaging in the appropriate
containers, as per applicable waste disposal
regulations.
The electronic components must not be
disposed of in landfill, but should be taken
to an authorised disposal and recycling
centre, in compliance with applicable waste
disposal legislation.
3. INSTALLATION
1.
Prepare the connecting cables and install the
base. Follow the instructions in
1
.
2.
Connect to the BUS 2easy terminals on the
board or the BUS-RELAY interface. Follow the
instructions in
2
.
3.
Position the jumper to specify reader
A
or
B
:
-
J5
closed = XTR B_
A
-
J5
open = XTR B_
B
4.
Configure the dip-switches according to the
connection:
-
Board with BUS 2easy: see § 3.1
-
BUS-RELAY interface: see § 3.2
5.
Switch power on to the electronic board with
BUS 2easy or the BUS-RELAY interface.
-
The XTR B flashes once, then the LEDs turn
off: XTR B in standby.
6.
Register the BUS 2easy devices (see board or
interface instructions).
7.
Carry out the first storage procedure according to
the type of connection:
-
Board with BUS 2easy: see
6
-
BUS-RELAY interface: see
8
8.
Make sure that all tags are working correctly for
all enabled commands.
9.
Fasten the body to the base (
3
) and put the
cover on (
4
-
5
).
!
The IP sealing gaskets in the base and in the
body must be fitted and intact.
Содержание XTR B INOX
Страница 1: ...XTR B EN...
Страница 7: ...XTR B 05 532109 Rev A 4 5 5 click XTRBINOX XTRB...


