


2
Name
Description
LED Indicator
Solid Blue: Camera starting up or being live viewed in the EZVIZ app.
Fast-flashing Blue: Camera ready for Wi-Fi configuration.
Slow-Flashing Blue: Camera working properly.
Slow-flashing Red: Network exception.
Fast-flashing Red: Camera exception.
Flashing red and blue alternatively: Wi-Fi Direct Mode.
Solid Green: Camera fully charged.
Slow-flashing Green: Charging.
Micro SD Card
(sold separately)
Initialize the card in the EZVIZ app before using it.
Recommended compatibility: Class 10, maximum space 256GB.
Reset Button
Press and hold
for 4 seconds to restart and set all parameters to default.
Power Button
•
Power on: Press and hold for 2 seconds in shut-down state.
•
Power off: Press and hold for 4 seconds to power off the camera.
Power Port
For charging the camera.
Press and hold the reset button and power button at the same time for 2 seconds, and
when the LED indicator flashes red and blue alternately, indicates that the camera turns to
Wi-Fi direct mode. Press the Reset button for 4 seconds to reset the device or you can exit
the mode by operating on the settings page of EZVIZ app.
Setup
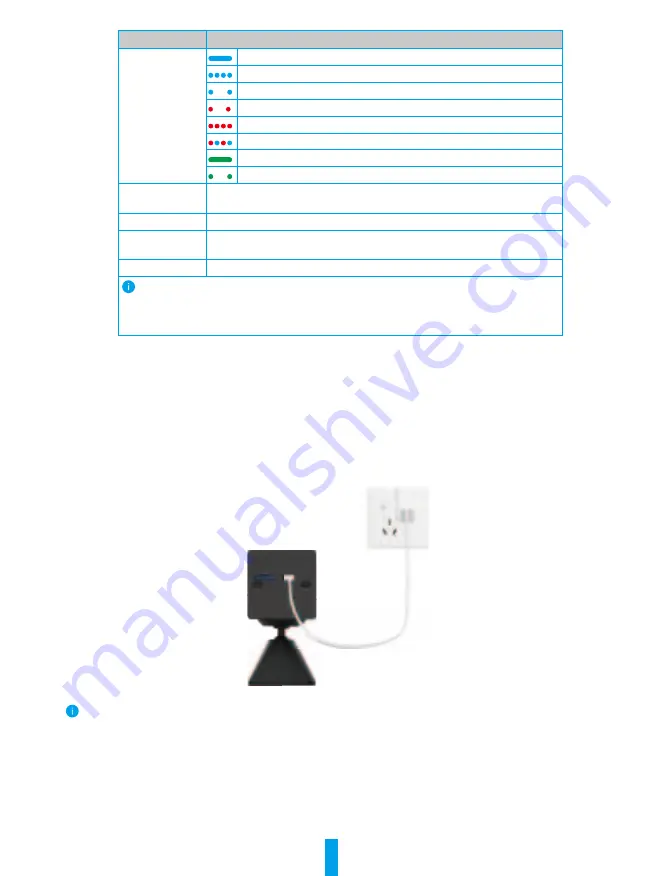
1� Power-on
In the shutdown state, hold the power button for 2 seconds to power on.
If the camera is out of battery, connect it to power outlet with the power adapter (5V 1A) for charging (purchase
separately).
Power Outlet
Power Cable
•
It is recommended to use the power cable included in the package.
•
Please purchase a 5V 1A power adapter, cause it is not included in the package.
•
Remove the camera from the wall before charging.
•
Please do not charge the camera when the temperature exceeds 45 degrees or below 0 degrees.
•
It is not allowed to charge the camera with power adapter outdoors.
•
When charging, the camera will be automatically turned on.


