background image

DT200-EU-EN-V2.0   4/12 

9

Maintenance 

WARNING: 

Do not operate the meter until the battery compartment cover is in place and fastened 

securely. 

This instrument is designed to provide years of dependable service, if the following care instructions 

are performed: 

1. 

Keep the meter dry and free from dust

2. 

Use and store the meter in nominal temperature conditions.

 Temperature extremes can 

shorten the life of the electronic parts and distort or melt plastic parts. 

3. 

Handle the meter carefully and avoid shock and vibration.

 Dropping the meter may 

damage the electronic parts or the case. 

4. 

Keep the meter clean.

 Wipe the case occasionally with a damp cloth. DO NOT use chemicals, 

cleaning solvents, or detergents. 

5. 

Use only fresh batteries of the correct type. 

Remove old or weak batteries so they do not 

leak and damage the unit. 

6. 

If the meter is to be stored for long periods

, the batteries should be stored separately to 

prevent damage to the unit. 


Battery Installation/Replacement 

When the low battery symbol appears on the display or when the display does not switch ON, 

replace the two (2) ‘AAA’ batteries. 

1. 

Switch the instrument off before replacing the batteries. 

2. 

Remove the rear battery compartment cover by sliding the grooved latch on the meter bottom 
toward the rear of the meter. 

3. 

Replace the two (2) ‘AAA’ batteries observing polarity. 

4. 

Replace the battery compartment cover. 

5. 


You, as the end user, are legally bound (

Battery ordinance

) to return all used batteries 

and accumulators; 

disposal in the household garbage is prohibited!


You can hand over your used batteries / accumulators at collection points in your 
community or wherever batteries / accumulators are sold! 
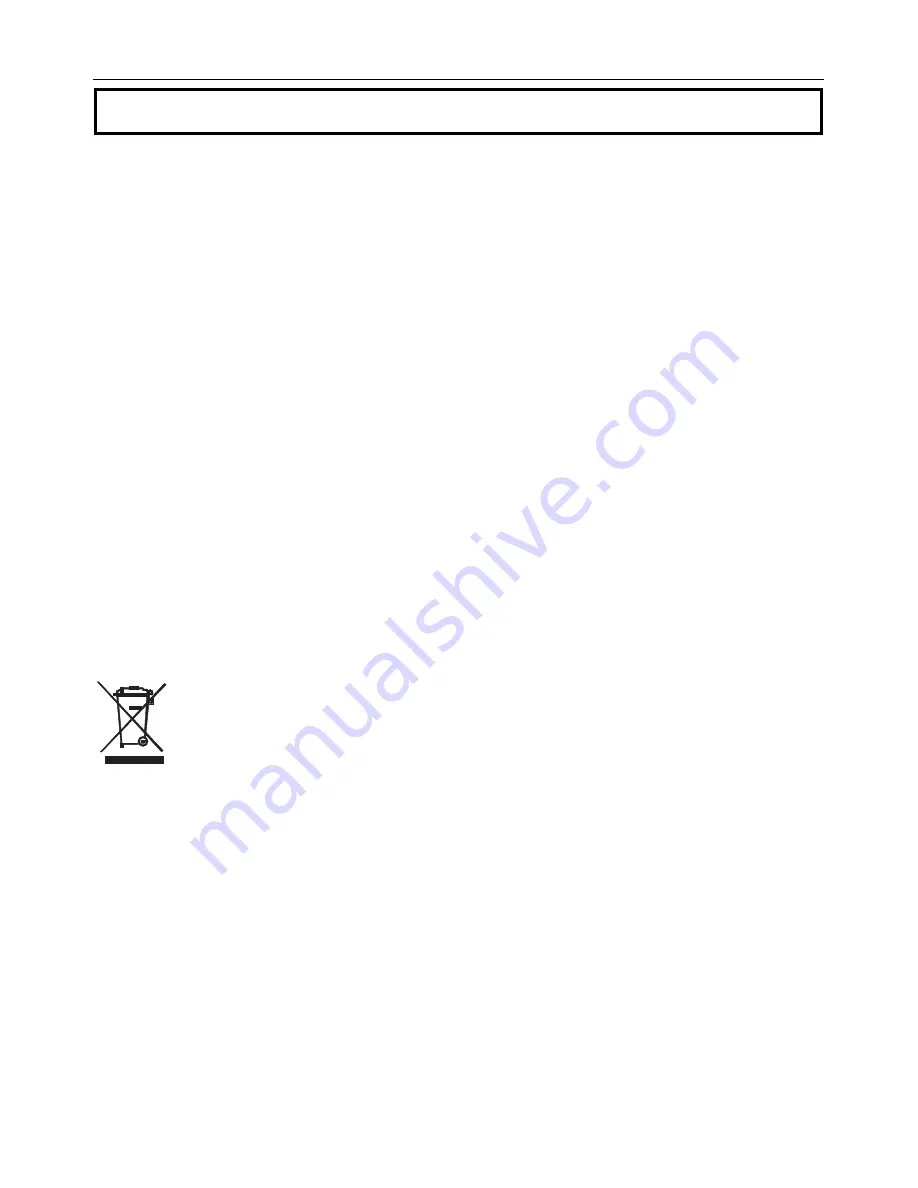
Disposal: 

Follow the valid legal stipulations in respect of the disposal of the device at the 

end of its lifecycle 


Display Error Codes 

204

 – Calculation Error (Retry the procedure) 

208

 – Received signal too weak (Use target plate) 

209

 – Received signal too strong (Target too reflective, use target plate) 

252

 – High Temperature (Cool down the instrument) 

253

 – Low Temperature (Warm up the instrument) 

255 

– Hardware error (Return the instrument for service)


Wrench icon

 – Hardware error (Return the instrument for service) 


Содержание DT200

Страница 1: ...User Guide Laser Distance Meter Extech DT200 DT200 ...

Страница 2: ...er beam from the top of the instrument Do not stare into the laser beam or direct the beam toward anyone s eyes Eye protection is normally an automatic response blink reflex for example Warning Do not look directly into the laser beam using optical aids such as binoculars or telescopes This can create a hazard Permitted Uses Measure Distances Compute Area and Volume Measure Angles Prohibited Uses ...

Страница 3: ...e and Indirect Measurement icons 5 Single Distance Measurement mode 6 Battery status icon 7 Reading Memory Location Number 8 Error icon 9 Continuous MIN MAX measurement mode 10 Display Line 1 11 Display Line 2 12 Display Line 3 Summary Display Line Keypad Power ON Measurement Button CLEAR Power OFF Button Measurement Reference Button Backlight Unit Button MAX MIN Continuous Measurement Button Indi...

Страница 4: ... ON The unit automatically switches OFF after three 3 minutes of inactivity 2 Press and hold the UNIT button to change the unit of measure ft feet in inches m meters and feet and inches 3 Use the reference button to select the Top or Bottom distance reference In the Top mode 2 the displayed reading will represent the distance from the top of the meter to the target In the Bottom mode 1 the display...

Страница 5: ... Press the MEAS button to take the first measurement 3 Press the button or the button or will appear in the display flashing 4 Press the MEAS button again to take another measurement 5 The two individual measurements will be shown on display lines 1 and 2 6 The sum or difference will be indicated on display line 3 7 Repeat the above steps as desired Area Calculation The DT200 allows the user to co...

Страница 6: ...nt 11 Lines 1 2 and 3 will now show the Length Width and Area in ft 3 or m 3 respectively Note that the individual Height measurement is NOT displayed Indirect Measurements Using Two Measurements The DT200 can measure the vertical height from Point 1 to Point 2 with the operator taking the measurement from Point X This is accomplished using two measurements 1 Press the MEAS button to switch the me...

Страница 7: ...ttom diagonal line flashing 4 From Point X aim the instrument at Point 1 and press MEAS One reading is now complete and the middle line of the triangle will begin flashing 5 Press MEAS again to turn on the laser pointer to prepare for the next measurement 6 From Point X aim the instrument horizontally at a Point 2 and press MEAS The second reading is now complete and the top diagonal line of the t...

Страница 8: ...ed in location 1 and the previous reading from location 1 will be moved to location 2 5 When all twenty locations have been filled the meter begins overwriting the existing readings 6 The memory location number is indicated on the upper left hand area of the display 1 to 20 7 Use the and bottons to scroll through the the stored readings 8 To clear all readings enter the memory mode using the Memor...

Страница 9: ... the low battery symbol appears on the display or when the display does not switch ON replace the two 2 AAA batteries 1 Switch the instrument off before replacing the batteries 2 Remove the rear battery compartment cover by sliding the grooved latch on the meter bottom toward the rear of the meter 3 Replace the two 2 AAA batteries observing polarity 4 Replace the battery compartment cover 5 You as...

Страница 10: ...4 5 x 1 9 x 1 1 115 x 48 x 28mm Weight 5 3 oz 150g Recommended use For indoor use only Range Specifications Distance Range 0 1 to 35m 4 to 115 Resolution 0 001 inches feet or meters Accuracy 2mm 0 08 Displayed Calculation Ranges Length 99 11 99 99m Area 999 99 sq ft 999 99m2 Volume 999 99 cu ft 999 99m3 Copyright 2012 Extech Instruments Corporation a FLIR company All rights reserved including the ...

Отзывы: