4. Pre-installation Instructions
Page
6
of
28
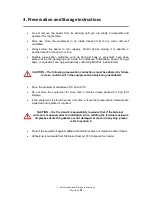
4. Pre-installation Instructions
Unpacking
•
Carefully remove the packaging from each product and check for damage.
Immediately report any damage to EXHEAT Industrial Ltd (please keep this IOM and
the additional certification booklet for future reference).
•
Remove the heater using the handle provided and place on the ground, remove any
optional extras from the box and discard the packaging responsibly.
•
Visually inspect the heater casing for damage. Again, report any damage to EXHEAT
Industrial Ltd straight away.
•
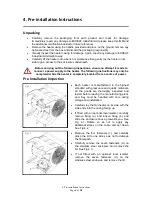
Carefully lift the heater onto a bench or workspace then gently lay the heater on its
side to gain access to the enclosures underneath.
Before carrying out the following inspections, ensure no attempt is made to
connect a power supply to the heater. The following instructions may only be
completed while the heater is completely isolated from a source of power.
Pre-Installation Inspection
•
Each heater is manufactured to the highest
standard with great care and quality materials.
All the goods are thoroughly inspected and
tested before leaving the manufacturing plant,
and they must be handled with care during
storage and installation.
•
Carefully lay the fan heater on its side with the
side entry into the casing facing up.
•
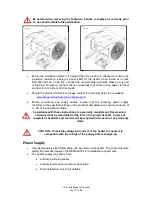
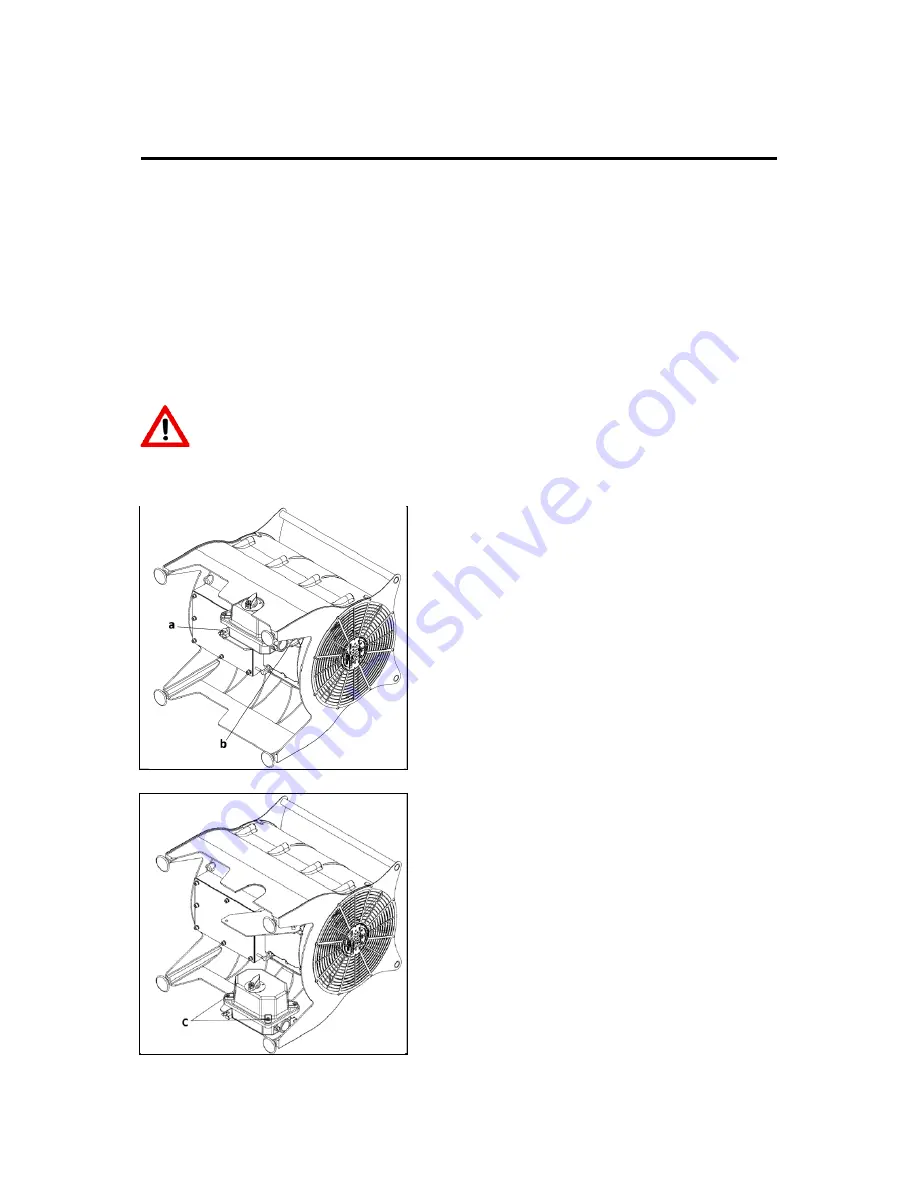
If fitted with an optional local isolator, carefully
remove fixing (a.) and loosen fixing (b.) and
slide the enclosure housing towards you. See
Fig 4.1. Rotate so as not to apply any
additional stress on the cable and set down.
See Fig 4.2.
•
Remove the four fasteners (c.) and carefully
place the lid to one side so as not to damage
the flamepath.
•
Carefully remove the seven fasteners (d.) on
the stainless steel enclosure and remove the
lid. See Fig 4.3.
•
If not fitted with an optional local isolator,
remove the seven fasteners (d.) on the
stainless steel enclosure and remove the lid.
Fig 4.1
Fig 4.2

