


Quick Reference Guide
2
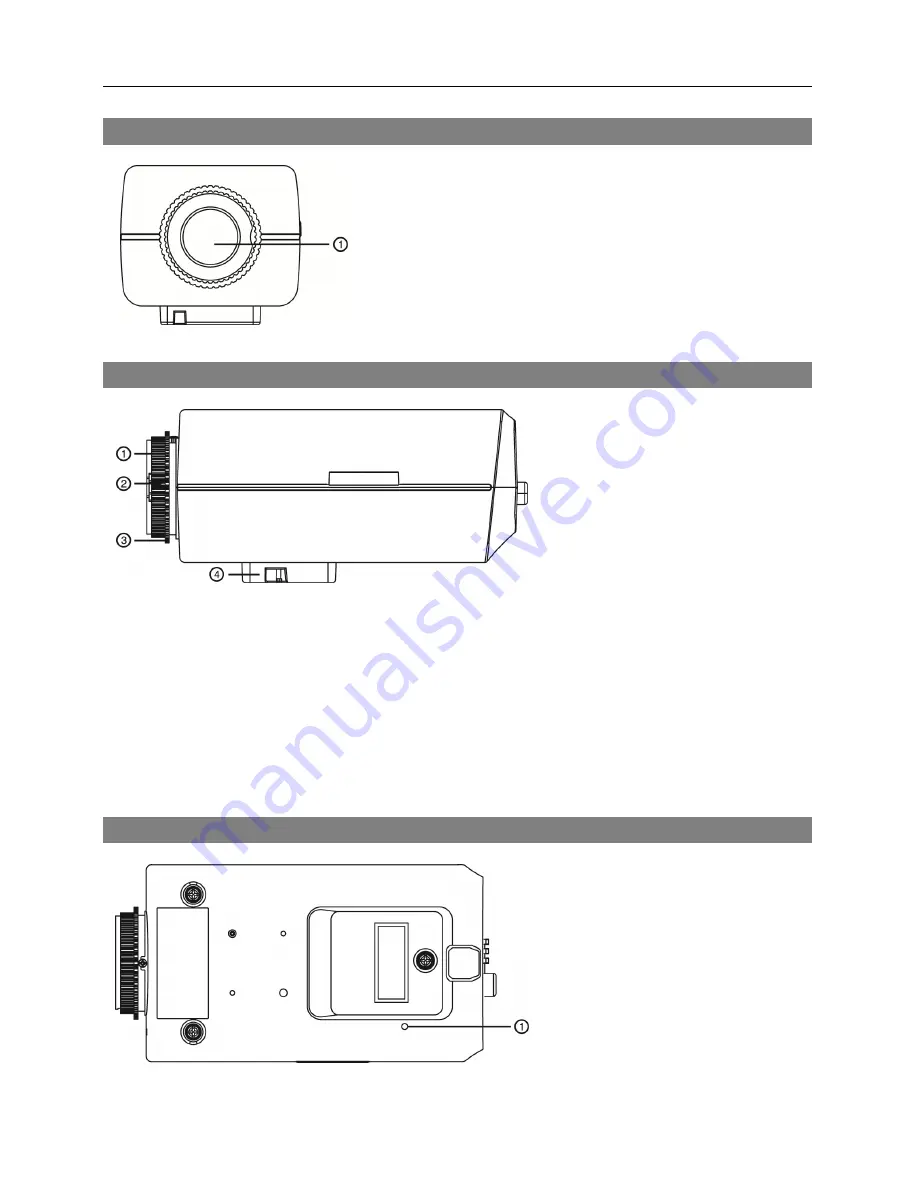
Front Side View
①
Image Sensor:
Converts an optical image of the object
to an electric signal.
NOTE:
Cover the image sensor by using the protective
cover provided with the camera when a lens is not mounted
on the camera.
Right Side View
①
Protective cover
②
C-Mount Ring
③
Back Focus Adjustment
Ring
④
Mount Bracket
Protective cover:
Attach when a lens is not installed to protect the image sensor.
C-Mount Ring
: Attach the ring provided with the camera to the camera when using the C-Mount
lens.
Back Focus Adjustment Ring:
Loose screws and adjust the back focus by turning the ring
clockwise or counter-clockwise, and then tighten the screws to fix the current back focus.
Mount Bracket:
You can attach a bracket to the bottom or top of the camera to mount it. Use
1/4–20 UNC (20 Thread), 2.5mm +/- 0.2 mm (ISO Standard) or 0.197 (ASA Standard) standard
screws when attaching the bracket.
Top View
①
Factory Reset Switch:
Use to
return all settings to the original
factory settings. See below for
details.


