


ECOR HD 4F / 8F / 16F
46
4.4
Display
You can display system and camera status on the live view screen. Follow the steps below:
1.
Click the Display button
on the OSD Root Menu to display the system and camera
status. Click the button to choose the desired display mode:
2.
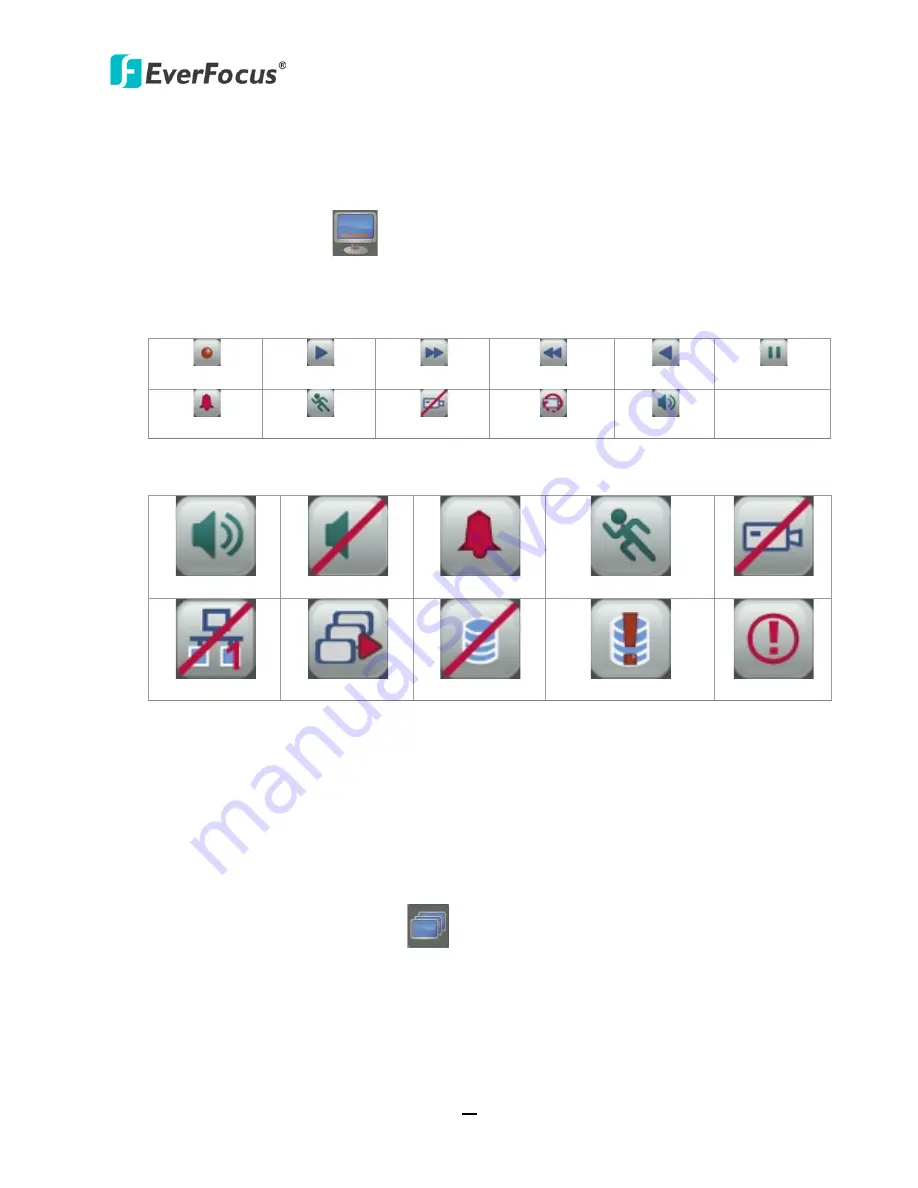
The following icons will be displayed at the top-left side of each camera stream to show each
camera’s status.
Recording
Playback
Fast forward Fast backward
Back
pause
Alarm
Motion
Video loss
Uninstall
Audio On
3.
The following icons will be displayed at the bottom of the monitor to show the system
status.
Audio On
Audio Off
Alarm
Motion
Video loss
No network 1
Sequence
HDD failure
HD temp. too high
Event
4.
There are four display modes, and you can click the Display button to change the display
mode: (1) Display both the camera and system status icons. (2) Display only the camera
status icons. (3) Display only the system status icons. (4) Hide both the camera and system
status icons.
4.5
Sequence
The sequence function is used to display each channel in sequence mode. To enable this
function:
By Mouse:
Click the Sequence button
to enter the sequential switching mode. The DVR
will display one channel at a time in full screen. The channels will be displayed in the sequence
and for the amount of time as configured in the System > Display Setting > M/T SEQ submenu.
The default setting is channels 1~16 / 1~8 / 1~4 with a dwell time of 3 seconds each – repeated.
Please refer to
6.6.2 M/T SEQ
for detailed information.
By Front Panel:
Press the “SEQ” button on the front panel to enter the sequential switching
mode.


