


System Startup 1 - 5
Quick Start Guide
1
System Startup
1.
Remove all packing materials and place the computer on a stable surface.
2.
Securely attach any peripherals you want to use with the notebook (e.g. keyboard and mouse) to their ports.
3.
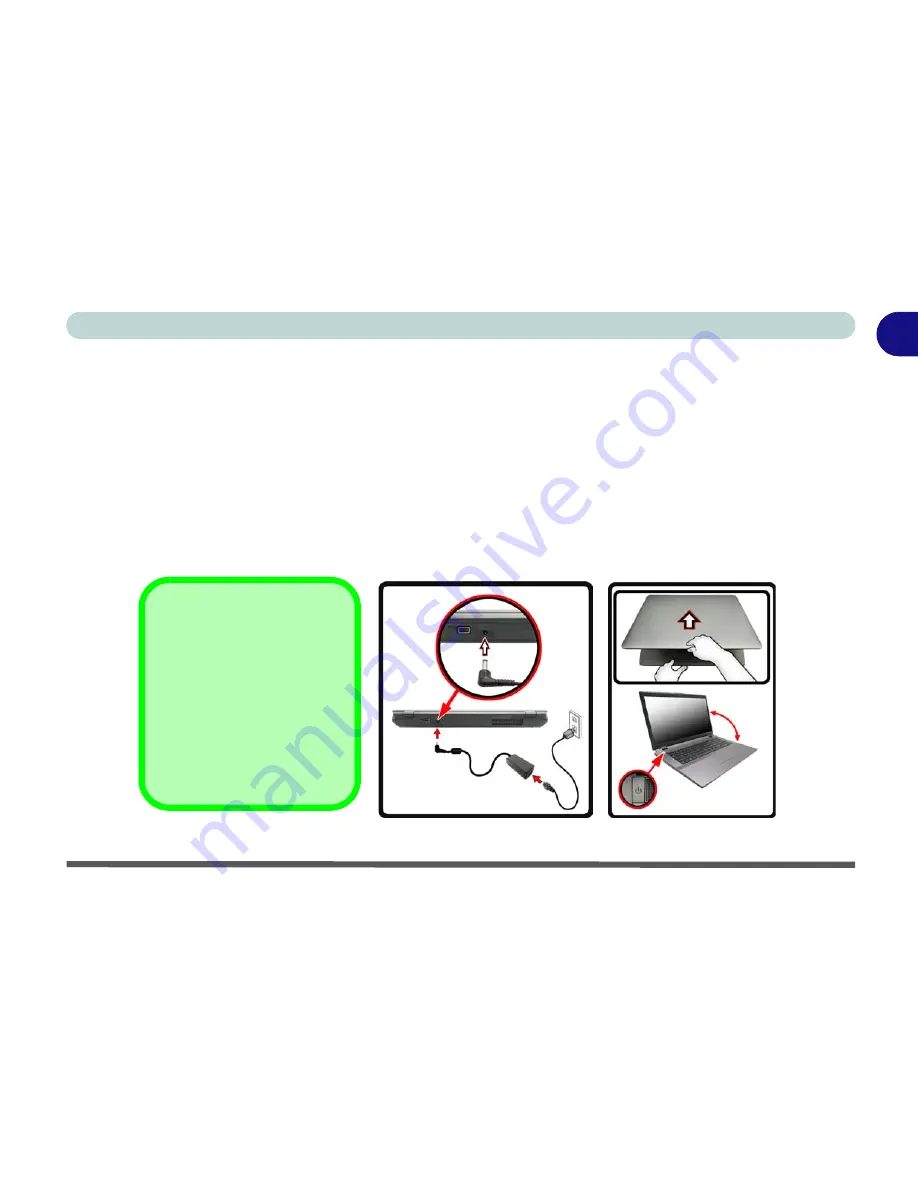
Attach the AC/DC adapter to the DC-In jack at the rear of the computer, then plug the AC power cord into an
outlet, and connect the AC power cord to the AC/DC adapter.
4.
Use one hand to raise the lid/LCD to a comfortable viewing angle (
do not exceed 135 degrees
); use the other
hand (as illustrated in
Figure 1 - 1
below) to support the base of the computer (
Note
:
Never
lift the computer by
the lid/LCD).
5.
Press the power button on the top right of the computer
for about 2 - 3
seconds to turn the computer “
on
” (note
that the
power LED
on the front of the computer
will turn from orange to green
when the computer powers
on).
Figure 1 - 1
- Opening the Lid/LCD & Computer with AC/DC Adapter Plugged-In
Shutdown
Note that you should always
shut your computer down by
choosing the
Shut Down
command from the bottom
right of the
Start
menu in
Windows
. This will help pre-
vent hard disk or system
problems.
Содержание Notebook V12.1.00
Страница 1: ...V12 1 00...
Страница 2: ......
Страница 30: ...XXVIII Preface...
Страница 52: ...Quick Start Guide 1 22 1...
Страница 72: ...Storage Devices Audio Mouse 2 20 2...
Страница 100: ...Drivers Utilities 4 10 4...
Страница 116: ...BIOS Utilities 5 16 5...
Страница 132: ...Upgrading The Computer 6 16 6...
Страница 150: ...Modules 7 18 PC Camera Module 7 Figure 7 7 Audio Setup for PC Camera Right click...
Страница 206: ...Modules 7 74 7...
Страница 228: ...Troubleshooting 8 22 8...
Страница 238: ...Control Center B 6 B...


