


BIOS Utilities
TPM State 5 - 15
5
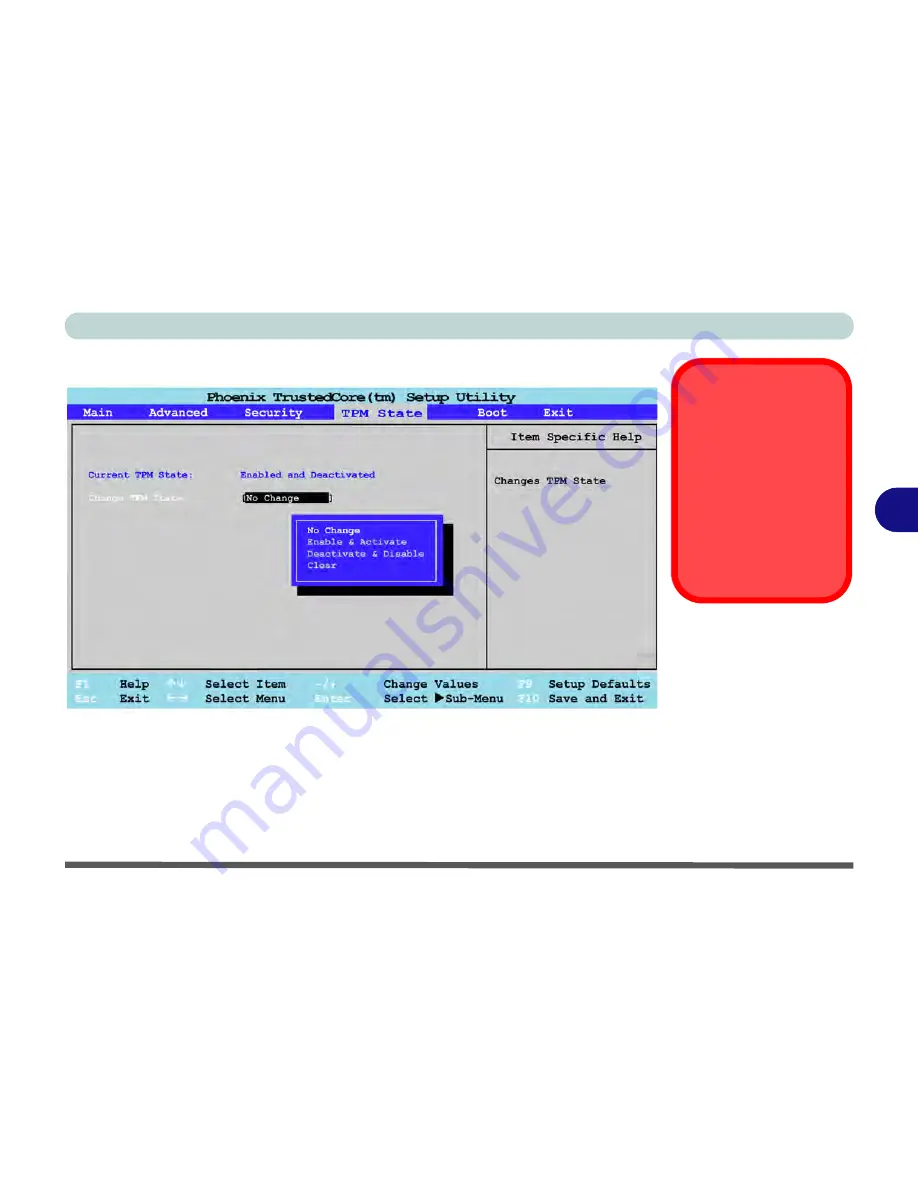
TPM State
Change TPM State (TPM State)
This menu allows you to set the level of TPM functionality. You can enable/disable
the TPM function altogether, or clear all existing TPM information.
Note
: If you clear all TPM information it will be erased altogether and the informa-
tion will need to be reconfigured.
Password
Protection
Note that you should set
a supervisor password
in the BIOS to protect
the TPM information
from being tampered
with by unauthorized us-
ers.
Figure 5 - 6
TPM State
Содержание Notebook V11.6.00
Страница 1: ...V11 6 00...
Страница 2: ......
Страница 46: ...Quick Start Guide 1 22 1...
Страница 68: ...Storage Devices Mouse Audio Printer 2 22 2...
Страница 86: ...Power Management 3 18 3...
Страница 98: ...Drivers Utilities 4 12 4...
Страница 172: ...Modules 7 36 PC Camera Module 7 Figure 7 23 Audio Setup for PC Camera Right click...
Страница 214: ...Modules 7 78 7...
Страница 234: ...Troubleshooting 8 20 8...
Страница 240: ...Interface Ports Jacks A 6 A...
Страница 278: ...AMD Video Driver Controls C 20 C...
Страница 284: ...Specifications D 6 D...


