


Hyper-Threading - 31
Concise User’s Guide
English
Hyper-Threading
You can enable (the default setting is “Disabled”) Hyper Threading from the
Advanced Menu
in the
BIOS Setup
Utility
. Hyper-Threading is only supported in
computers with a processor with Hyper-Threading Technology
.
If
you do not have a processor with Hyper-Threading Technology, this menu option will not appear.
Hyper-Threading is only supported in
Windows XP
, so
DO NOT enable this option if you are using Windows 2000
.
If you have updated the Flash ROM BIOS from a previous version, which did not have the
Hyper Threading
option,
you must
reinstall Windows XP
after the BIOS update. Once you have
enabled
Hyper-Threading,
DO NOT disable
the option
or the computer may not startup (returning to the BIOS and enabling the option will correct this in case of
accidental disabling of the option). If you are changing the processor from a CPU which supports Hyper-Threading,
to one which does not, you will need to reinstall your OS.
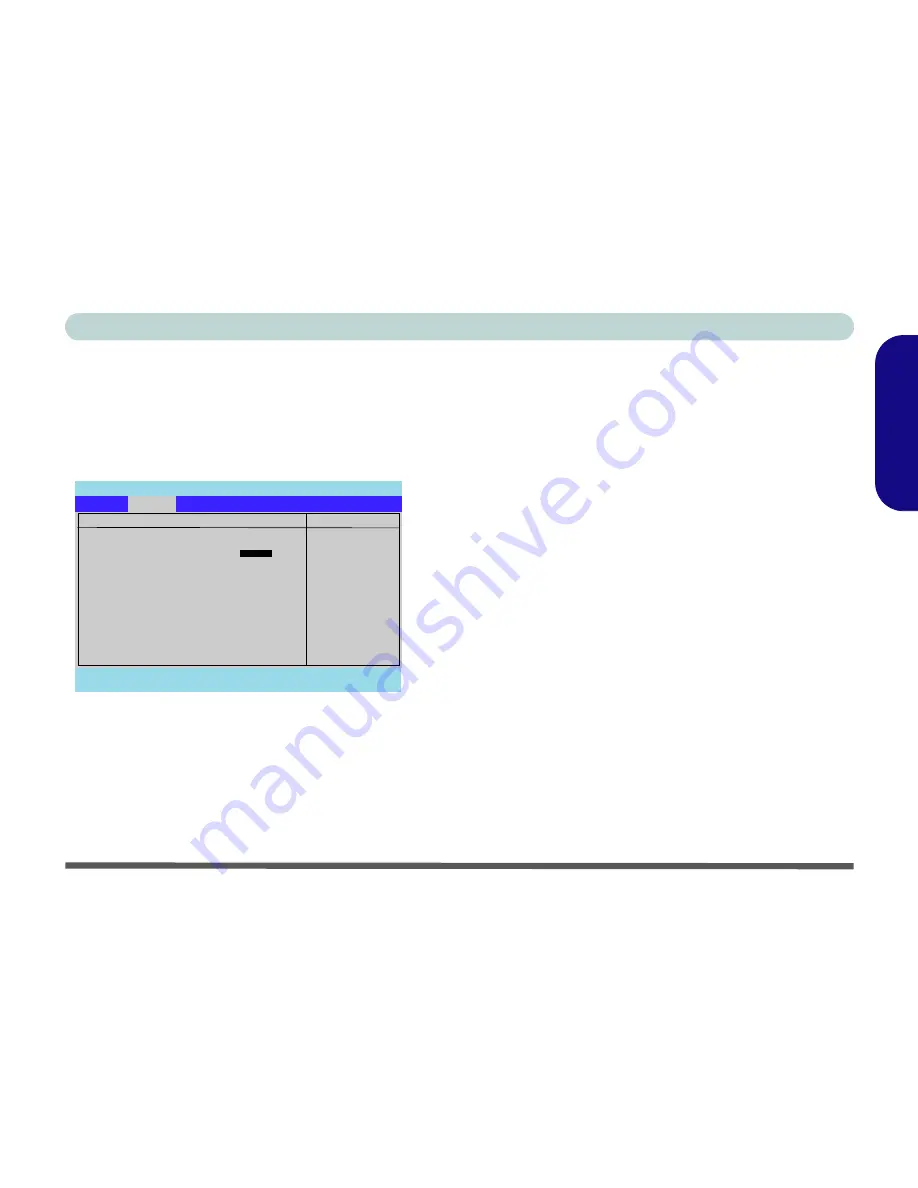
PhoenixBIOS Setup Utility
Advanced
F1
Help
Select Item
-/+
Change Values
F9
Setup Defaults
Esc
Exit
Select Menu
Enter
Select
Sub-Menu
F10
Save and Exit
Item Specific Help
Enables 2nd Logical
Processor.
This is applicable only
for Win XP
Advance Chipset Control
Hyper Threading
[D
Disabled]
Chipset Information Menu
Graphics Aperture:
[ 64 Mb]
Embedded Modem Device
[Enabled]
Embedded Audio Device
[Enabled]
Embedded 1394 Device
[Enabled]
Advanced
Figure 12 - Advanced Menu (BIOS)
To Enable the Hyper Threading Option
1.
To enter
Setup
, turn on the computer and press
F2
during the
startup process.
2.
Use the arrow keys to get to the
Advanced menu
>
Advanced Chipset Control
, and to select the
Hyper
Threading
item.
3.
Enable the Hyper Threading option.
4.
Press
F10
to save and exit the
BIOS Setup
.


