3
Programming
54
to select the attribute for edit and press enter (
). The attribute properties
display for edit and status. Status information includes DMX port A and port
B addressing (e.g. 1A/1 is processor 1 DMX port A and address 1, 1B/127 is
processor 1 port B address 127), and sACN addressing (e.g. 1/1 = universe
1 and address 1). Scroll to select the new attribute parameter level or use the
button pad to specify a new level. Press enter (
) to apply the level edit and
return to the previous display or press back ( ) to return to the previous
display discarding the edit.
Groups
Step 1:
Scroll to select “Groups” from the “Arch Control” menu and press enter (
). All
groups that have channels within the selected space is listed including the
current intensity level. Groups are sorted in alphabetical order.
Step 2:
Scroll to change the group intensity level or specify an intensity level from the
button pad. Press enter (
) to accept the edit. Intensity edits affect the entire
group.
Walls
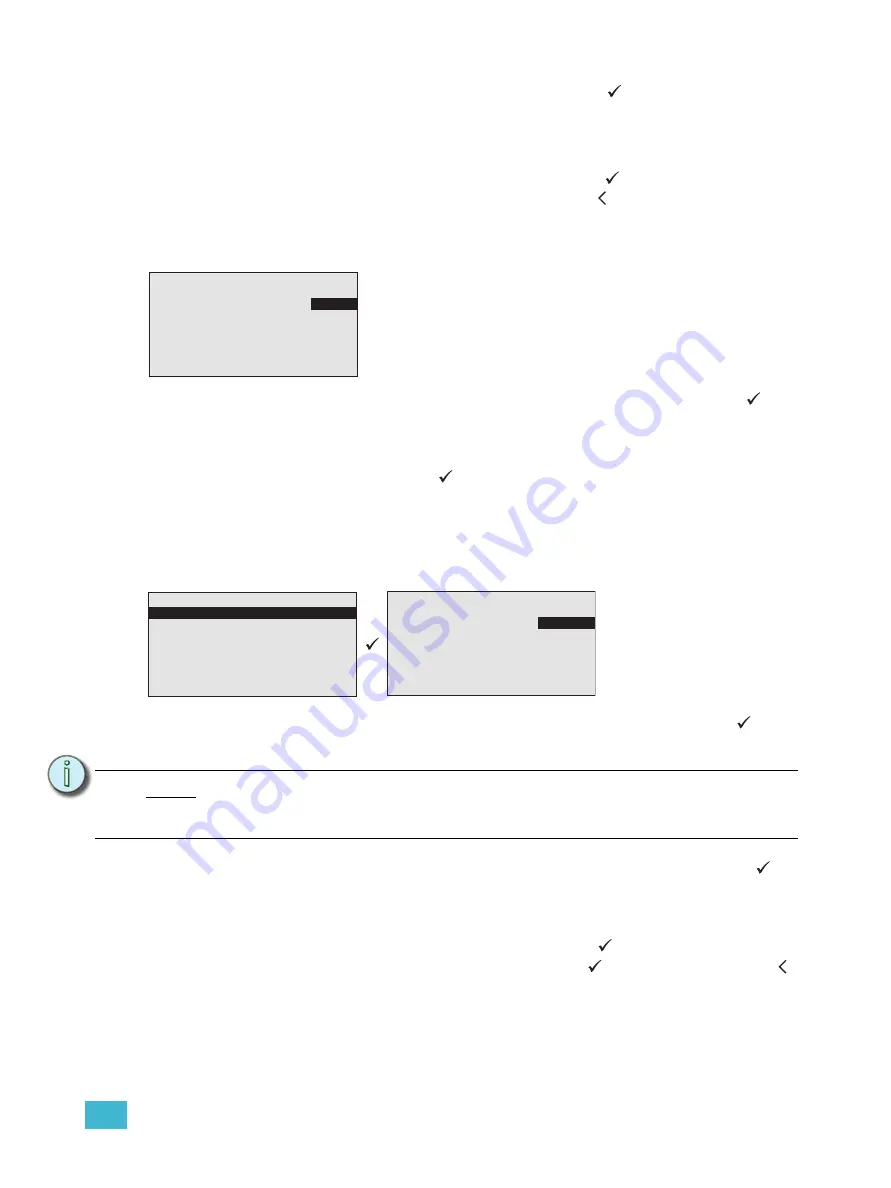
The “Walls” menu provides the tools to change wall state (open or close). Walls have been
configured in the LightDesigner configuration.
Step 1:
Scroll to select “Walls” from the “Arch Control” menu and press enter (
). The
“Select Space” menu list displays all spaces and subspaces that are connected
through walls.
Step 2:
Scroll to select the space containing the desired wall(s) and press enter (
).
Alternatively, you may select <All> to display all walls in all spaces. All walls
within the selected space are listed along with the current status of each wall,
open or closed.
Step 3:
Scroll to select the desired wall and press enter (
). Wall status toggles
between “Closed” and “Open” each time enter (
) is pressed. Press back ( )
to return to accept the wall status change and return to the previous display.
N o t e :
Primary spaces, and subspaces within them, are listed in alphabetical order. It is
advisable that care is taken in advance when naming primary spaces, sub-
spaces, and walls to reduce confusion when controlling from the Paradigm ACP.
<All> Groups
Downlights 0%
Cue Lights
100%
Group 1
---%
Group 2
80%
Group 3
---%
Revolutions 100%
RGB LEDs
100%
The “Groups” menu provides the tools to display and change
current group intensity levels.
<All> Walls
Wall 1:
Closed
Wall 2:
Closed
Wall 3:
Open
Wall 4:
Open
Wall 5:
Closed
Select Space
<All>
Atrium
Hall
Section 1
Section 2
Section 3
Section 4


