
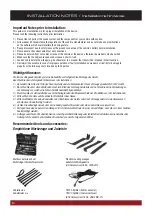


9
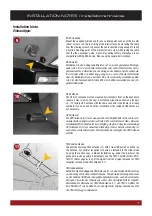
INSTALLATION EXAMPLE / Einbaubeispiel
1
Start to remove the original car audio system.
Beginnen Sie mit dem Entfernen des originalen Radio Systems.
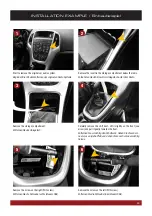
2
Remove the insert in the storage compartment below the radio.
Entnehmen Sie den Einsatz im Ablagefach unter dem Radio.
3
Remove the storage compartment.
Entfernen Sie das Ablagefach.
4
Carefully remove the shift boot. Lift it slightly on the front (see
arrow) and pull it gently towards the front.
Entfernen Sie vorsichtig den Schaltsack. Heben Sie diesen vor-
ne etwas an (siehe Pfeil) und ziehen diese nach vorne vorsichtig
heraus.
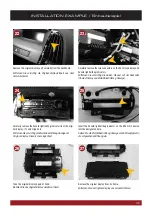
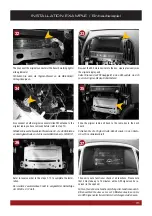
5
Remove the screw on the right (PH2 screw).
Entfernen Sie die Schraube rechts (Kreuzschlitz).
6
Remove the screw on the left (PH2 screw).
Entfernen Sie die Schraube links (Kreuzschlitz).


