201
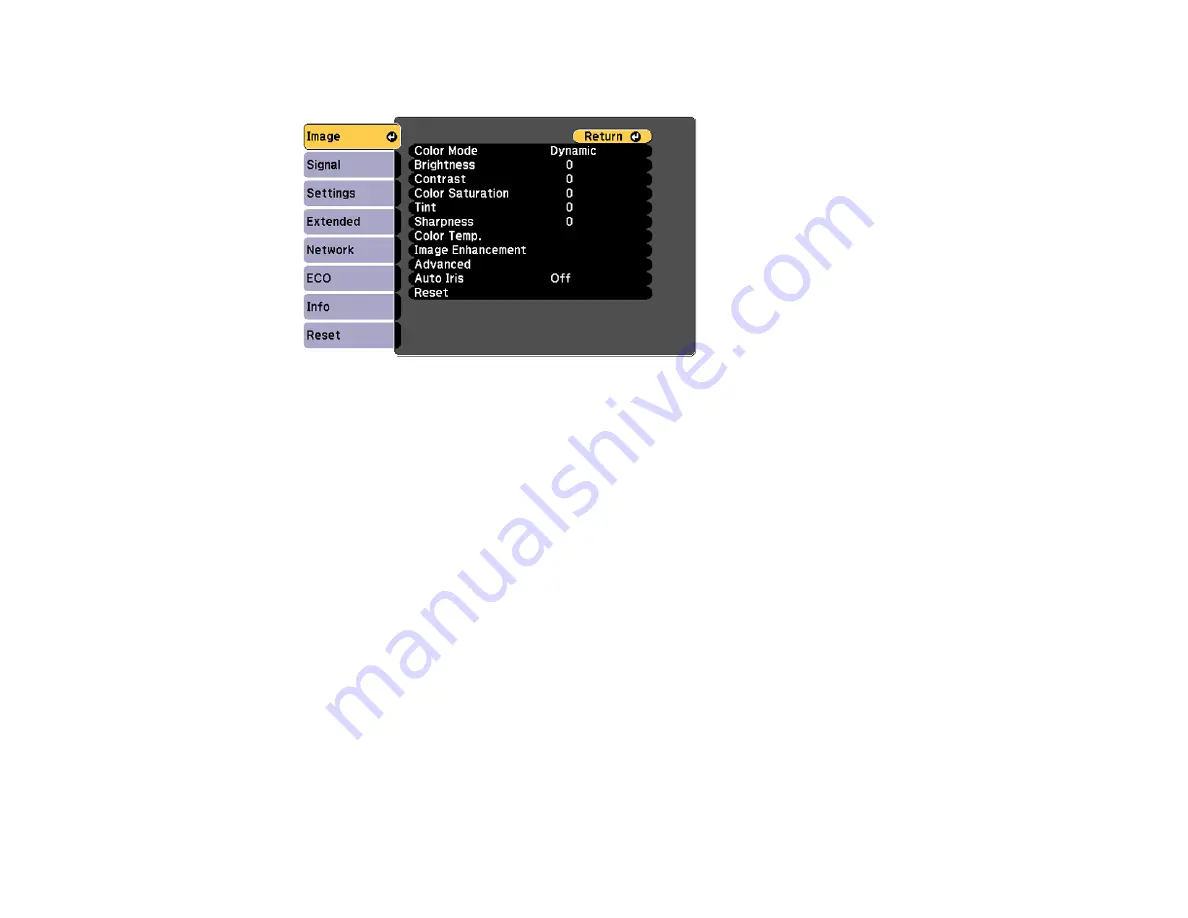
You see the menu screen displaying the Image menu settings.
2.
Press the up or down arrow button to move through the menus listed on the left. The settings for
each menu are displayed on the right.
Note:
The available settings depend on the current input source.
3.
To change settings in the displayed menu, press
Enter
.
4.
Press the up or down arrow button to move through the settings.
5.
Change the settings using the buttons listed on the bottom of the menu screens.
6.
To return all the menu settings to their default values, select
Reset
.
7.
When you finish changing settings on a menu, press
Esc
.
8.
Press
Menu
or
Esc
to exit the menus.
Parent topic:
Содержание 696Ui
Страница 1: ...BrightLink 696Ui User s Guide...
Страница 2: ......
Страница 29: ...29 Projector Parts Remote Control...
Страница 32: ...32 6 Mounting holes Rear 1 Laser diffusion ports 2 Installation magnets Parent topic Projector Part Locations...
Страница 66: ...66 2 Unscrew and remove the cable cover if it is attached screwdriver not included...
Страница 94: ...94 2 Press one of these keystone buttons on the control panel to display the Keystone adjustment screen...
Страница 134: ...134 2 Select the Extended menu and press Enter 3 Select the Multi Projection setting and press Enter...
Страница 233: ...233 2 Slide the air filter cover latch and open the air filter cover...
Страница 237: ...237 2 Slide the air filter cover latch and open the air filter cover...
Страница 247: ...247 1 Twist off the tip of the pen to remove it...
Страница 249: ...249 1 Twist off the tip of the pen to remove it 2 Remove the soft tip...
Страница 250: ...250 3 Insert the new tip 4 Twist on the pen tip Parent topic Projector Maintenance...


