P E R F O R M I N G A N E X A M
MyLab
- G E T T I N G S T A R T E D
7 - 4
At any time during the exam, Patient Data can be viewed and modified by
pressing
PATIENT ID
.
WARNING
Do not use
PATIENT ID
to start a new exam of a new patient as it will update
existing patient’s data with new entries. To activate a new exam, close first
the current exam by pressing
EN D EXAM
and then proceed with the Starting
Exam procedure.
Pressing
IM AG E
when the Patient ID Screen is displayed, a screenshot of this
window is saved.
WARNING
The screenshot of the Patient ID Screen contains the patient data at the
date and time of when the image has been taken. Do not refer to these data
but always check the current patient data.
Selecting Probe
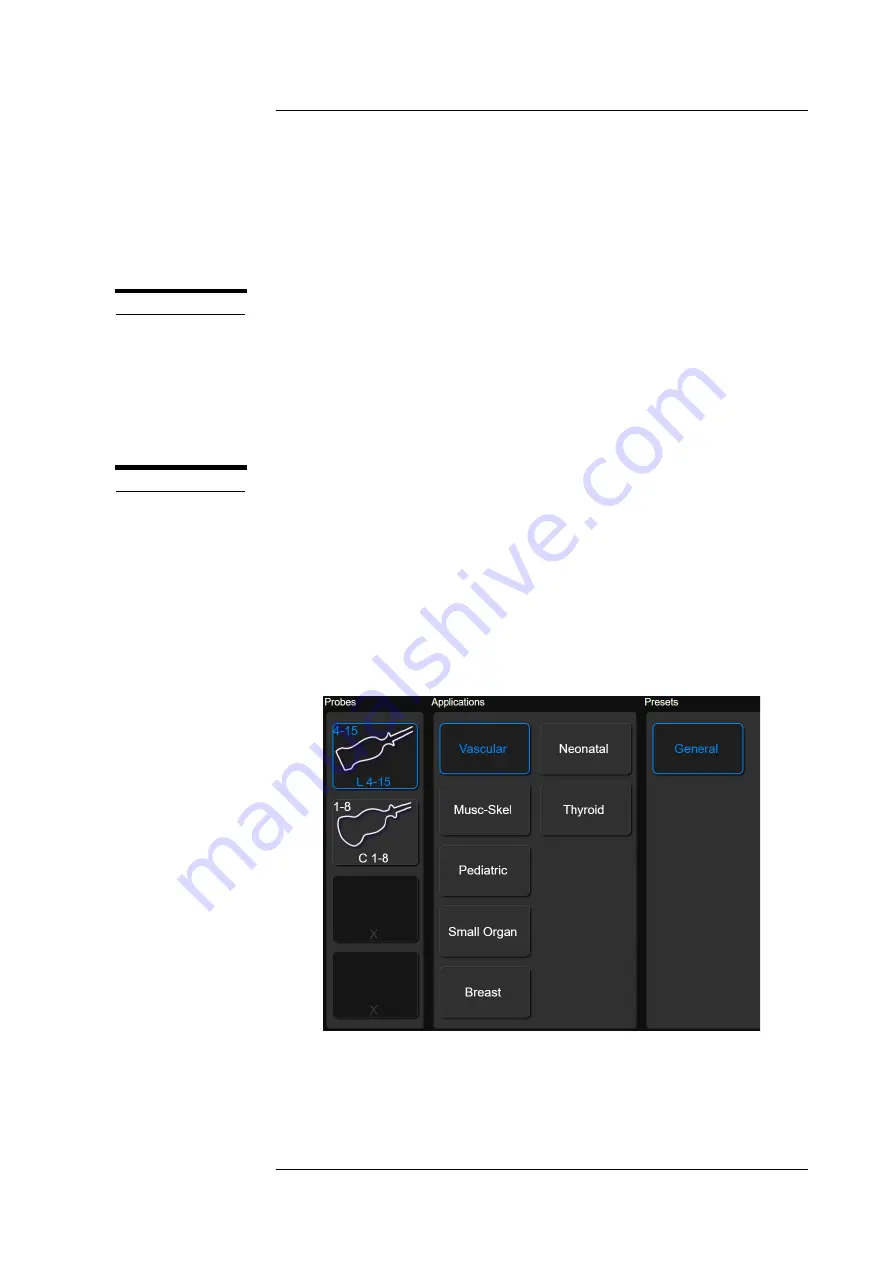
On the left side of the touchscreen all connected probes are displayed.
Tap the probe image to select it.
The blue rounded image indicates the active probe.
Fig. 7-3: Probe, Application, Preset touchscreen
At any time during the exam, a different probe can be selected pressing
PROBE
.
Содержание MyLabOmega
Страница 1: ...Rev 04 July 2019 MyLabOmega GETTING STARTED 350035100...
Страница 2: ...MyLab G E T T I N G S T A R T E D ii...
Страница 5: ...MyLab G E T T I N G S T A R T E D v GETTING STARTED EC Declaration of Conformity...
Страница 6: ...MyLab G E T T I N G S T A R T E D vi RED Declaration of Conformity...
Страница 7: ...MyLab G E T T I N G S T A R T E D vii GETTING STARTED...
Страница 8: ...MyLab G E T T I N G S T A R T E D viii...
Страница 14: ...I N D E X MyLab G E T T I N G S T A R T E D xiv...
Страница 26: ...I N T R O D U C T I O N MyLab G E T T I N G S T A R T E D 1 12...
Страница 34: ...A D D I T I O N A L I N F O R M A T I O N O N S A F E T Y MyLab G E T T I N G S T A R T E D 2 8...
Страница 52: ...S Y S T E M O V E R V I E W MyLab G E T T I N G S T A R T E D 3 18...
Страница 62: ...P R E P A R I N G T H E S Y S T E M MyLab G E T T I N G S T A R T E D 4 10...


