


6
Open/close programming
Gate-moving Logic
(A) In gate-opening phase: the gates stop if the transmitter/push button/key selector is activated, and close when
you press the button again.
(B) In gate-closing phase: the gates stop if the transmitter/push button/key selector is activated, and open when you
press the button again.
(C) In gate-opening or gate-closing phase: For safety purpose, the gates stop if encountering obstacles.
Step1:
Set the Function F2-1 for double leaf gate learn; or set the Function F2-2 for single leaf gate learning.
Step2:
Press and hold the “UP+SET+DOWN” for 3 seconds. LED show “LEA D-G”.
Step3:
Press A button on the transmitter for double leaf gate system learning or B button for single gate.
In system learning mode, the gates will proceed with the following procedures:
$'RXEOH/HDYH*DWH'*0&ORVHĺ0&ORVHĺ02SHQĺ02SHQĺ0&ORVHĺ0&ORVH
%6LQJOH/HDI*DWH6*0&ORVHĺ02SHQĺ0&ORVH
Advise:
If change the configuration of F2, you should program the system learning again.
The completion of system learning:
(A) For Double leaf gate (D-G) installation: Show RUN on LED display
(B) For Single leaf gate (S-G) installation: Show RUN on LED display.
Notes:
(A) System learning fails and needs to be learned again when an unpredictable interruption occurs.
In this case, please make sure the Function F3 is in F3-1.
(B) Once the system learning is completed, there is no need to proceed with the learning process again when
there is a power failure.
(C) M2 opens 3 seconds after M1 opens and M1 closes 3 seconds after M2 closes.
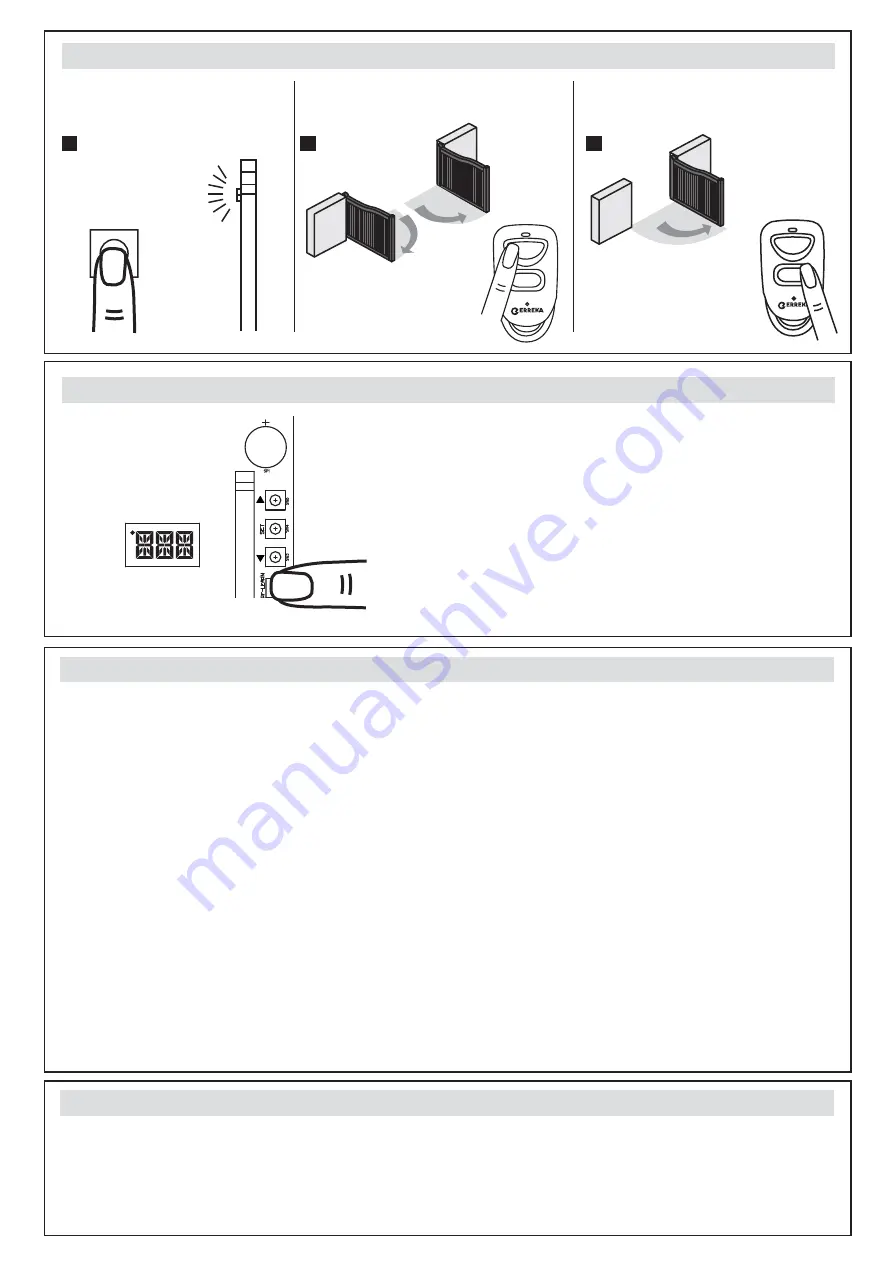
Radio code programming
Radio code deleting
1
2
3
Press and hold the RF-Learn button on the PCB for 10 seconds until
blue LED off.
Blue LED ON
1 s
5 s
5 s
RF-Learn
A
B
A
B
Press and hold the RF-Learn for 1
second, the blue LED on the RF board
will be ON.
Press A button for 5 seconds for double leaf
gate Radio code programming installation.
Press B button for 5 seconds for single-gate
installation.
10 s
LED Display


