


SR2 Technical Manual EN
Indice : C
25/03/2019
Firmware v2.9
22 / 31
ERECA SAS - 75 rue d'Orgemont, 95210 St Gratien France
T : +33 1 39 89 76 23 W : www.ereca.fr
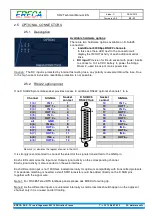
3.1.2 Web interface Organisation
There are three main pages on the web interface accessible from the top navigation bar:
Provides a live overview of the network and allow configuration of all units available in the
network and their respective input/outputs ports.
Allows to route and distribute signals across the network.
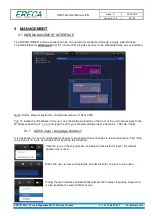
Allows to modify administrator settings / firmware update.
Note: On older firmware revisions a status page was indicating local machine settings and optical power
received locally. On, Firmware’s > 2.9 status info’s have been much enhanced and is now integrated in the
graph page. Rest of functions are moved to the configuration pages.
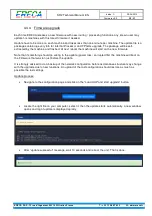
Provides information on the status of the machine, the optical power of the active trunks and
allows to proceed to a firmware upgrade.
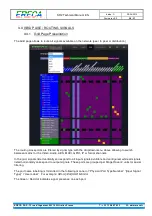
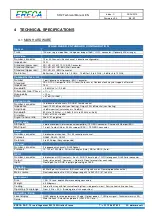
3.2 GRAPH PAGE ESSENTIALS
The landing page of the web interface is “Graph” which
presents a live overview of the network and how units are
physically interconnected.
The page auto-populates in real-time when a unit or trunk is
connected/disconnected.
The list of the nodes (Stage racer 2 frames) composing the
network units also appear on the left side presented in a tree
view manner.
Redundant links between nodes are represented as Green while non-redundant links appear in Orange.
Additionally, A green landing icon in the tree view list indicates the unit on which user is connected to
(physical admin connexion).
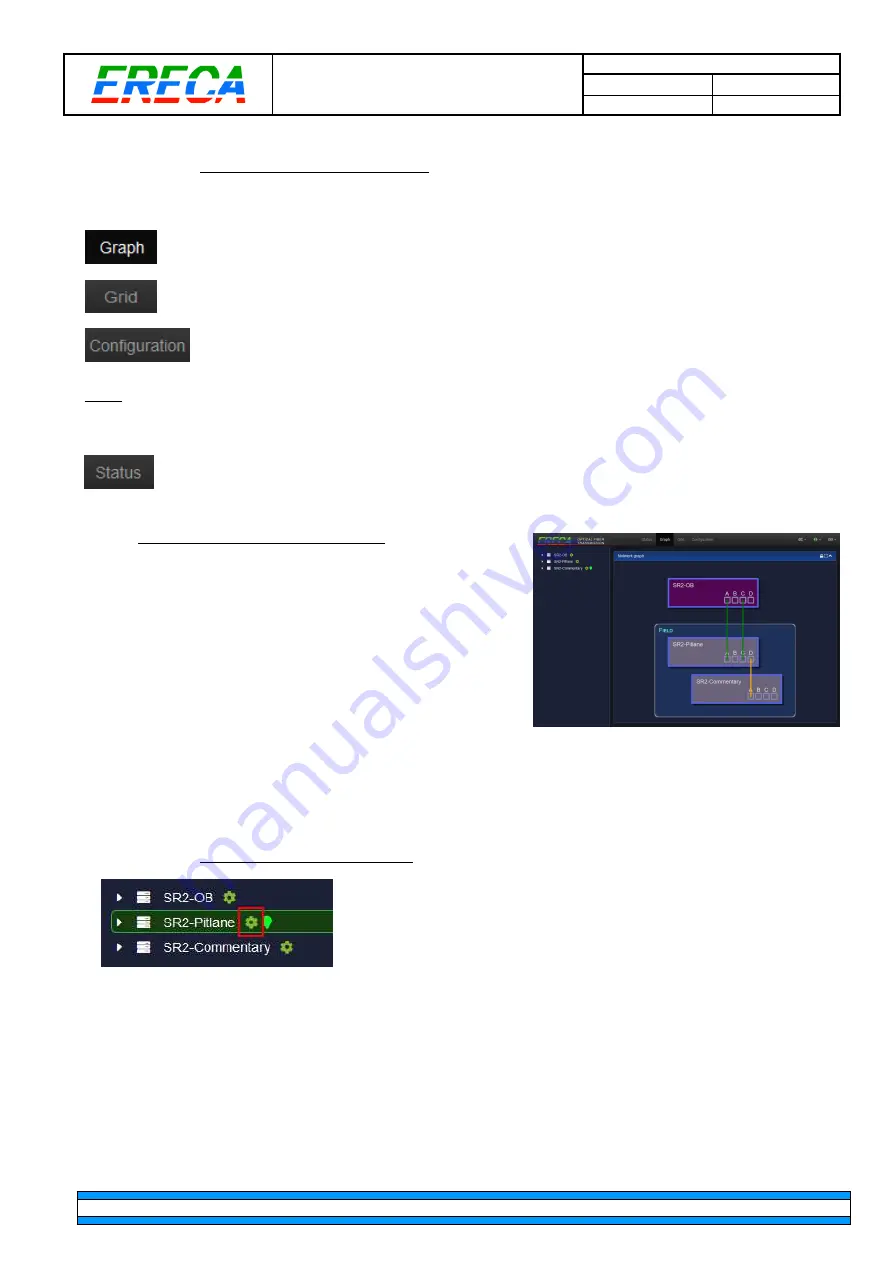
3.2.1 Configure a specific node
Click on the green wheel icon next to the unit name.
The machine configuration window pops-up allowing to:
- Name the machine so it can be identified throughout the network.
Nb: the name is also visible in the front
LCD of the unit
- Group multiple machines together (all units with the same group name will be visually circled together in
the graph)
- Assign a colour for each unit (same color will be reused on the Grid view.
- Set the IP address, netmask, gateway of the Admin port.


