❏
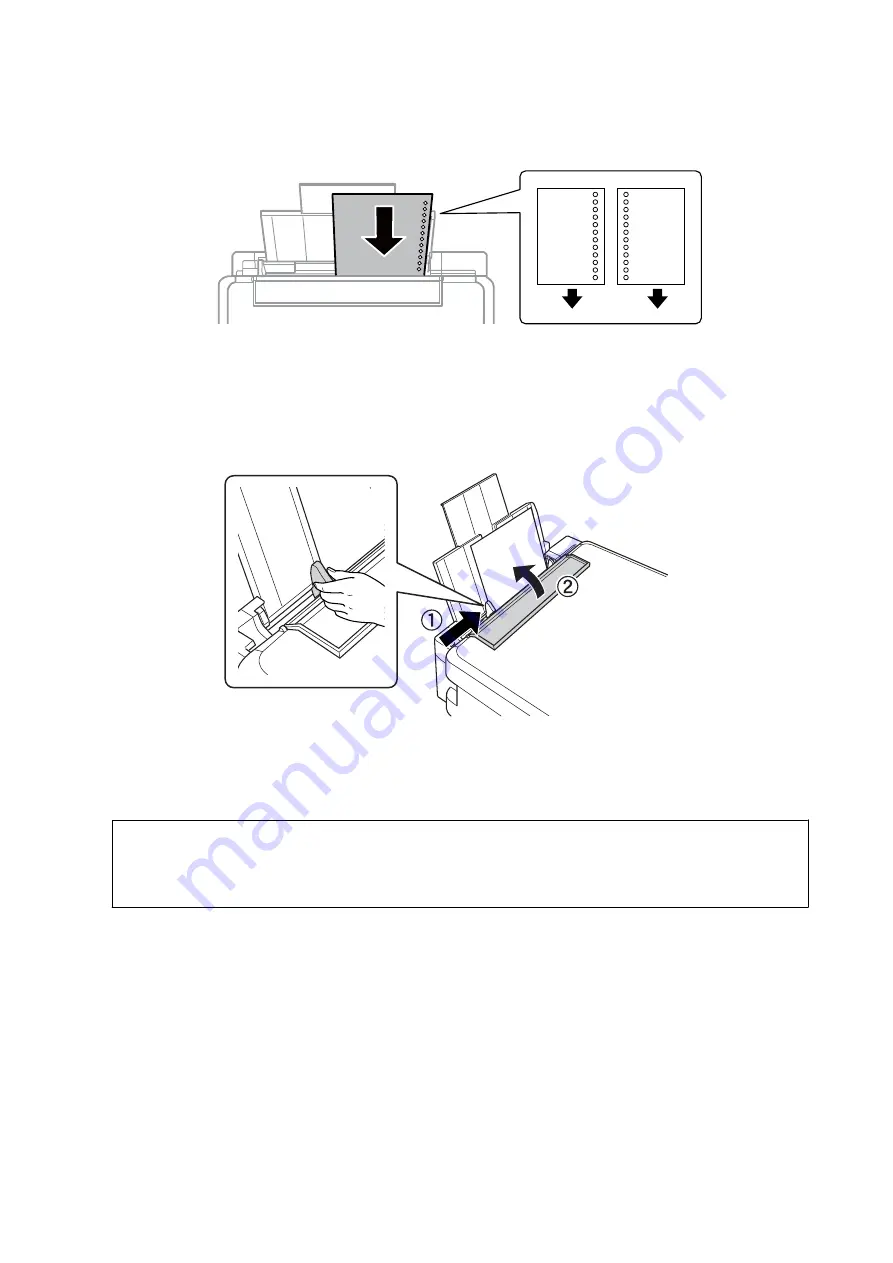
Pre-punched paper
Note:
❏
Load a single sheet of paper without binding holes at the top or the bottom.
❏
Adjust the print position of your file to avoid printing over the holes.
4.
Slide the edge guide to the edge of the paper, and then close the feeder guard.
5.
Check the paper size and paper type settings displayed on the control panel. To use the settings, select
Confirm
using the
u
or
d
button, press the OK button, and then go to step 7. To change the settings, select
Change
using the
u
or
d
button, press the OK button, and then go to the next step.
c
Important:
The paper setting screen is not displayed if the paper is not loaded along the right side of the rear paper feed. An
error occurs when you start printing.
Note:
The paper setting screen is not displayed if you have disabled
Paper Configuration
in the following menus. Go to step 7.
Setup
>
Printer Setup
>
Paper Source Settings
>
Paper Configuration
6.
On the paper size setting screen, select the paper size using the
l
or
r
button, and then press the OK button.
On the paper type setting screen, select the paper type in the same way, and then press the OK button.
Confirm the settings, and then press the OK button.
Note:
You can also display the paper size and paper type settings screen by selecting the following menus.
Setup
>
Printer Setup
>
Paper Source Settings
>
Paper Setup
User's Guide
Loading Paper
23


