6.
Select
On
as the
Permit temporary black printing
setting.
7.
Click
OK
.
8.
Close the utility window.
9.
Load plain paper or an envelope in your product.
10. Access the print settings in your print application.
11. Select
Print Settings
from the pop-up menu.
12. Select
Plain Paper/Bright White Paper
or
Envelope
as the paper type setting.
13. Select the
Grayscale
option.
14. Click
to print your document.
Parent topic:
Printing with Black Ink and Expended Color Cartridges
Related tasks
Selecting Basic Print Settings - OS X
Cancelling Printing Using a Product Button
Conserving Low Black Ink with Windows
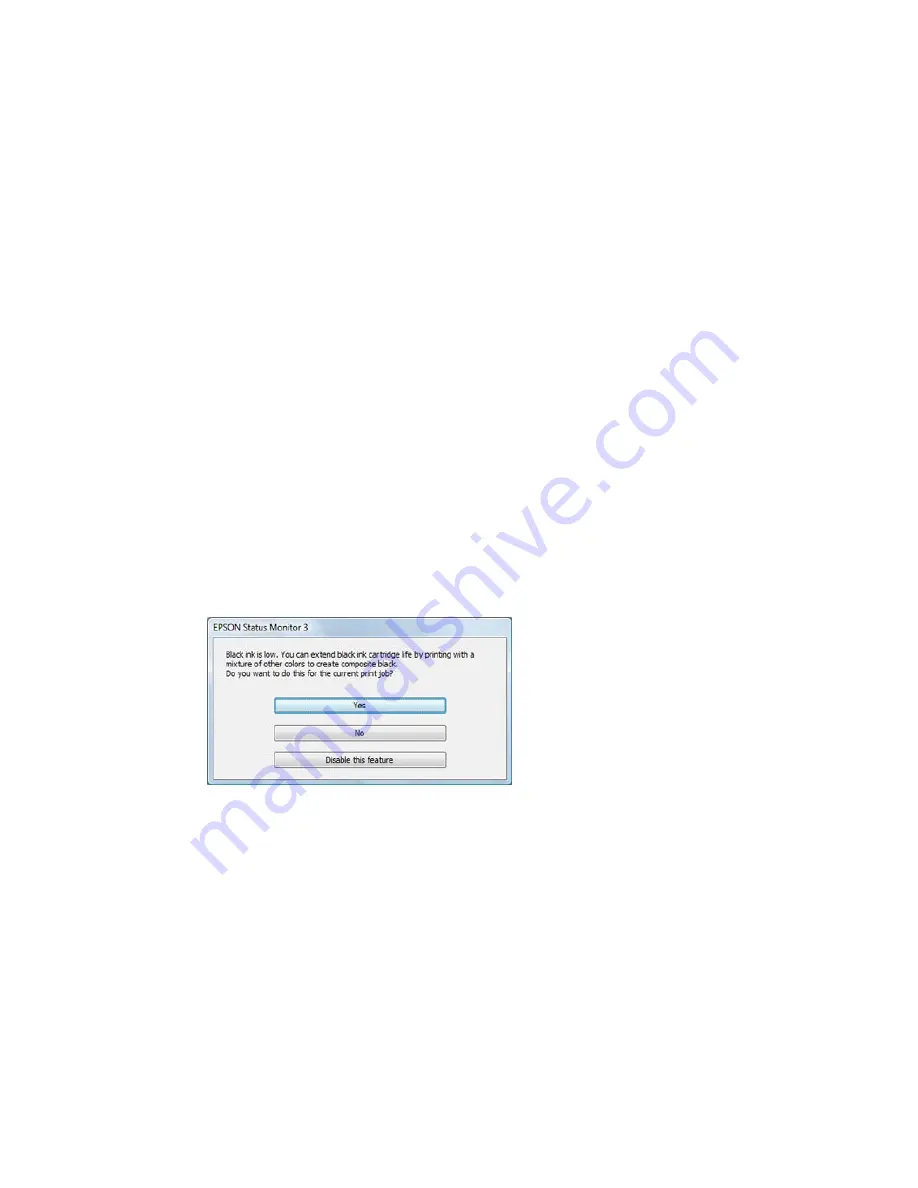
The following window appears when black ink runs low and there is more color ink.
Note:
The window appears only when you have selected
Plain Paper/Bright White Paper
as the paper
type setting, and depends on other selected print settings. To use this feature, Epson Status Monitor
must be enabled.
182
Содержание XP-320
Страница 1: ...XP 320 User s Guide ...
Страница 2: ......
Страница 11: ...Copyright Attribution 256 11 ...
Страница 12: ......
Страница 13: ...XP 320 User s Guide Welcome to the XP 320 User s Guide For a printable PDF copy of this guide click here 13 ...
Страница 99: ...You see this window 99 ...
Страница 116: ...You see this window 116 ...


