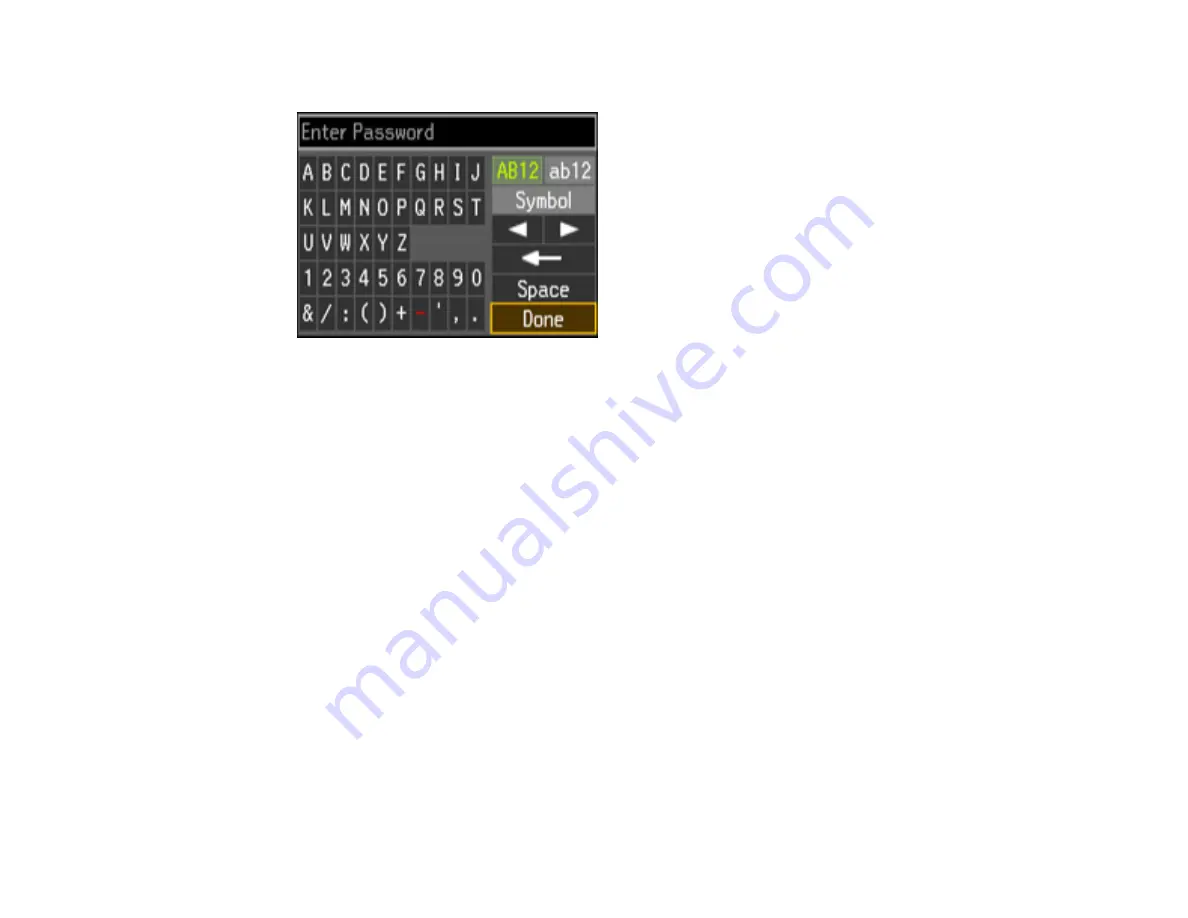
4.
Enter your wireless password (or network name and then password).
• Press the arrow buttons to highlight a character or a function button displayed on the keypad.
Then press the
OK
button to select it.
• To change the case of letters, select
AB12
(uppercase),
ab12
(lowercase) and press the
OK
button.
• To select a symbol, select
Symbol
and press the
OK
button. Then highlight a symbol and press
the
OK
button to select it.
• To enter a space, select
Space
and press the
OK
button.
• To delete characters, select the back arrow and press the
OK
button.
• When you finish entering characters, select
Done
and press the
OK
button.
5.
Press the
OK
button to confirm Wi-Fi settings.
6.
Select
Yes
if you want to print a network status report, or
No
if not, and press the
OK
button.
The WiFi light should now be on, but not flashing.
Note:
If the WiFi light is off, you may have selected the wrong network name or entered the
password incorrectly. Repeat these steps to try again.
Related topics
31
Содержание WorkForce WF-2540
Страница 1: ...WF 2540 User s Guide ...
Страница 2: ......
Страница 12: ......
Страница 13: ...WF 2540 User s Guide Welcome to the WF 2540 User s Guide 13 ...
Страница 19: ...1 ADF cover 2 Automatic Document Feeder ADF 3 ADF edge guide 4 ADF input tray 5 ADF output tray 19 ...
Страница 45: ...Parent topic Loading Paper Related references Paper Type Settings Copying 45 ...
Страница 50: ...Related topics Copying Scanning 50 ...
Страница 102: ... Normal preview Click the Auto Locate icon to create a marquee dotted line on the preview image 102 ...
Страница 108: ...108 ...
Страница 134: ...1 Telephone wall jack 2 DSL filter 3 DSL modem ISDN connection one phone number 134 ...
Страница 135: ...1 ISDN wall jack 2 Terminal adapter or ISDN router ISDN connection two phone numbers 135 ...
Страница 136: ...1 ISDN wall jack 2 Terminal adapter or ISDN router 136 ...
Страница 163: ...4 Select Speed Dial Group Dial List You see this window 163 ...
Страница 202: ...Parent topic Replacing Ink Cartridges 202 ...
Страница 207: ...4 Click Print 5 Check the printed pattern to see if there are gaps in the lines Print head is clean 207 ...
Страница 236: ...4 Remove any jammed paper or torn pieces 236 ...
Страница 239: ...1 ADF cover 2 Paper feeder 5 Remove any jammed paper or torn pieces 239 ...


