


11. Select
Print Settings
from the pop-up menu.
12. Select
Plain Paper/Bright White Paper
or
Envelope
as the paper type setting.
13. Select the
Grayscale
option.
14. Click
to print your document.
Parent topic:
Printing With Black Ink and Expended Color Cartridges
Related tasks
Selecting Basic Print Settings - Mac OS X
Cancelling Printing Using a Product Button
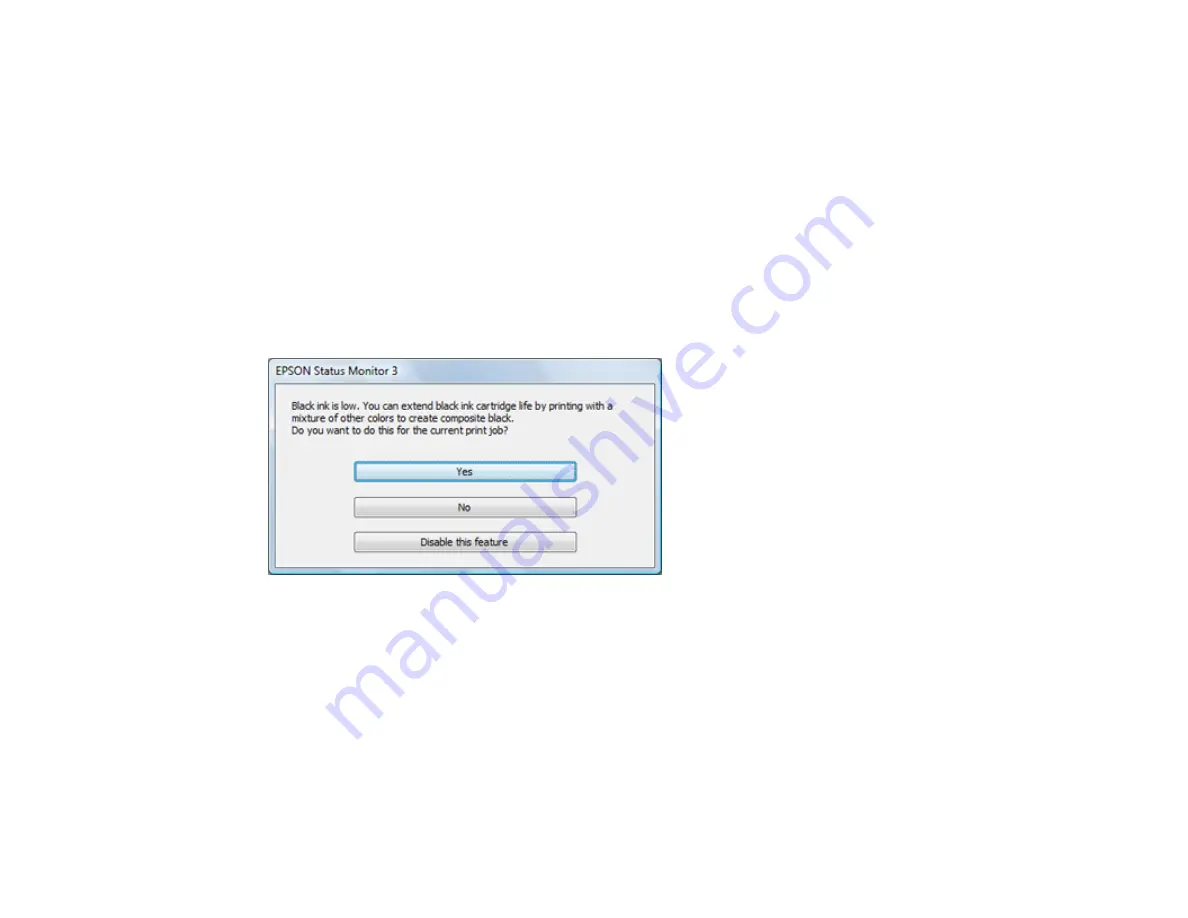
Conserving Low Black Ink with Windows
The following window appears when black ink runs low and there is more color ink.
Note:
The window appears only when you have selected
Plain Paper/Bright White Paper
as the paper
type setting, and depends on other selected print settings. To use this feature, Epson Status Monitor
must be enabled.
• Click
Yes
to use a mixture of color inks to create black, or
No
to continue using the remaining black ink
for the document you are printing.
• Click
Disable this feature
to continue using the remaining black ink.
Note:
If you disable this feature, it remains disabled until you reinstall the black ink cartridge.
201
Содержание WorkForce WF-2540
Страница 1: ...WF 2540 User s Guide ...
Страница 2: ......
Страница 12: ......
Страница 13: ...WF 2540 User s Guide Welcome to the WF 2540 User s Guide 13 ...
Страница 19: ...1 ADF cover 2 Automatic Document Feeder ADF 3 ADF edge guide 4 ADF input tray 5 ADF output tray 19 ...
Страница 45: ...Parent topic Loading Paper Related references Paper Type Settings Copying 45 ...
Страница 50: ...Related topics Copying Scanning 50 ...
Страница 102: ... Normal preview Click the Auto Locate icon to create a marquee dotted line on the preview image 102 ...
Страница 108: ...108 ...
Страница 134: ...1 Telephone wall jack 2 DSL filter 3 DSL modem ISDN connection one phone number 134 ...
Страница 135: ...1 ISDN wall jack 2 Terminal adapter or ISDN router ISDN connection two phone numbers 135 ...
Страница 136: ...1 ISDN wall jack 2 Terminal adapter or ISDN router 136 ...
Страница 163: ...4 Select Speed Dial Group Dial List You see this window 163 ...
Страница 202: ...Parent topic Replacing Ink Cartridges 202 ...
Страница 207: ...4 Click Print 5 Check the printed pattern to see if there are gaps in the lines Print head is clean 207 ...
Страница 236: ...4 Remove any jammed paper or torn pieces 236 ...
Страница 239: ...1 ADF cover 2 Paper feeder 5 Remove any jammed paper or torn pieces 239 ...


