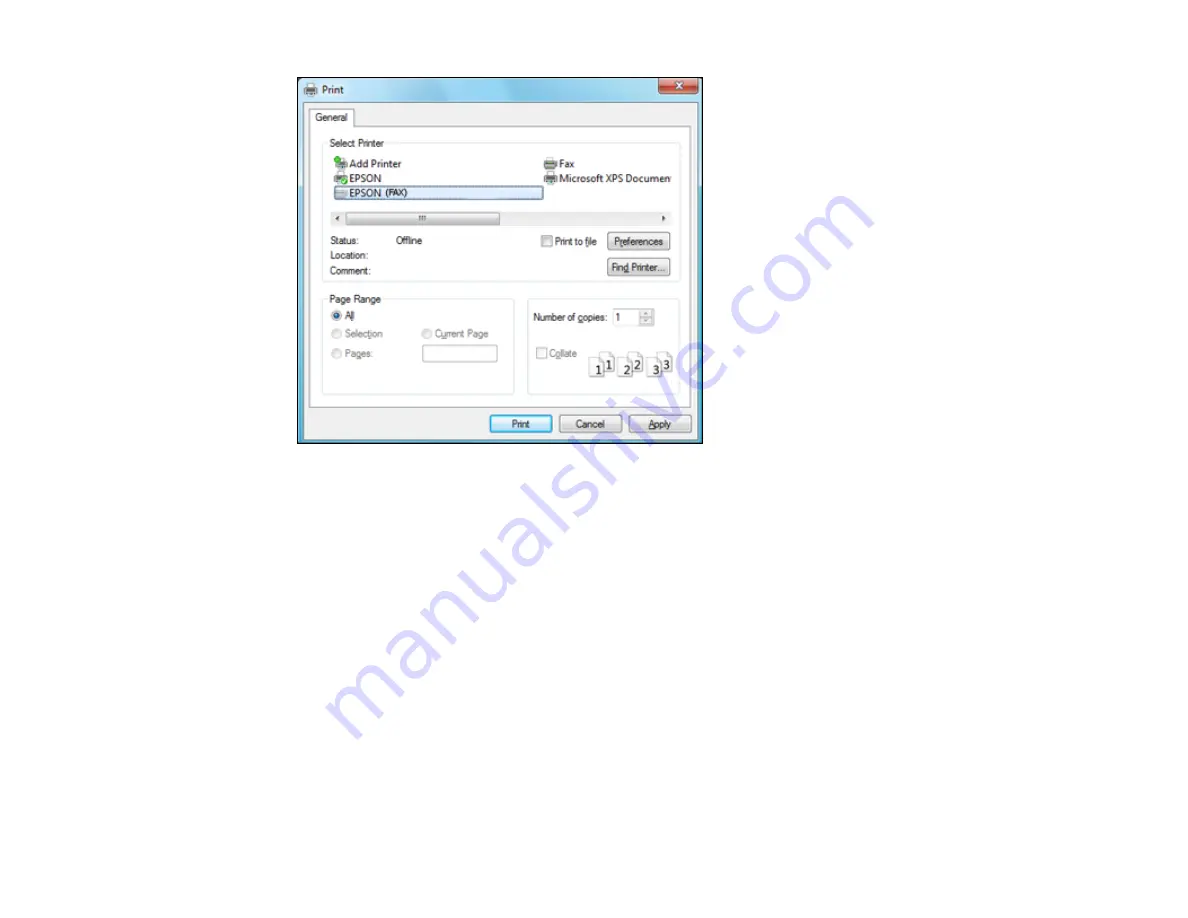
2.
Select your product with the
FAX
option as the printer.
3.
To change the Paper Size, Orientation, Color, Image Quality, or Character Density settings, click the
Preferences
or
Properties
button.
Note:
If you see a
Setup
,
Printer
, or
Options
button, click it. Then click
Preferences
or
Properties
on the next screen. For more information about selecting fax print settings, click
Help.
4.
Select the Page Range as necessary. (Leave the Number of copies set to
1
.)
5.
Click
Print.
If you’re faxing for the first time, you see a window like this one:
174
Содержание WorkForce WF-2540
Страница 1: ...WF 2540 User s Guide ...
Страница 2: ......
Страница 12: ......
Страница 13: ...WF 2540 User s Guide Welcome to the WF 2540 User s Guide 13 ...
Страница 19: ...1 ADF cover 2 Automatic Document Feeder ADF 3 ADF edge guide 4 ADF input tray 5 ADF output tray 19 ...
Страница 45: ...Parent topic Loading Paper Related references Paper Type Settings Copying 45 ...
Страница 50: ...Related topics Copying Scanning 50 ...
Страница 102: ... Normal preview Click the Auto Locate icon to create a marquee dotted line on the preview image 102 ...
Страница 108: ...108 ...
Страница 134: ...1 Telephone wall jack 2 DSL filter 3 DSL modem ISDN connection one phone number 134 ...
Страница 135: ...1 ISDN wall jack 2 Terminal adapter or ISDN router ISDN connection two phone numbers 135 ...
Страница 136: ...1 ISDN wall jack 2 Terminal adapter or ISDN router 136 ...
Страница 163: ...4 Select Speed Dial Group Dial List You see this window 163 ...
Страница 202: ...Parent topic Replacing Ink Cartridges 202 ...
Страница 207: ...4 Click Print 5 Check the printed pattern to see if there are gaps in the lines Print head is clean 207 ...
Страница 236: ...4 Remove any jammed paper or torn pieces 236 ...
Страница 239: ...1 ADF cover 2 Paper feeder 5 Remove any jammed paper or torn pieces 239 ...


