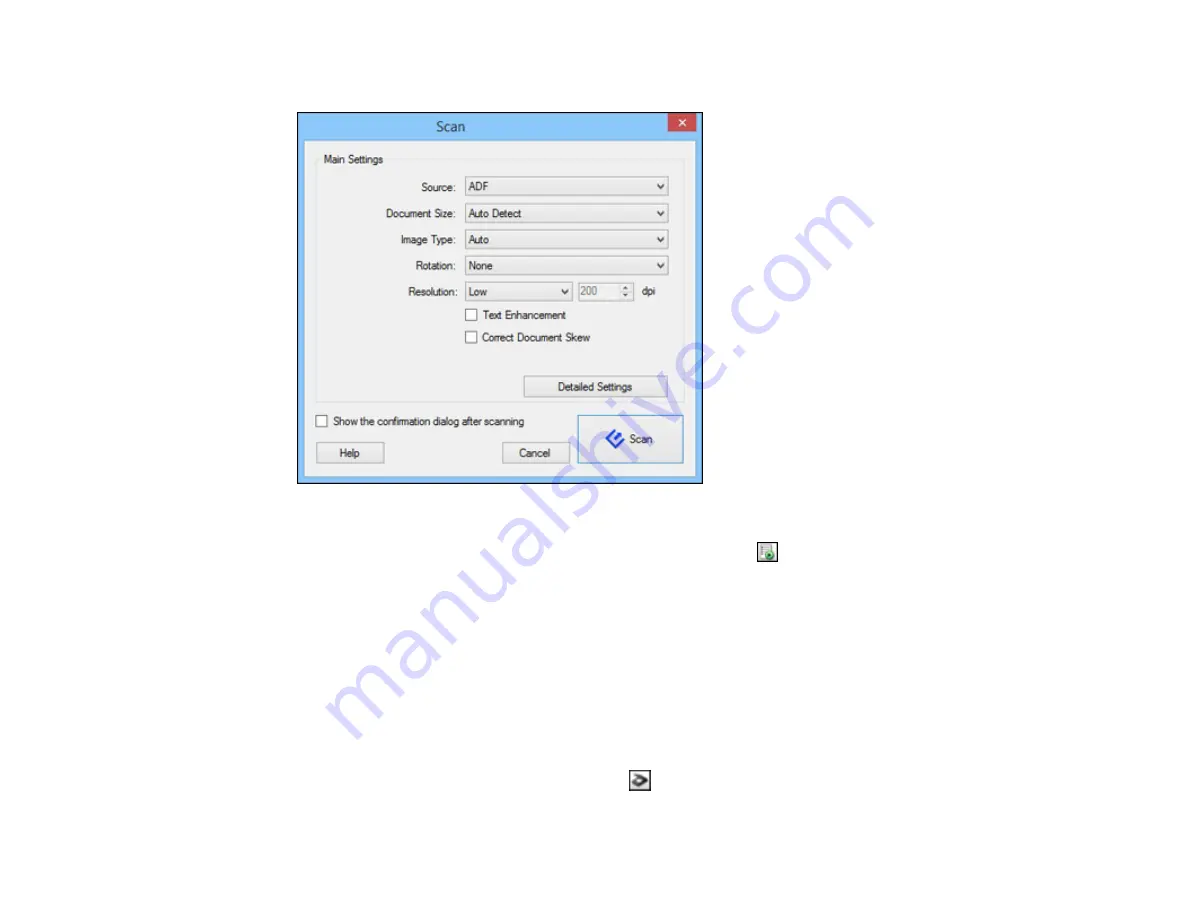
You see a window like this:
Note:
If you want to use a scan job that you created instead, select it from the Job list in the
Document Capture Pro or Document Capture window, click the
Start Job button, and skip the
rest of these steps.
3.
Select any displayed scan settings you want to use.
Note:
See the Help information in Document Capture Pro or Document Capture for details.
4.
If you want to select detailed scan settings, do one of the following:
•
Windows
: Click
Detailed Settings
. Select any displayed scan settings you want to use and click
OK
.
•
OS X
: Close the Scan window. Open the
Scan
menu at the top of the screen and select
Displays
the EPSON Scan Setup Screen
. Click the
Scan icon. Select any displayed scan settings you
want to use and click
OK
.
39
Содержание WorkForce DS-40
Страница 1: ...DS 40 User s Guide ...
Страница 2: ......
Страница 6: ......
Страница 11: ...Scanner Buttons and Lights Buttons 1 The power button 2 The start button 11 ...
Страница 14: ...1 Slide off the battery cover 2 Insert the batteries with the and ends facing as shown 14 ...
Страница 22: ...Parent topic Loading Originals 22 ...
Страница 38: ...You see a window like this 2 Click the Scan icon 38 ...
Страница 58: ...3 Place the scanner and USB cable in the provided pouch Parent topic Cleaning and Transporting Your Scanner 58 ...


