1.
Load a few sheets of plain paper in the product.
2.
Right-click the product icon in the Windows taskbar.
3.
Select
Head Cleaning
.
4.
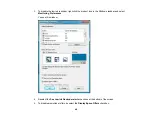
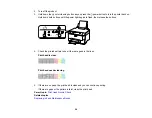
Select the cleaning cycle you want to run, based on the nozzle check pattern.
5.
Click
Start
to begin the cleaning cycle.
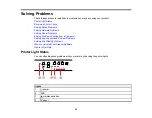
The light flashes throughout the cleaning cycle and stays on when the cleaning cycle is finished.
Caution:
Never turn off the product during a cleaning cycle or you may damage it.
6.
When the
power light stops flashing and remains on, you can check to see if the nozzles are
clean; click
Print Nozzle Check Pattern
and click
.
7.
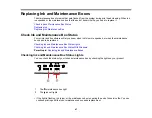
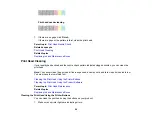
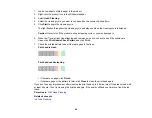
Check the printed pattern to see if there are gaps in the lines.
Print head is clean
Print head needs cleaning
• If there are no gaps, click
Finish
.
• If there are gaps or the pattern is faint, click
Clean
to clean the print head again.
If you don’t see any improvement after cleaning the print head up to 4 times, turn off the product and wait
at least 6 hours. Then try cleaning the print head again. If the quality still does not improve, flush the ink
tubes.
Parent topic:
Related concepts
58
Содержание WF-B4023
Страница 1: ...WF B4023 User s Guide ...
Страница 2: ......
Страница 7: ...WF B4023 User s Guide Welcome to the WF B4023 User s Guide 7 ...
Страница 17: ...4 Load a stack of paper printable side down in the cassette as shown 17 ...
Страница 21: ...2 Pull up the rear MP tray 3 Flip the feeder guard forward then slide the edge guides outward 21 ...
Страница 24: ...2 Pull up the rear MP tray 3 Flip the feeder guard forward then slide the edge guides outward 24 ...
Страница 32: ...8 Close the Printer Settings window Parent topic Setting the Paper Size for Each Source 32 ...
Страница 74: ...5 Carefully follow all paper loading instructions when you load new paper 6 Replace the paper cassette 74 ...


