30
3.
Select the name of your wireless network and press the
OK
button.
Note:
To enter the wireless network name manually, select
Other Networks
and press the
OK
button. Use the printer's buttons to enter your network name.
4.
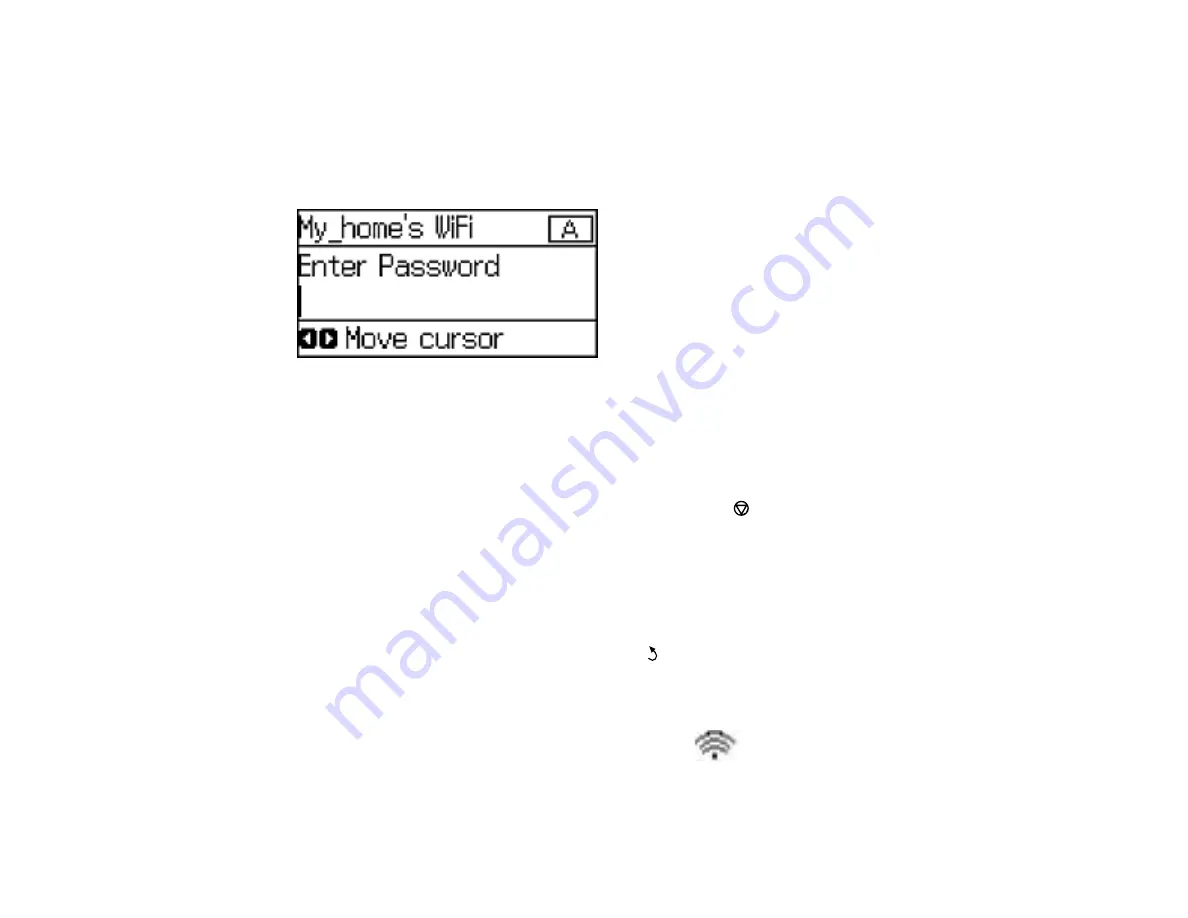
Enter your wireless password using the control panel buttons.
Note:
The network name and password are case sensitive. Be sure to correctly enter uppercase and
lowercase letters, and numeric or special characters.
• To enter letters or symbols, press the up or down arrow buttons to scroll through characters, and
press the right arrow button to select one.
• To enter numbers or change the case of letters, press the
Stop
button.
• To delete the previous character, press the left arrow button.
• To enter a space, press the right arrow button.
5.
Press the
OK
button when you’re finished entering your password.
6.
Confirm the displayed network settings and press the
OK
button to save them.
Note:
If you need to change a setting, press the
Back
button.
7.
If you want to print a network setup report, press the down arrow button, select
Print connection
report
, and press the
OK
button. (Otherwise, press the
OK
button.)
If the network connection is successful, the Wi-Fi icon (
) appears in the upper-right corner of
the LCD screen.
Parent topic:
Содержание WF-5190
Страница 1: ...WF 5190 User s Guide ...
Страница 2: ......
Страница 10: ......
Страница 11: ...11 WF 5190 User s Guide Welcome to the WF 5190 User s Guide For a printable PDF copy of this guide click here ...
Страница 51: ...51 Parent topic Enabling Epson Universal Print Driver PCL or PostScript Printing ...
Страница 190: ...190 2 Press the buttons on the sides of the rear cover and remove it 3 Carefully remove any jammed paper ...
Страница 232: ...232 Parent topic Technical Specifications ...


