


123
Related tasks
Changing the LCD Screen Language
Selecting the Date and Time
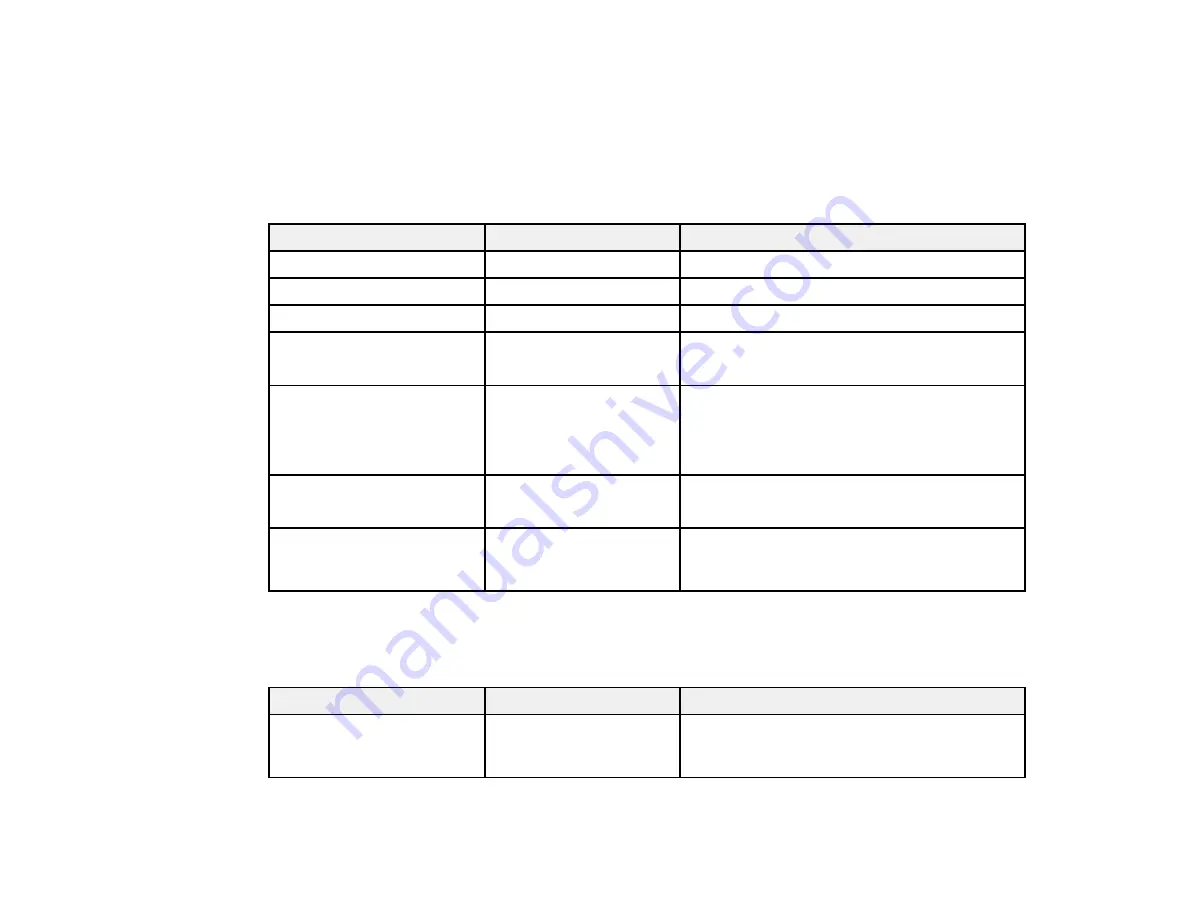
Printer Settings Menu
Select
Settings
>
General Settings
>
Printer Settings
to customize paper and printing options.
Setting
Options
Description
Paper Source Settings
Various options
See the
Paper Source Settings
table below
Custom Paper Setting
1 to 10
See the
Custom Paper Setting
table below
Universal Print Settings
*
Various options
See the
Universal Print Settings
table below
Thick Paper
Off
On
Select
On
to widen the platen gap to prevent
scuffing if you are printing on thick paper
Bidrectional
On
Off
Select
On
if you want the print head to move
left and right during printing
Select
Off
to decrease misalignment of ruled
lines, but slow down printing
PC Connection via USB
Enable
Disable
Select
Enable
to allow access to the printer
from a USB-connected computer
USB I/F Timeout Setting
0 seconds, 5 to 300
seconds
Specifies the length of time before ending
communication from a USB-connected
computer
*The
Universal Print Settings
menu can be locked by an administrator. If you cannot access or change
these settings, contact your administrator for assistance.
Paper Source Settings
Setting
Options
Description
Error Notice
Paper Size Notice
Paper Type Notice
Select
On
to display an error message when
the output size or paper type settings are
different between the driver and printer
Содержание SureColor F571
Страница 1: ...Epson SureColor F571 User s Guide ...
Страница 2: ......
Страница 22: ...22 Make sure you have all of these items for assembly ...
Страница 33: ...33 Parent topic Introduction to Your Printer ...
Страница 64: ...64 4 Tilt back the auto sheet feeder then pull up and tilt back the paper support extensions all the way ...
Страница 67: ...67 1 Slide out the edge guides and remove the paper from the auto sheet feeder ...
Страница 82: ...82 You can also place the same print data multiple times as shown here ...
Страница 83: ...83 You can place print data in different sizes and orientations to maximize media usage as shown here ...
Страница 165: ...165 2 Open the ink tank cover 3 Open all of the ink tank caps 4 Remove the transportation cap ...
Страница 166: ...166 5 Flip the transportation cap so the round ends face down ...
Страница 167: ...167 6 Insert the round ends of the transportation cap as shown ...
Страница 171: ...171 4 Remove the transportation cap 5 Flip the transportation cap so the square ends face down ...
Страница 172: ...172 6 Insert the square ends of the transportation cap as shown ...


