


20
Copying
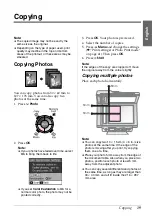
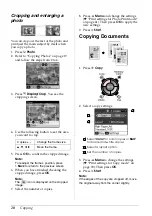
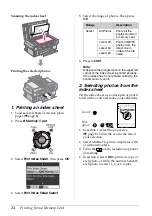
Cropping and enlarging a
photo
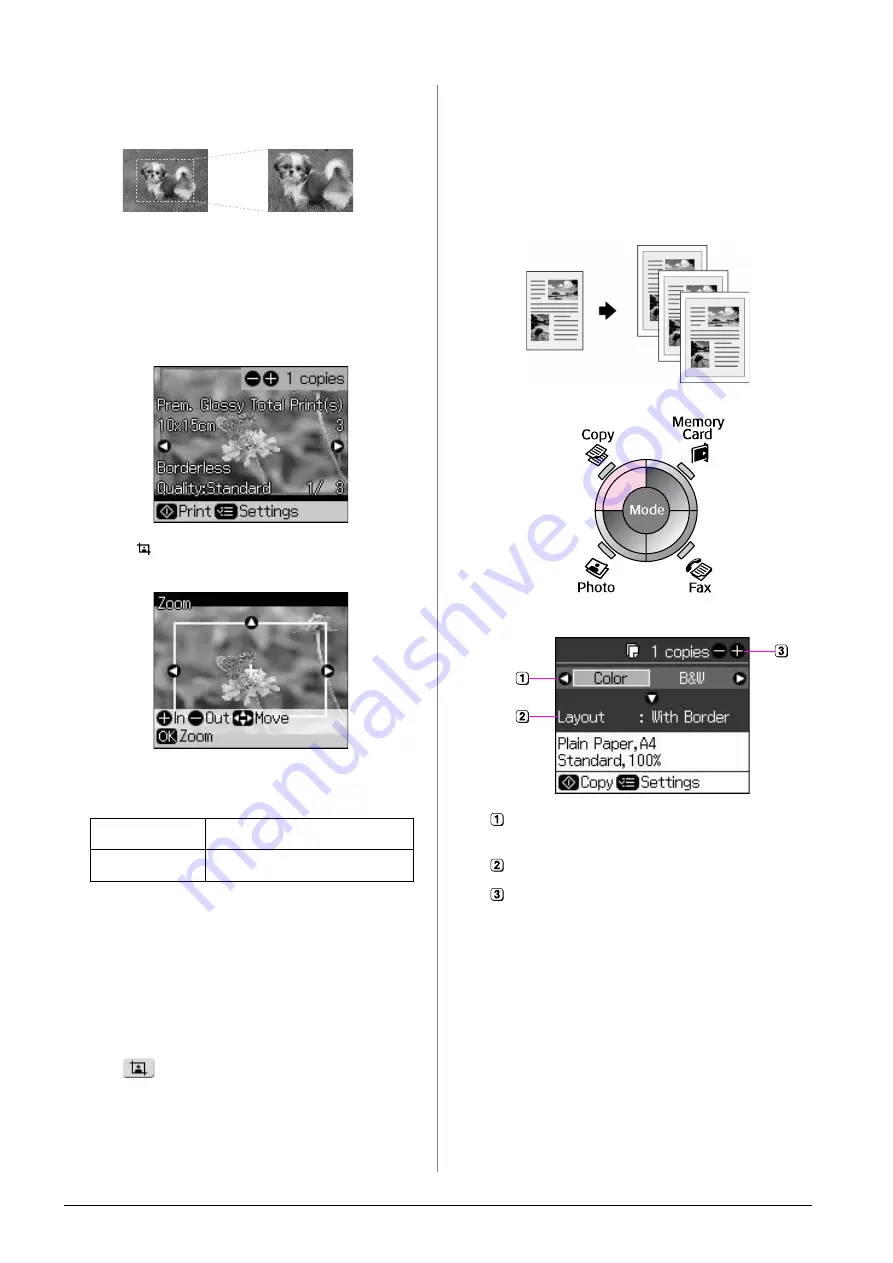
You can crop out the rest of the photo and
print just the main subject by itself when
you copy a photo.
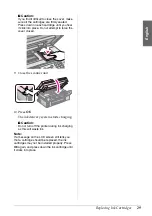
1. Press
J
Photo
.
2. Refer to “Copying Photos” on page 19
and follow the steps from 2 to 4.
3. Press
Display/Crop
. You see the
cropping screen.
4. Use the following button to set the area
you want to crop.
5. Press
OK
to confirm the cropped image.
Note:
To readjust the frame’s position, press
y
Back
to return to the previous screen.
6. When you have finished checking the
cropped image, press
OK
.
Note:
The
icon is displayed on the cropped
image.
7. Select the number of copies.
8. Press
x
Menu
and change the settings
(
&
“Print settings for Photo Print mode”
OK
to apply the
new settings.
9. Press
x
Start
.
Copying Documents
1. Press
r
Copy
.
2. Select a copy settings.
3. Press
x
Menu
to change the settings
(
&
“Print settings for Copy mode” on
OK
.
4. Press
x
Start
.
Note:
If the edges of the copy are cropped off, move
the original away from the corner slightly.
Copies
+
,
-
Change the frame size.
u
,
d
,
l
,
r
Move the frame.
Select
Color
for color copies or
B&W
for black-and-white copies.
Select a layout option.
Set the number of copies.


