12
Faxing a Photo or Document
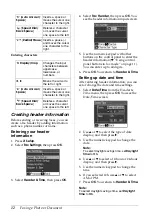
Entering characters
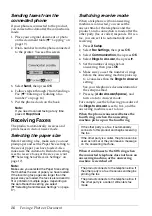
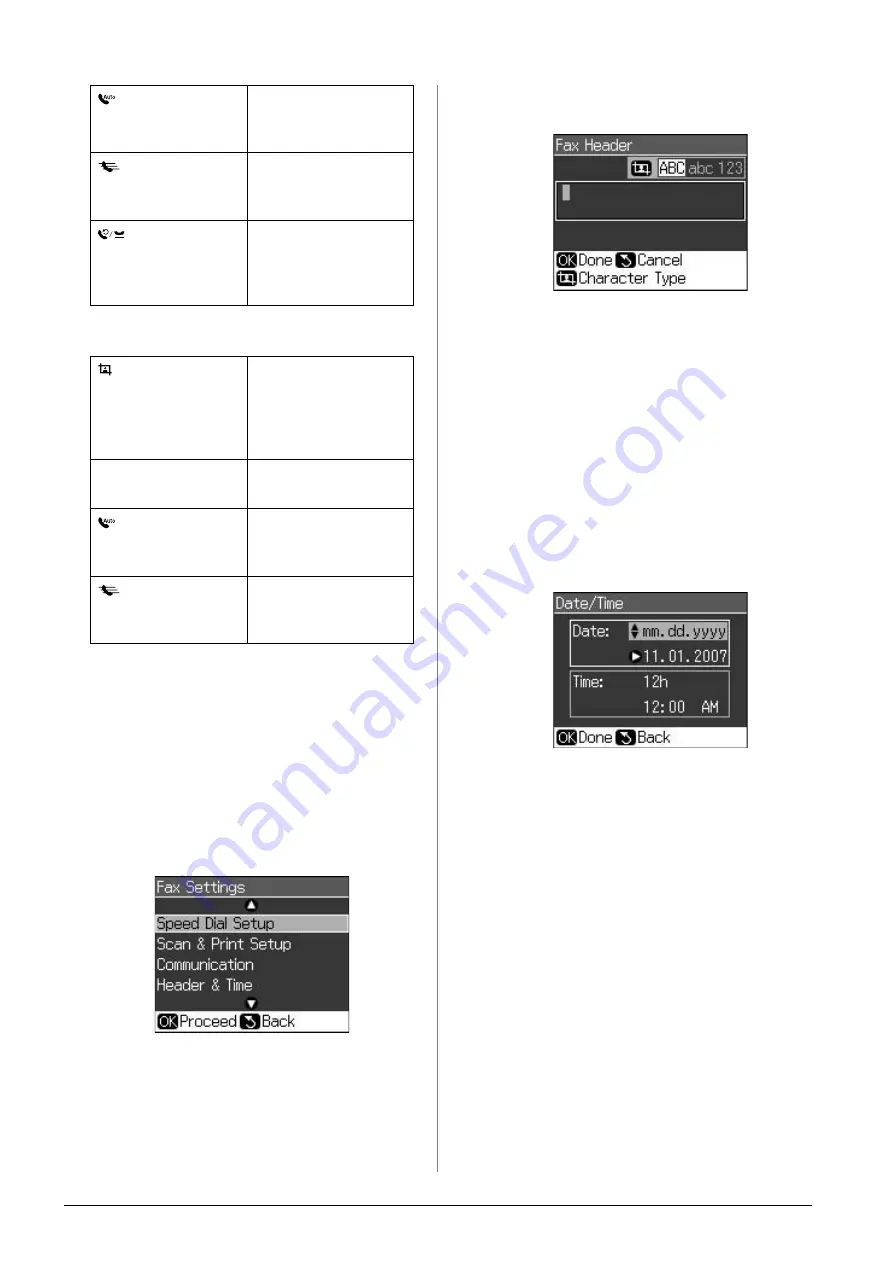
Creating header information
Before sending or receiving faxes, you can
create a fax header by adding information
such as a phone number or name.
Entering your header
information
1. Press
F
Setup
.
2. Select
Fax Settings
, then press
OK
.
3. Select
Header & Time
, then press
OK
.
4. Select
Fax Header
, then press
OK
. You
see the header information input screen.
5. Use the numeric keypad with other
buttons on the control panel to enter the
header information (
&
panel buttons in fax mode” on page 11).
You can enter up to 40 digits.
6. Press
OK
. You return to
Header & Time
.
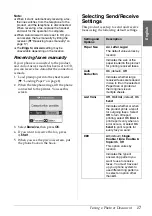
Setting up date and time
After entering header information, you can
set or change the date and time settings.
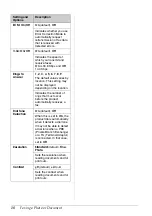
1. Select
Date/Time
from the Header &
Time menu, then press
OK
. You see the
Date/Time screen.
2. Use
u
or
d
to select the type of date
display, and then press
r
.
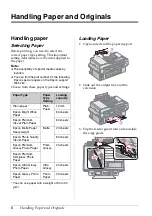
3. Use the numeric keypad to change the
date.
Note:
To select daylight savings time, set
Daylight
Time
to
On
.
4. Use
u
or
d
to select a 12-hour or 24-hour
display, and then press
r
.
5. Use the numeric keypad to change the
time.
6. If you selected 12h, use
u
or
d
to select
AM or PM.
7. Press
OK
. You return to
Header & Time
.
Note:
To select daylight savings time, set
Daylight
Time
to
On
.
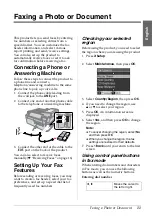
[
Auto Answer/
Space
]
Inserts a space or
moves the cursor one
character to the right.
[
Speed Dial/
Back Space
]
Deletes a character
or moves the cursor
one space to the left.
[
Redial/Pause
] Inserts a pause (-)
and moves the cursor
one character to the
right.
Display/Crop
Changes the input
characters between
uppercase,
lowercase, or
numbers.
l
,
r
Moves the cursor to
the left or right.
[
Auto Answer/
Space
]
Inserts a space or
moves the cursor one
character to the right.
[
Speed Dial/
Back Space
]
Deletes a character
or moves the cursor
one space to the left.


