4.
When the power, Status, Lamp, and Temp lights turn on, release the
Esc
button.
The lights flash to indicate that settings are transferring to the flash drive. When the lights stop
flashing, the power light turns blue and the projector enters standby mode.
Caution:
Do not unplug the power cord or remove the flash drive while the lights are flashing. This
could damage the projector.
5.
Once the projector enters standby mode, remove the flash drive.
Parent topic:
Copying Menu Settings Between Projectors
Transferring Settings From a USB Flash Drive
After saving projector settings to a USB flash drive, you can transfer them to another projector of the
same model.
Note:
Make sure the USB flash drive contains only a single settings transfer from another projector of
the same model. The settings are contained in a file called pjconfdata.bin. If the drive contains other
files, the transfer may not complete correctly.
Do not adjust image settings on a projector until after you transfer settings to it. Otherwise, you may have
to repeat your adjustments.
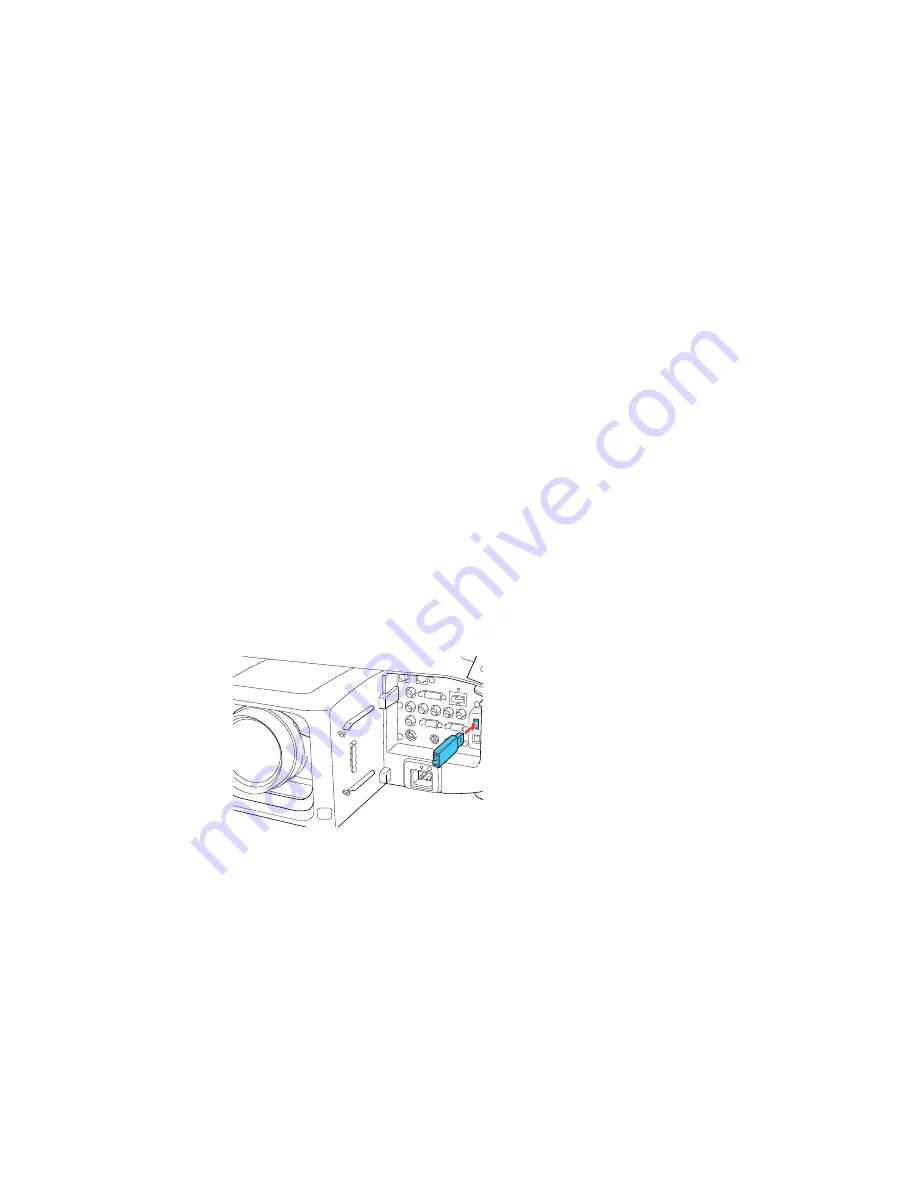
1.
Turn off the projector and unplug the power cord from the projector's power inlet.
2.
Insert the flash drive into the wireless LAN module port.
Note:
Connect the flash drive directly to the projector. Do not use a hub.
146
Содержание PowerLite Pro Z10000UNL
Страница 2: ......
Страница 10: ......
Страница 25: ...Projector Parts Remote Control 25 ...
Страница 29: ...Front Rear Front Ceiling mounted 29 ...
Страница 165: ...Projector Feature Settings Settings Menu Options on the Settings menu let you customize various projector features 165 ...
Страница 190: ...3 Slide the lamp cover latch to the Open position and slide the lamp cover to the left 4 Open the lamp cover 190 ...


