If you are viewing the normal preview and you only have one photo on the document table, you can click the
auto locate icon to automatically draw a marquee, then skip to step 3.
If you are going to scan at a different size than your original, you can first select your
Target Size
and
automatically create a marquee proportionate to that size.
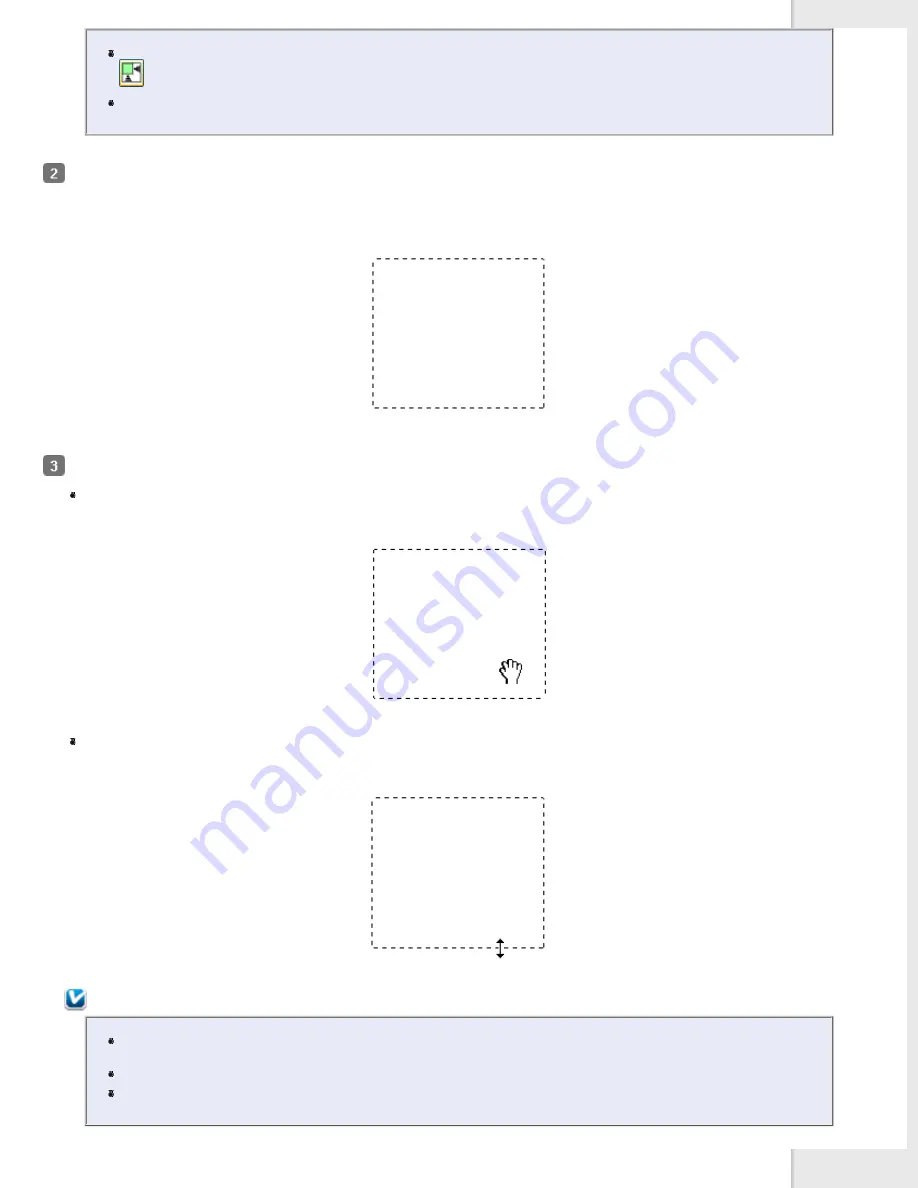
Position the pointer in the area where you want to place the corner of your marquee and click. Hold down the mouse button and drag
the cross-hairs over the image to the opposite corner of the desired scan area. Then release the mouse button. You see the moving
dotted line of the marquee.
Do one of the following to adjust the marquee.
To move the marquee, position your cursor inside the marquee. The pointer becomes a hand. Click and drag the marquee to the
desired location.
To resize the marquee, position your cursor over the edge or corner of the marquee. The pointer becomes a straight or angled
double-arrow. Click and drag the edge or corner to the desired size.
Note:
To restrict the movement of the marquee to vertical or horizontal only, hold down the
Shift
key as you move the
marquee.
To restrict the size of the marquee to the current proportions, hold down the
Shift
key as you resize the marquee.
For best results and image exposure, make sure all sides of the marquee are located inside the preview image. Do
not include any of the area around the preview image in the marquee.
Содержание Perfection V33 Photo
Страница 12: ...CPD 27812R2 ...
Страница 15: ...a transparency unit window EPSON Perfection V330 Photo only a USB interface connector b DC inlet ...
Страница 27: ...Top ...
Страница 43: ...Thumbnail preview Document Film ...
Страница 50: ...Click Settings You see the Scan to PDF Settings window ...
Страница 89: ... Canadian sales Top ...


