Setting Up Your Fax
7
English
9. Press
OK
. You return to
Your Phone
Number
.
10.Press
Home
to return to the first screen.
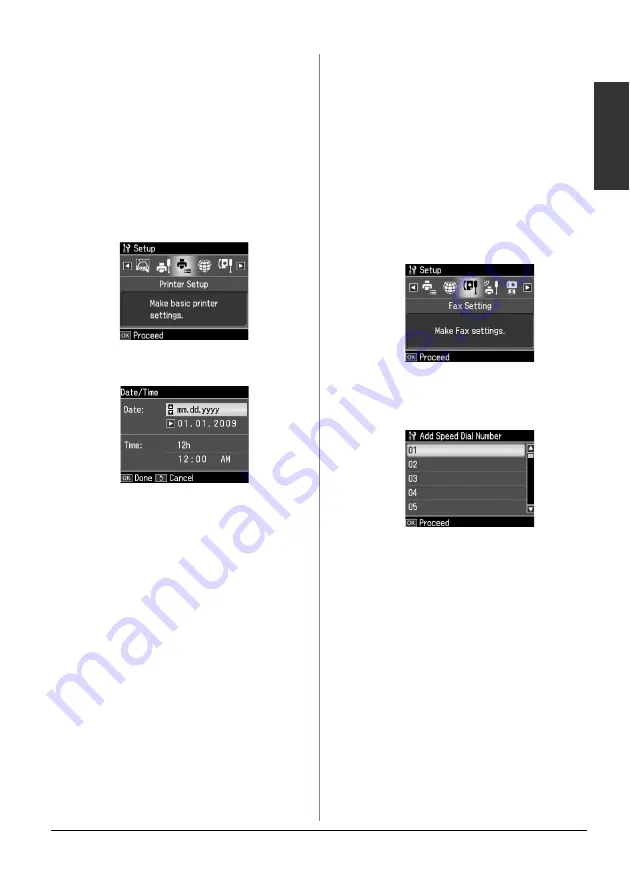
Setting up date and time
If you have not yet set the date or time, or
if the clock is wrong, you can adjust it
using the Printer Setup menu.
1. Press
l
,
r
,
u
, or
d
to select
F
Setup
,
and then press
OK
.
2. Press
l
or
r
to select
Printer Setup
and
then press
OK
.
3. Press
u
or
d
to select
Date/Time
, and
then press
OK
.
4. Use
u
or
d
to select the type of date
display, and then press
r
.
5. Use the numeric keypad to change the
date.
6. Use
u
or
d
to select a 12-hour or
24-hour display, and then press
r
.
7. Use the numeric keypad to change the
time.
8. If you selected 12h, use
u
or
d
to select
AM or PM.
9. Press
OK
. You return to
Date/Time
.
Note:
To select daylight saving time, set
Daylight
Saving Time
to
On
.
10.Press
Home
to return to the first screen.
Setting up your speed dial
list
You can create a speed dial list of up to 60
fax numbers so you can quickly select
them for faxing. You can also add names
to identify the recipients and print the
speed dial list.
Creating a new speed dial list
1. Press
l
,
r
,
u
, or
d
to select
F
Setup
and
then press
OK
.
2. Press
l
or
r
to select
Fax Setting
, and
then press
OK
.
3. Press
OK
to select
Speed Dial Setup
.
4. Select
Create
, then press
OK
. You see
the available speed dial entry numbers.
5. Select or type the speed dial entry
number that you want to register. You
can register up to 60 entries.
6. Press
OK
.
7. Use the numeric keypad with other
buttons on the control panel to enter a
phone number (
&
buttons in fax mode" on page 6). You
can enter up to 64 digits.
8. Press
OK
.
9. Use the numeric keypad with the other
buttons on the control panel to enter a
name to identify the speed dial entry
(
&
"Using control panel buttons in fax
mode" on page 6). You can enter up to
30 characters.
10.Press
OK
. You return to
Create
.


