background image

EPSON Stylus Color 580

8/00

EPSON Stylus Color 580

 - 

5

2. Insert your printer software CD-ROM in a CD-ROM or 

DVD drive.

3. Double-click the 

My Computer

 icon on your screen.

4. Double-click the 

EPSON

 CD-ROM or DVD icon.

5. Double-click the 

EPSON

 icon to start the installer. (Don’t 

select any other icon in the folder.)

6. Select 

English

.

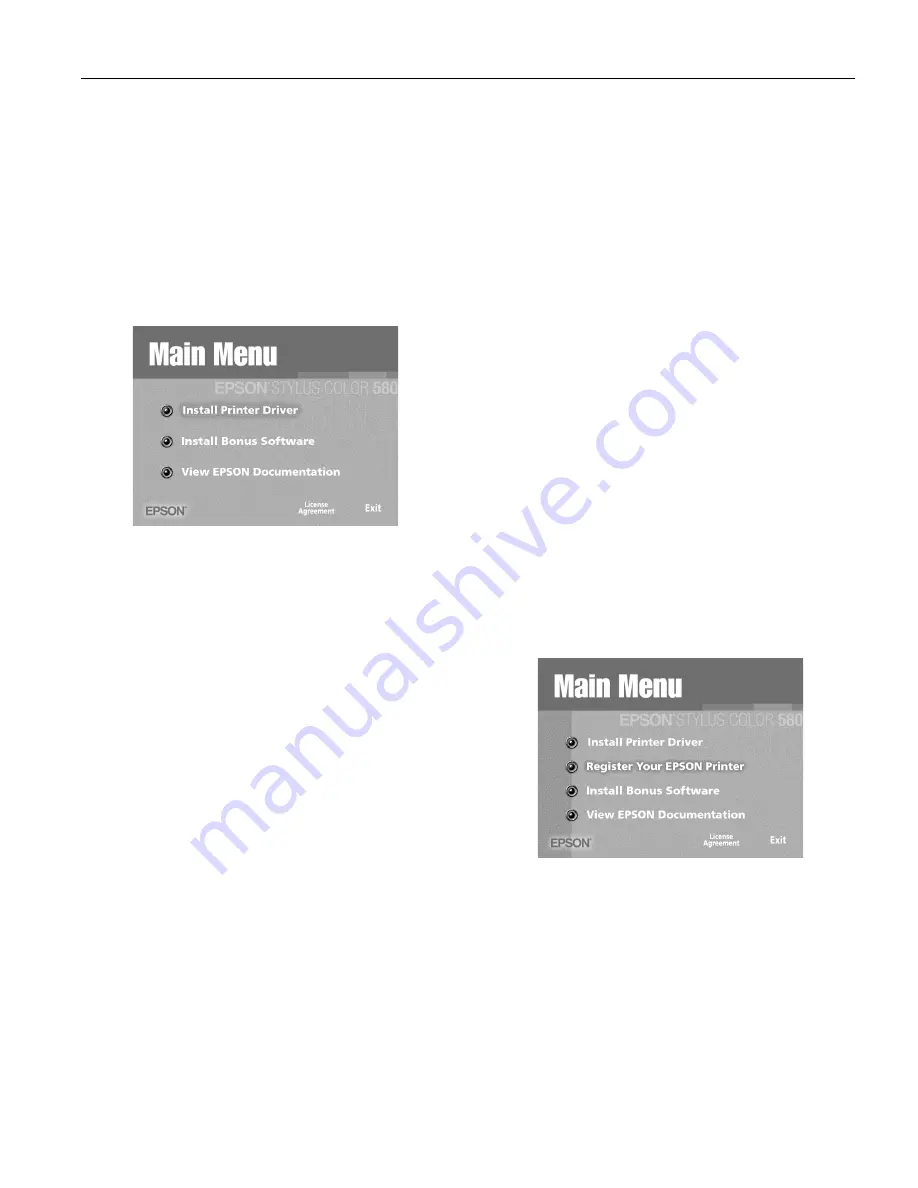
7. Read the license agreement and click Agree. You see the 

Main Menu.

8. Click 

Install Printer Driver

. You see the printer driver 

installation screen.

9. Make sure your model is highlighted, then click 

OK

. The 

installer copies files to your computer and displays a series of 
windows on your screen.

10. After a few moments, you see the Setup Utility that walks 

you through installing the ink cartridges. Click 

Next

 at the 

first screen, then follow the on-screen instructions to install 
the ink cartridges.

11. When setup is complete, click 

OK

.

12. You see the EPSON Product Registration screen. Make sure 

English

 is selected, then follow the on-screen instructions 

to register your printer. At the last screen, click 

Done

.

13. At the Main Menu, click 

Exit

 and restart your computer. 

Leave your CD-ROM in the drive.

Macintosh

1. Insert your printer software CD-ROM in a CD-ROM or 

DVD drive.

2. Double-click the 

EPSON English

 icon in the CD-ROM 

or DVD folder. (If your folder doesn’t open automatically, 
double-click the EPSON CD-ROM or DVD icon on your 
desktop.)

3. Read the license agreement, and click 

Agree

.

4. Click 

Continue

. You see the Installer screen.

5. Click 

Install

, then follow the on-screen instructions to 

install your printer driver, select a default paper size, and 
restart your computer. Leave in your CD-ROM.

6. Open the Chooser from the Apple menu.

7. Click the 

SC 580

 icon, then click your USB port icon. 

Turn on background printing, if you want.

8. Close the Chooser.

9. Double-click the 

EPSON English

 icon in the CD-ROM 

folder. (If your CD-ROM folder didn’t open automatically, 
double-click the EPSON CD-ROM icon on your desktop.)

10. After a few moments, you see the Setup Utility that walks 

you through installing the ink cartridges. Click 

Next

 at the 

first screen, then follow the on-screen instructions to install 
the ink cartridges.

11. When setup is complete, click 

OK

. You see the Main 

Menu.

12. Click 

Register Your EPSON Printer

. You see the 

EPSON Product Registration screen. Follow the on-screen 
instructions to register your printer. At the last screen, click 

Quit

. Leave your CD-ROM in the drive.

Содержание LQ-580

Страница 1: ...lamps Media name Size Part number EPSON 360 dpi Ink Jet Paper Letter A4 S041060 S041059 EPSON High Quality Ink Jet Paper Letter A4 S041111 S041117 EPSON Photo Quality Ink Jet Paper Letter A4 Legal S041062 S041161 S041067 EPSON Photo Quality Glossy Paper Letter A4 S041124 S041126 EPSON Photo Quality Glossy Film Letter A4 A6 S041072 S041071 S041107 EPSON Photo Paper Letter A4 4 6 inches Panoramic S0...

Страница 2: ...ntable Area setting However print quality may decline in the expanded area Before printing large jobs print a single sheet to confirm print quality Paper type Size Paper types Thickness Weight Single sheets Letter 8 5 11 inches Legal 8 5 14 inches Half letter statement 5 5 8 5 inches Executive 7 5 10 inches A4 210 297 mm A5 148 210 mm Plain bond paper and special ink jet papers distributed by EPSO...

Страница 3: ...f the printer for your printer s voltage Environmental Temperature Operation 50 to 95 F 10 to 35 C Storage 4 to 104 F 20 to 40 C 1 month at 104 F 40 C Transit 4 to 140 F 20 to 60 C 120 hours at 140 F 60 C Humidity without condensation Operation 20 to 80 RH Storage 5 to 85 RH Stored in shipping container Safety Approvals Safety standards UL 1950 CSA C22 2 No 950 EMC FCC part 15 subpart B class B Sp...

Страница 4: ...or the printer won t work Remove the yellow tape seal from the top of the ink cartridges or you ll permanently damage them Don t remove the clear seals on the bottom or ink will leak out The ink cartridges packed with your printer are for initial installation only Don t move the ink cartridge holders by hand or you ll damage the printer Don t open an ink cartridge clamp to remove a cartridge excep...

Страница 5: ...our CD ROM in the drive Macintosh 1 Insert your printer software CD ROM in a CD ROM or DVD drive 2 Double click the EPSON English icon in the CD ROM or DVD folder If your folder doesn t open automatically double click the EPSON CD ROM or DVD icon on your desktop 3 Read the license agreement and click Agree 4 Click Continue You see the Installer screen 5 Click Install then follow the on screen inst...

Страница 6: ...outs don t look as good as they used to If print quality doesn t improve after cleaning and aligning the print head you can replace one or both cartridges You cannot print if either ink cartridge is empty or not installed Leave the empty cartridge installed in the printer until you have obtained a replacement Otherwise the ink remaining in the print head nozzles may dry out For this paper name Sel...

Страница 7: ...the steps in one session 1 Click the How to button 2 Follow the instructions on the screen to replace the ink cartridge 3 After you ve installed the cartridge the printer begins charging ink for a few minutes Wait until you see a message telling you that charging is complete before resuming printing Never unplug the printer while it s charging ink Replacing an Outdated Ink Cartridge If you need to...

Страница 8: ... Nozzle Check button 3 Make sure letter size or larger paper is loaded in the printer Click Print Windows or Next Macintosh to print a nozzle check pattern 4 Examine the nozzle check pattern you print Each staggered horizontal and straight vertical line should be complete with no gaps in the dot pattern If your printout looks okay click Finish If any dots are missing as shown here click Clean and ...

Страница 9: ... button Or if you have an application running you can also run the utility by accessing the printer settings dialog box as described in your Printer Basics book Click the Utility tab then click the Print Head Alignment button Macintosh Access the printer settings dialog box as described in your Printer Basics book Click the Utility button then click the Print Head Alignment button 3 Click Next to ...

Страница 10: ...and remove the paper support 4 Open the printer cover Secure the ink cartridge holder to the printer with tape as shown then close the printer cover 5 Repack the printer and attachments in the original box using the protective materials that came with it Be sure to keep the printer level as you transport it After transporting the printer remove the tape securing the print head and then print a doc...

Отзывы: