EPSON Stylus Color 580
4
-
EPSON Stylus Color 580
8/00
Setting Up the Printer the First Time
Connect the Printer and Computer
1. Make sure the printer is unplugged and your computer is
turned off.
2. Connect the
square end of the USB cable to your
printer’s USB port.
3. Connect the
flat end of the cable to your
computer’s USB port or a first tier USB hub port.
If you’re using a USB hub, connect the printer to the first
tier of the hub. If the printer doesn’t work there, connect it
directly to a USB port on your computer.
Turn On Your Computer
Turn on your computer first and wait until you see your
desktop icons. (With Windows 2000, log on as necessary.)
Plug In the Printer
Plug the printer’s power cord into a grounded electrical outlet.
The printer is now powered on. It moves its print head and
makes some noise.
Don’t use an outlet controlled by a wall switch or timer,
or one on the same circuit as a large appliance, to avoid
damaging the printer’s power supply.
Load Paper
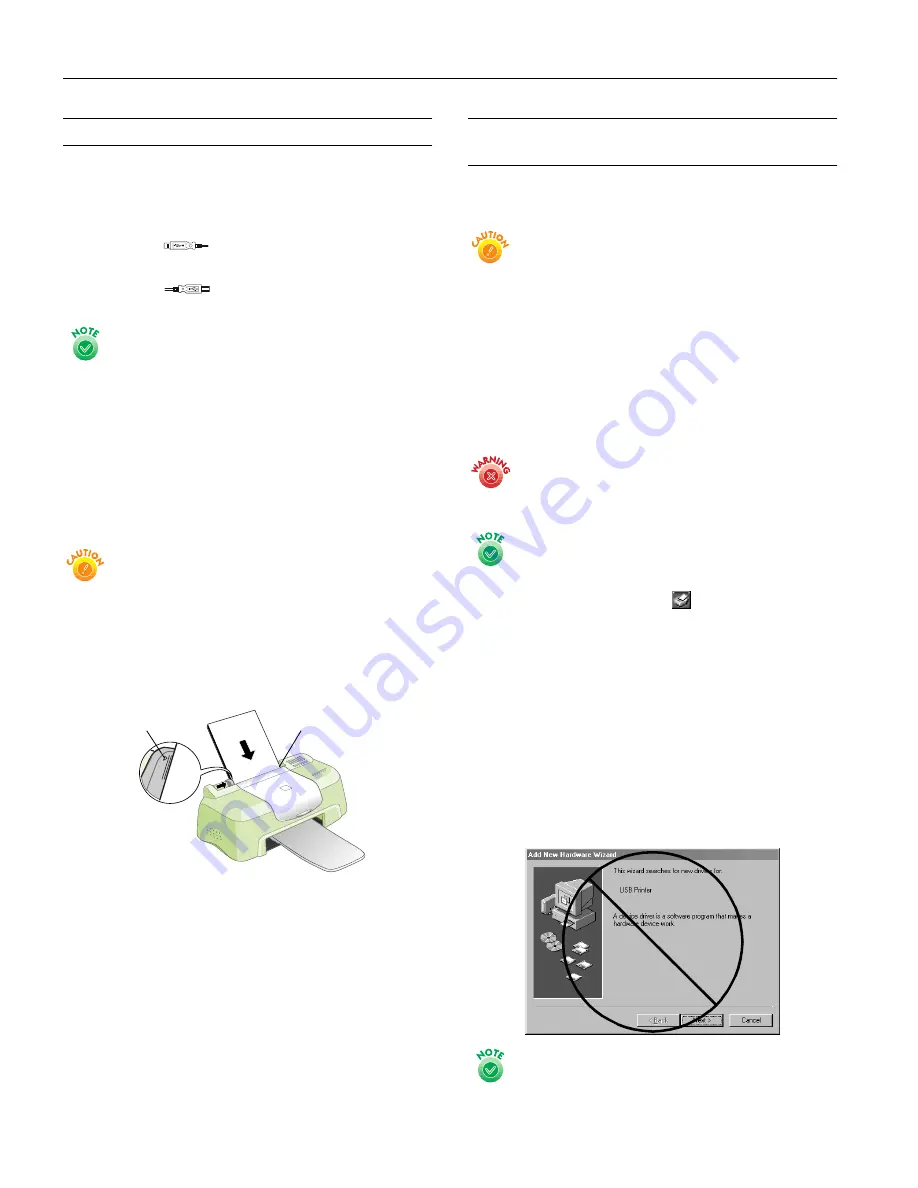
Set paper carefully in the slot in the top of the printer; don’t
push it deeper into the slot. Slide the left edge guide against
the paper.
Install the Software and Ink
Cartridges
Before handling your ink cartridges, be sure to read and follow
these ink cartridge precautions:
Install both ink cartridges, and leave them installed for all
types of printing, or the printer won’t work.
Remove the yellow tape seal from the top of the ink
cartridges or you’ll permanently damage them. Don’t
remove the clear seals on the bottom or ink will leak out.
The ink cartridges packed with your printer are for initial
installation only.
Don’t move the ink cartridge holders by hand or you’ll
damage the printer.
Don’t open an ink cartridge clamp to remove a cartridge
except to replace it with a new one. Once you remove a
cartridge, you can’t reuse it, even if it contains ink.
Keep ink cartridges out of the reach of children and do
not drink the ink. If ink gets on your skin, wash the area
thoroughly with soap and water. If ink gets in your eyes,
flush them immediately with water.
If you exit the Setup Utility before set up is complete,
you’ll need to install your ink cartridges through EPSON
Status Monitor 3 (Windows) or StatusMonitor
(Macintosh).
Windows
: Double-click the
Status Monitor 3
icon on your Windows task bar. Click the How to button
and follow the on-screen instructions.
Macintosh
: For instructions, see “Replacing a Low or
Empty Ink Cartridge” on page 7.
Locate the CD-ROM that came with your printer
and carefully follow the instructions here for your operating
system.
Windows
1. When you see this screen, click
Cancel
. You can’t install
your printer software that way. (This screen may appear
later in the installation process.)
If you don’t see a screen like this, unplug the USB
connector from your computer and reconnect it.
Slide paper against
the right edge
Load paper only
up to this arrow


