


135
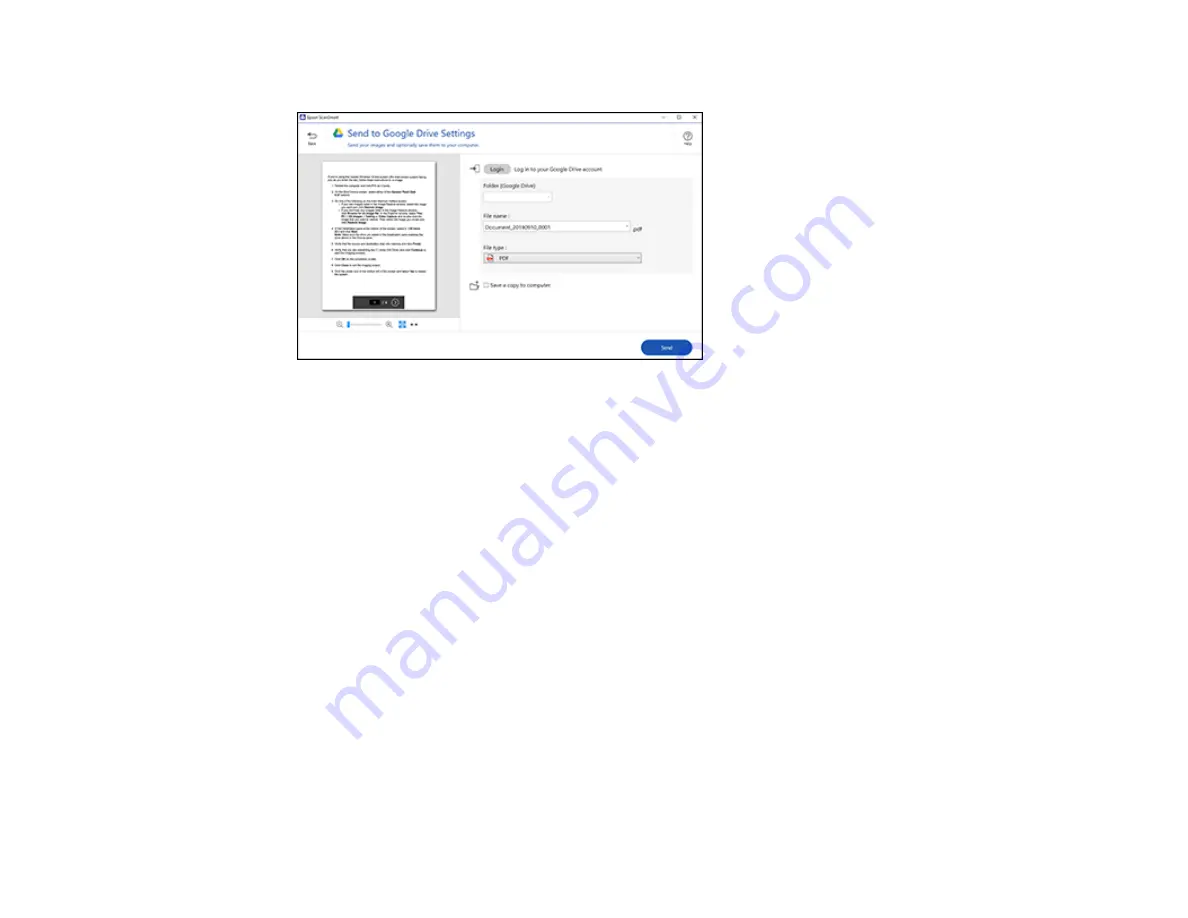
You see a screen like this:
3.
Log in to your account.
Note:
You may need to allow Epson ScanSmart access to your account. The first time you log in,
you may be prompted to enter an authentication code.
4.
Change the settings as follows:
• Select the folder in your account where you want to send the document.
• The document type and scan date for the file name are automatically detected. You can change
them as necessary.
• You can save the scanned image in a variety of formats. If you select Searchable PDF as the
File
type
setting, you can select the OCR (Optical Character Recognition) language.
• If you also want to save a copy of the scanned image to your computer, click the checkbox.
5.
Click
Send
.
Parent topic:
Scanning a Document or Photo in Epson ScanSmart
Printing a Scan
You can print your scanned image and save the scanned file to your computer.
Содержание ET-4800
Страница 1: ...ET 4800 User s Guide ...
Страница 2: ......
Страница 13: ...13 ET 4800 User s Guide Welcome to the ET 4800 User s Guide For a printable PDF copy of this guide click here ...
Страница 128: ...128 You see an Epson Scan 2 window like this ...
Страница 140: ...140 1 Click the Settings button You see a screen like this 2 Click the File Name Settings tab ...
Страница 142: ...142 You see a screen like this 2 Click the Save Settings tab ...
Страница 145: ...145 You see a screen like this 2 Click the Customize Actions tab ...
Страница 147: ...147 You see this window ...
Страница 212: ...212 You see a window like this 5 Click Print ...
Страница 237: ...237 Related concepts Print Head Cleaning Print Head Alignment ...


