158
5.
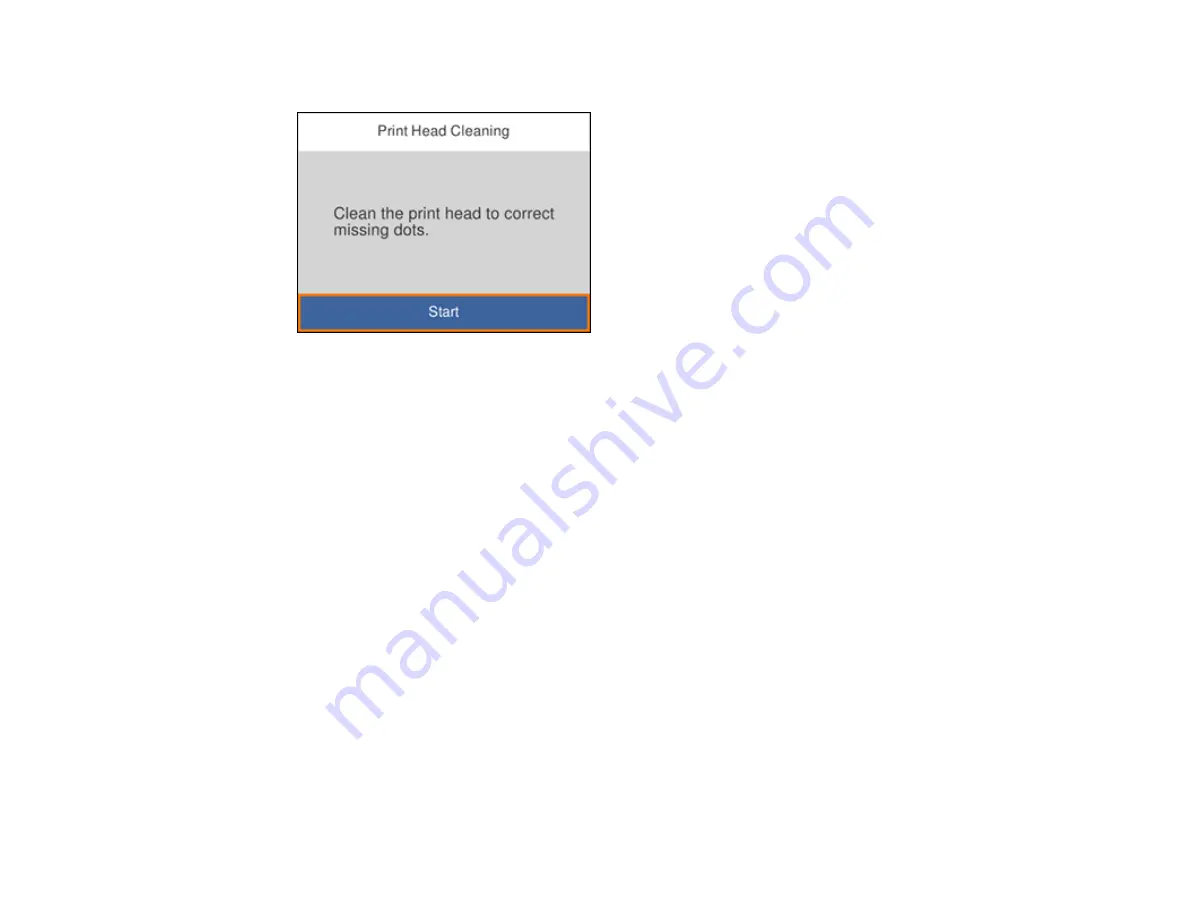
Select
Print Head Cleaning
and press the
OK
button.
6.
Press the
OK
button to clean the print head. You see a message on the LCD screen during the
cleaning cycle.
Caution:
Never turn off the product or open the printer cover during a cleaning cycle or you may not
be able to print.
When the cleaning cycle is finished, you see a message on the LCD screen.
7.
Select
Check
and press the
OK
button.
8.
Press the
OK
button to run a nozzle check and confirm that the print head is clean.
If you don’t see any improvement after cleaning the print head up to 3 times, turn off the product and wait
at least 12 hours. Then try cleaning the print head again. If quality still does not improve, run a Power
Cleaning. If there is still no improvement, contact Epson support.
Parent topic:
Related references
Related tasks
Checking the Nozzles Using the Product Control Panel
Loading Paper in the Cassette
Cleaning the Print Head Using a Computer Utility
You can clean the print head using a utility on your Windows or Mac computer.
Содержание ET-3750 series
Страница 1: ...ET 3750 User s Guide ...
Страница 2: ......
Страница 11: ...11 ET 3750 User s Guide Welcome to the ET 3750 User s Guide For a printable PDF copy of this guide click here ...
Страница 21: ...21 Product Parts Inside 1 Document cover 2 Scanner glass 3 Control panel ...
Страница 55: ...55 2 Pull out the paper cassette until it stops 3 Slide the edge guides outward ...
Страница 102: ...102 10 Select the Layout tab 11 Select the orientation of your document as the Orientation setting ...
Страница 147: ...147 3 Open the ink tank cover then open the cap for the ink tank you are going to fill ...
Страница 175: ...175 4 Slide out the paper cassette and remove the paper 5 Make sure the ink tank caps are securely closed ...
Страница 179: ...179 7 Make sure the ink tank caps are securely closed and close the ink tank cover 8 Lower the scanner unit ...


