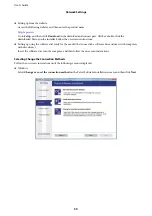


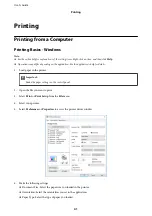
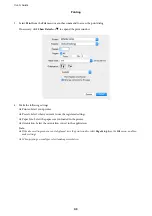


5.
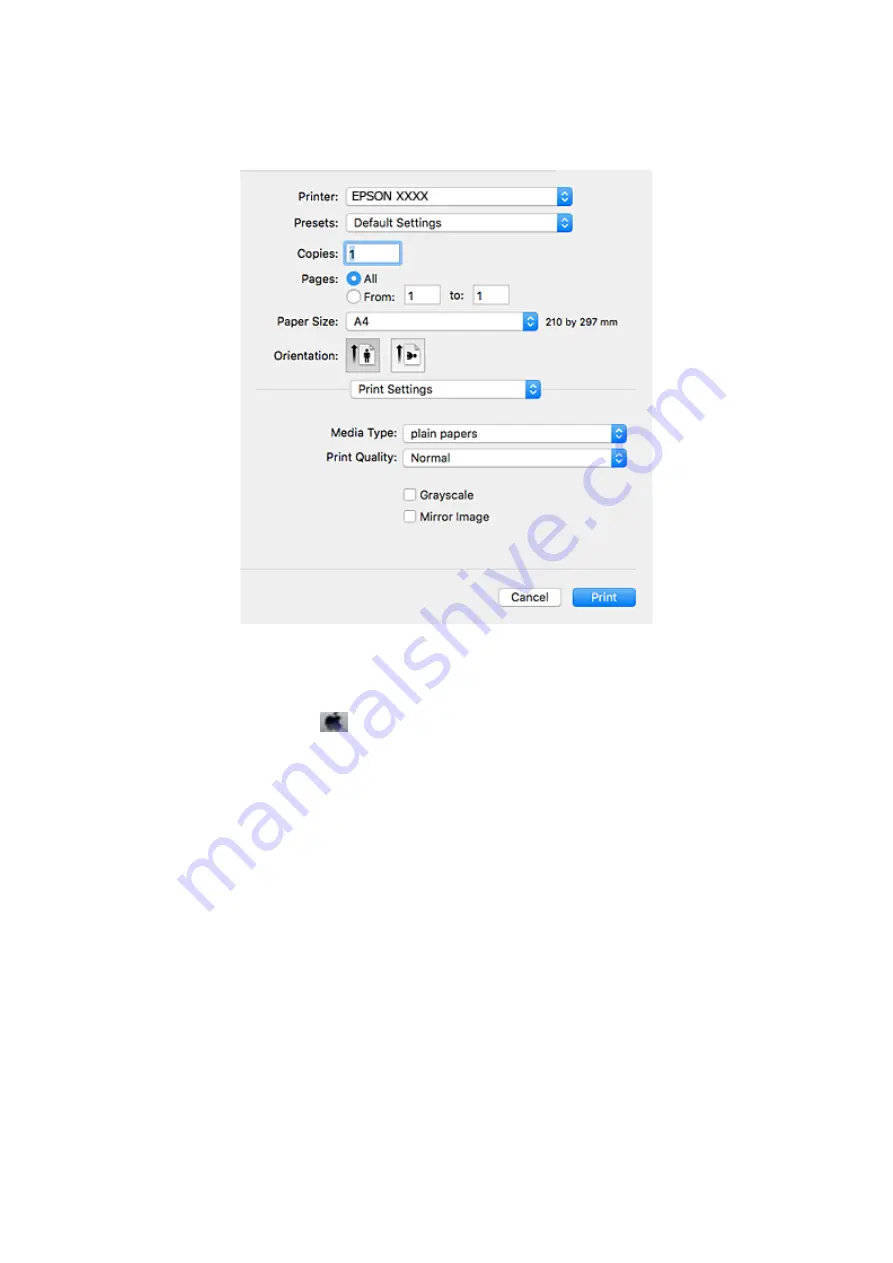
Select
Print Settings
from the pop-up menu.
Note:
On Mac OS X v10.8.x or later, if the
Print Settings
menu is not displayed, the Epson printer driver has not been
installed correctly.
Select
System Preferences
from the
menu >
Printers & Scanners
(or
Print & Scan
,
Print & Fax
), remove the
printer, and then add the printer again. See the following to add a printer.
6.
Make the following settings.
❏
Media Type: Select the type of paper you loaded.
❏
Print Quality: Select the print quality. Selecting
Fine
provides higher quality printing, but the printing speed
may be slower.
❏
Grayscale: Select to print in black or shades of gray.
Note:
If you are printing high-density data on plain paper, letterhead, or preprinted paper, select
Normal-Vivid
as the
Quality
setting to make your printout vivid.
7.
Click
.
Related Information
&
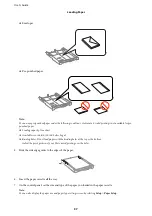
“Available Paper and Capacities” on page 34
&
“Loading Paper in the Paper Cassette” on page 35
&
“List of Paper Types” on page 35
User's Guide
Printing
44


