


3. Pull the board straight up and out of the system board
interface sockets; do not rock it back and forth.
4. If you are installing a math coprocessor, place the board on a
static-free surface with the component side facing up and
see the “Math Coprocessor” section in this chapter.
If you are replacing the processor board, store it in an anti-static
bag in a safe location. See the next section for instructions
on installing the new processor board.
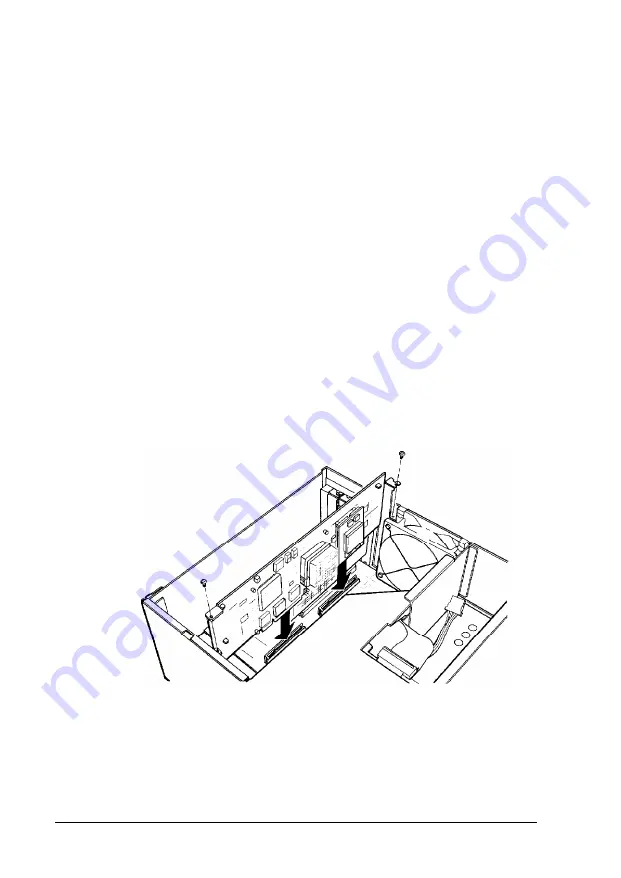
Installing the Processor Board
Follow these steps to install the processor board:
1. Insert the connectors on the bottom of the processor board
into the processor board connectors on the main system
board. Guide the board straight into the connectors; do not
insert it at an angle or rock it back and forth.
2. Secure each end of the board with the retaining screws.
3. If you disconnected any cables to remove the processor board,
reconnect them.
5-8
Installing and Removing Options
Содержание EISA Desktop
Страница 1: ......
Страница 3: ...EPSON EISA User s Guide ...
Страница 42: ...System board options continued 2 12 Running System Configuration ...
Страница 43: ...System board options continued Running System Configuration 2 13 ...
Страница 46: ...2 16 Running System Configuration ...
Страница 119: ...System diagnostic error messages continued Running System Diagnostics A 9 ...
Страница 134: ...Power on diagnostic error tone codes Troubleshooting C 3 ...
Страница 135: ...Power on diagnostic error tone codes continued C 4 Troubleshooting ...
Страница 155: ...Power Source Requirements 120 Volt power source requirements 240 Volt power source requirements D 6 Specifications ...
Страница 182: ...EPSON EISA ...
Страница 183: ......


