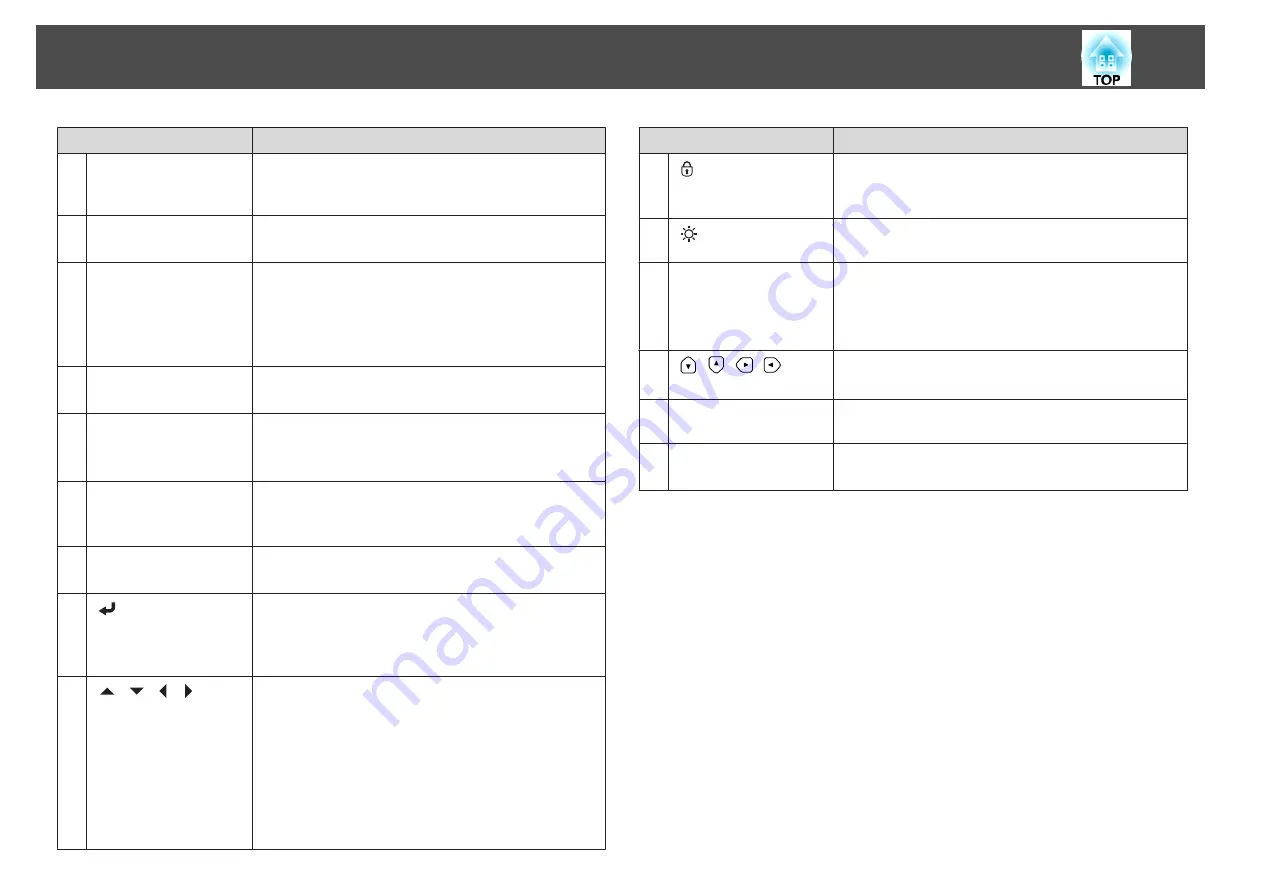
Name
Function
D
[Auto] button
If pressed while projecting analog RGB signals from the
Computer port or the BNC port, you can automatically
optimize Tracking, Sync., and Position.
E
[Test Pattern] button
Displays a test pattern.
s
F
[Lens Shift] button
Press to adjust the lens shift.
s
"Adjusting the Position of the Projected Image (Lens
If pressed for more than five seconds, the lens position
moves to the home position.
G
[Zoom] button
Press to adjust the zoom.
s
H
[Focus/Distortion]
button
Press this to adjust the focus or correct distortion.
s
s
"Correcting Distortion (Image Warping)"
I
[Geometry] button
Corrects distortion in the projected image.
s
"Correcting Distortion in the Projected Image"
J
[Shutter] button
Press to turn the image on or off temporarily.
s
"Hiding the Image Temporarily (Shutter)"
K
[
] button
When the Configuration menu or the Help screen is
displayed, it accepts and enters the current selection and
moves to the next level.
s
"Using the Configuration Menu"
L
[
][
][
][
]
buttons
•
Press to adjust focus, zoom, and lens shift.
s
"Adjusting the Position of the Projected Image
s
s
•
If pressed when the Configuration menu or the Help
screen is displayed, menu items and setting values are
selected.
s
"Using the Configuration Menu"
Name
Function
M
[
] button
Displays the Control Panel Lock screen allowing you to
make settings to lock the control panel buttons.
s
N
[
] button
Press to turn on or off the buttons on the control panel and
the status monitor.
O
[Esc] button
•
Stops the current function.
•
If pressed when the Configuration menu is displayed, it
returns to the previous menu level.
s
"Using the Configuration Menu"
P
[
][
][
][
]
buttons
Press to select the menu items and setting values for status
monitor to monitor the projector's status.
Q
Status monitor
Displays the projector's status by character information.
s
R
[Menu] button
Displays and closes the Configuration menu.
s
"Using the Configuration Menu"
Part Names and Functions
18
Содержание EB-L25000U
Страница 1: ...User s Guide ...
Страница 13: ...Introduction This chapter explains the names for each part ...
Страница 24: ...Preparing the Projector This chapter explains how to install the projector and connect projection sources ...
Страница 49: ...Basic Usage This chapter explains how to project and adjust images ...
Страница 114: ...Security Functions 114 ...
Страница 115: ...Configuration Menu This chapter explains how to use the Configuration menu and its functions ...
Страница 146: ...Troubleshooting This chapter explains how to identify problems and what to do if a problem is found ...
Страница 186: ...m To complete the adjustment press the Menu button Image Maintenance 186 ...
Страница 187: ...Appendix ...
Страница 222: ...790 395 146 299 378 5 A Center of lens 860 475 738 754 633 936 646 710 Units mm Appearance 222 ...


