Product Description
Note :
The tear off and paper select functions are not available when the paper
memory function is used.
Using the Paper
ory Function
To use the paper memory function, you must first save paper format and
thickness information for up to two different types
as described in the
section below.
To turn on the paper memory function after saving your paper format and
thickness information, hold down one
buttons below and turn on the printer.
MICRO FEED (
A
)
MICRO FEED (v)
Recalls the paper format and thickness information stored
in memory area 1.
Recalls the paper format and thickness information stored
in memory area 2.
To turn
paper memory function and use normal paper, hold down the
PAPER SELECT button and turn on the printer.
Notes:
A l-inch skip over perforation area is automatically included for
overlapping forms.
ESC C (set page length) is valid when using the paper memory function.
ESC N (set skip over perforation) is valid when using the paper memory
function; however,
skip length is less than 1 inch, the setting is
ignored when using overlapping forms.
ESC 0 (reset skip over perforation) is valid when using the paper
memory function with overlapping forms.
When using overlapping forms, the loading position must be adjusted
each time you load paper.
Saving Paper Form at and Thickness Inform ution
To save paper format and thickness information for overlapping forms, forms with
a label, or overlapping forms with a label, follow these steps:
1. Turn
printer
2.
Use DIP switch 3-4 to select the memory area where you want the printer to
store the paper format and thickness information. Memory area 1 is selected
when DIP switch 3-4 is off. This is the printer’s default setting. To select
memory area 2, turn on the switch.
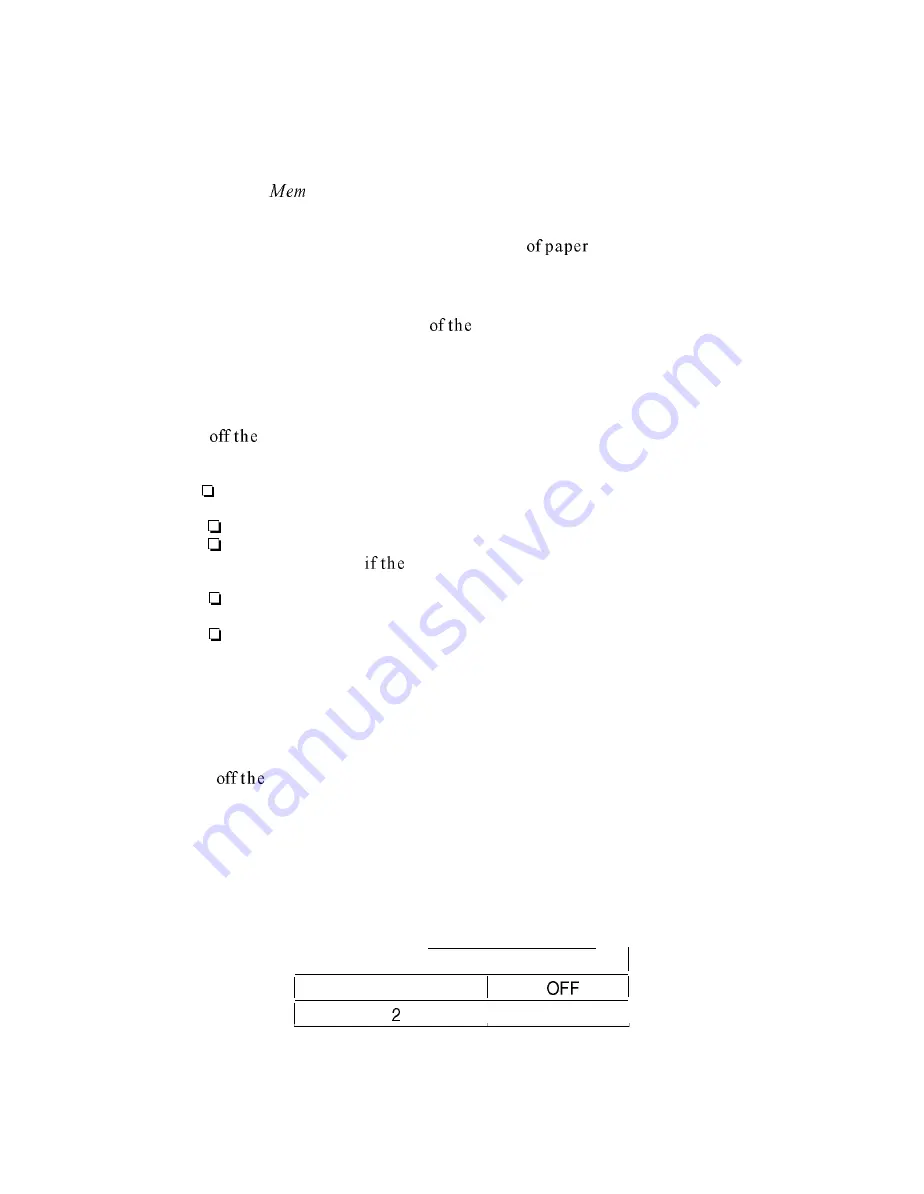
Table l-9. Selecting the Paper Memory Area
Paper Memory Area
DIP SW 3-4
1
I
ON
I
3.
Use DIP switches 3-l and 3-2 or software commands to set the page length.
1-26
EPSON DFX-5000+ Service Manual
Содержание DFX-5000+
Страница 1: ...EPSON Service Manual Epson America Inc TM DFX5K ...
Страница 2: ...Service Manual Revision Level Revision Date 1st printing 4129194 I EPSON Printed on Recycled Paper ...
Страница 154: ......
Страница 162: ...Adjustments Approx 40 mm Measurement Pmition Figure 4 8 Platen Angle Adjustment EPSON DFX 5000 Service Manual 4 11 ...
Страница 203: ...Maintenance and Lubrication Figure 6 3 Lubrication and Adhesive Diagram 2 EPSON DFX 5000 Service Manual 6 5 ...
Страница 204: ...Maintenance and Lubrication 6 6 Figure 6 4 Lubrication and Adhesive Diagram 3 EPSON DFX 5000 Service Manual ...
Страница 212: ...Appendix Table A S CN7 C117 MAIN Board Assembly A 8 EPSON DFX 5000 Service Manual ...
Страница 216: ...Appendix El I t I e Figure A 2 C117 PSB Power Supply Board Circuit Diagram A 12 EPSON DFX 5000 Service Manual ...
Страница 217: ...Appendix q z r f l Figure l 3 Cl17 MAIN Board Assembly Component Layout EPSON DFX 5000 Service Manual A 13 ...
Страница 218: ......
Страница 219: ...Appendix DFX 5000 Exploded Diagram 1 EPSON DFX 5000 Service Manual A 15 ...
Страница 220: ...Appendix Figure A 5 Exploded Diagram 2 A 16 EPSON DFX 5000 Service Manual ...
Страница 221: ...597 J86 ...
Страница 222: ...Appendix A 18 EPSON DFX 5000 Service Manual ...
Страница 223: ...Appendix Figure A 7 C117 MAIN Board Circuit Diagram EPSON DFX 5000 Service Manual A 19 ...


