Step 7:
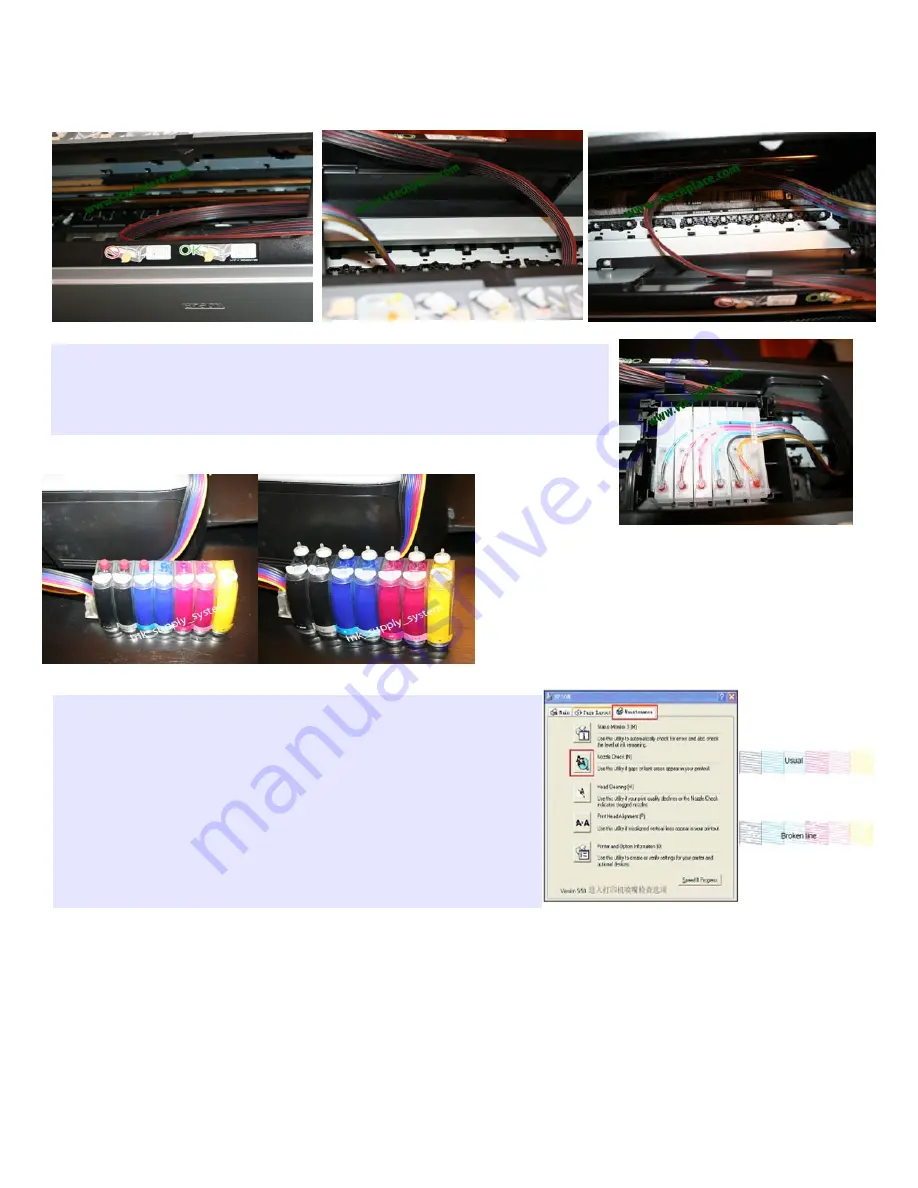
* Attach tubing bridge by removing adhesive protector and then placing it directly across from the arrow or place a little bit to the left of the arrow. See
picture on the side..
* When placing the tube holder, place it an angle to ensure the tube can freely move without interfering with the cartridge holder.
l For better picture or maybe the video instruction Visit
click on Knowledgebase , Epson then your printer mode
Step 8:
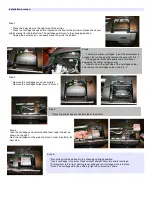
* Move the printer head carriage all the way to the right. Make sure there is enough tubing to allow
printer carriage to move freely to the right.
* Do the same move for the cartridges carriage all the way to the left.
* If it appears that the tubing is too short or too long, please make adjustments by sliding the
tubing to the desired amount.
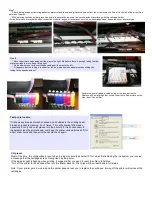
Locate the 6 small plugs located on top of the reservoir bottle.
Remove all 6 small plugs that covers the air hole. See picture on the
side. Insert the air filter.
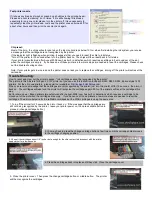
Test printer nozzle
If it shows any breaks (it maybe caused by air bubbles in the printing head).
Please do a nozzle cleaning 2 or 3 times. If it is still showing little breaks,
especially for only one color please turn the printer off. It is unnecessary to
repeatedly clean the printer-head. Just keep the printer unused (turned off) for
about a few hours and then print the nozzle check again.
Chip reset:
Most of the time, the chips will auto reset when the ink monitor drops below 10% or when first installing the ink system, you receive
a message that the cartridges are not recognized by the printer.
If the indicator light is flashing when printing, it suggests that you need to reset the chip to full status.
*Turn off the printer for 30 seconds then turn the printer back on. The chips will then reset back to full status.
Note: If your printer gets low on ink and the printer does not ask you to replace the cartridges, turning off the printer will not reset the
cartridges.


