2-14
Using EPSON Photo!3
L
Proof Sign-off:
BLE H.Kato E.Omori
F.Fujimori
SEI M.Kauppi
R4C4410
Rev. C
A5 size
PHT3.FM
2/14/00
Pass 3
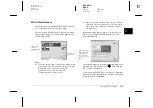
Using the Folder Menu
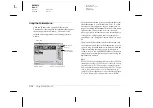
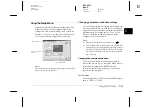
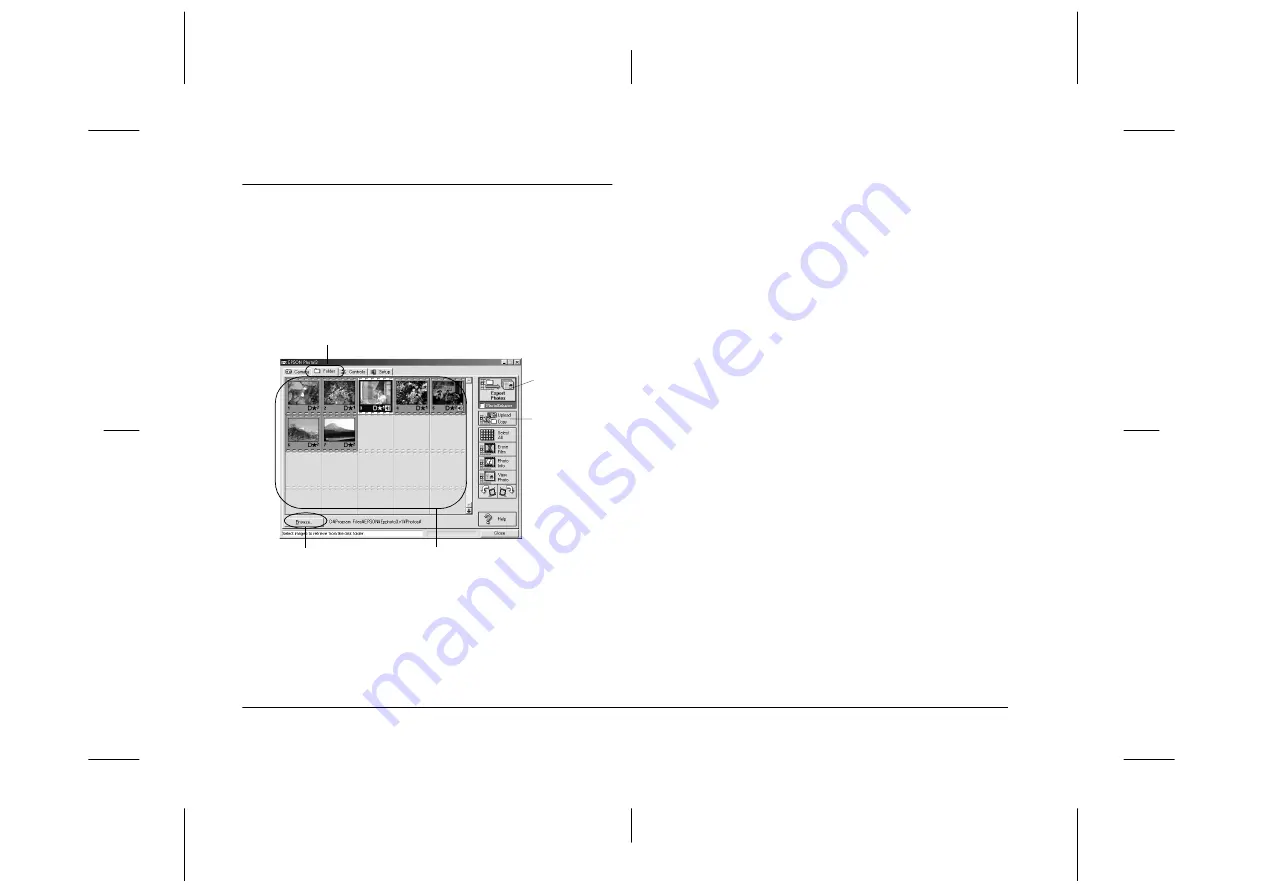
Click the
Folder
tab to open the Folder menu.
Thumbnails of the images in the selected folder appear
in the image selection window. The name of the
selected folder appears below the image selection
window.
As in the Camera menu, you can transfer images from
the Folder menu to your documents. To do so, follow
the steps in “Placing photos in your documents” on
page 2-9, clicking the thumbnails in the Folder menu
instead of the Camera menu. You can also erase
photos, get photo information, view a selected photo,
rotate photos, and playback audio recordings. For
instructions, see “Using the Camera Menu” on page
2-6.
The major difference between the Folder menu and
the Camera menu is that in the Folder menu you can
open a dialog box with the
Browse
button to find the
folder containing the images you downloaded or
saved. Also, you can upload EPSON Photo file format
images from your computer to your camera using the
Upload/Copy
button.
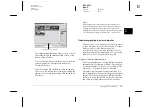
Note:
EPSON Photo file format image files are saved as JPEG files
formatted according to Exif Version 2.1 standards, and are
recorded based on the "Design rule for camera file system."
Exif is a standard format for audio/image files. The "Design
rule for camera file system" is a recording standard for
image files. These standards have been established by Japan
Electronic Industry Development Association (JEIDA).
Export Photos
button
Upload/Copy
Photos button
Browse button
image selection window
Folder tab


