Installing Options into the 5G106-06
Installation
3-7
7.
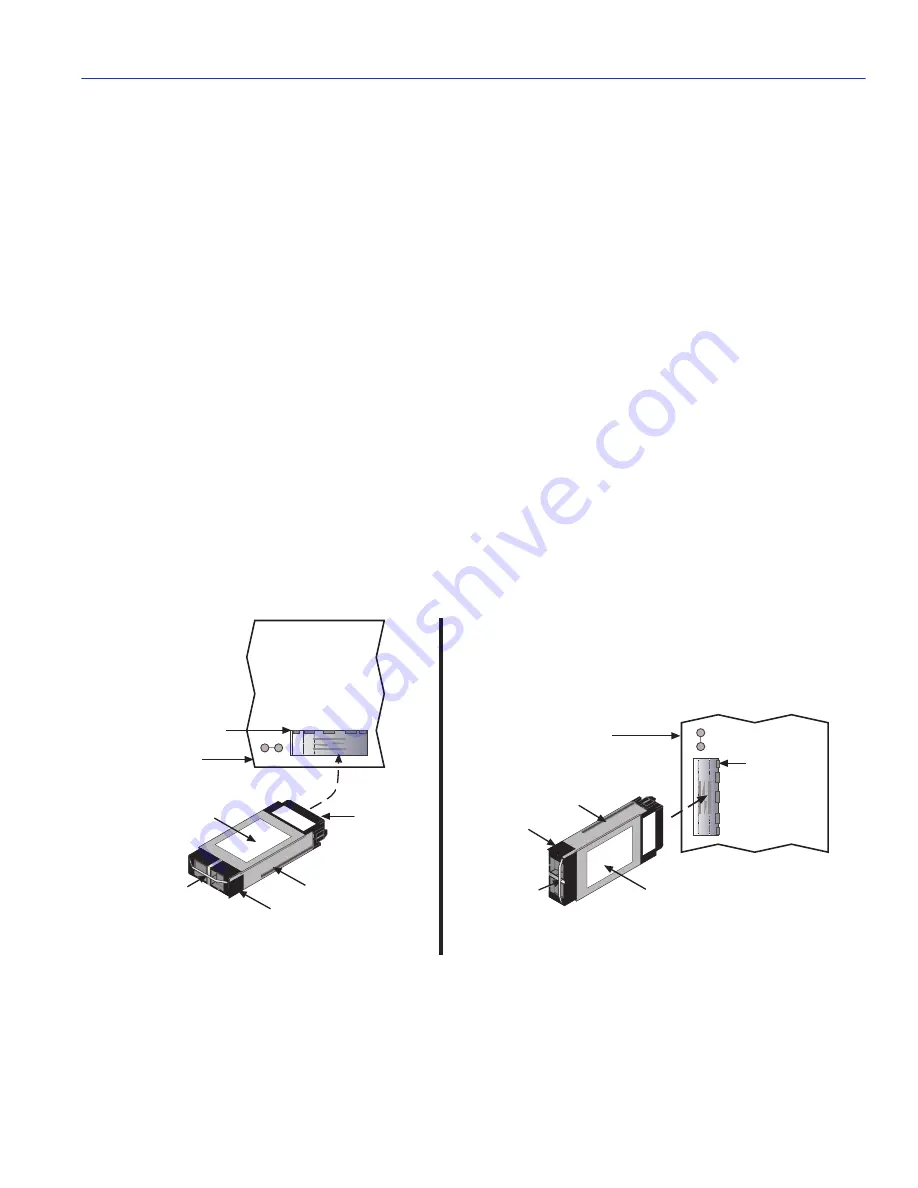
The alignment slots on the GPIM must line up with the alignment guides inside the GPIM slot.
The top of the GPIM must be next to the hinge side of the GPIM slot door of the module, as
shown in
Figure 3-5
.
8.
Gently insert the GPIM (20-pin connector side) into the GPIM slot opening of the module. See
Figure 3-5
. The door folds in and the slides engage the slots on the sides of the GPIM. If the
GPIM does not go in easily, do not force it into the slot. If it is not oriented correctly, it will stop
about one quarter of the way into the slot, and should not be forced any further. Check the
orientation against
Figure 3-4
and
Figure 3-5
. Remove and reorient the GPIM so that it slides
easily into the slot.
9.
Push the GPIM back until the 20-pin port engages the GPIM connector.
10.
Once the GPIM connector has been firmly seated into the module, push down on the GPIM
metal locking bar until it clicks into place. See
Figure 3-4
, View B. Do NOT force the locking
bar into the locked position. If there is significant resistance while attempting to close the
locking bar, remove the GPIM. Inspect it for any problems with the connectors. If there are any
problems, contact Enterasys Networks for technical support (refer to
“Getting Help”
in
About
This Guide
). If there are no problems, re-insert the GPIM carefully, and firmly seat the GPIM
in the connector of the module.
Figure 3-5
Locking Bar GPIM Installation in Uninstalled (View A) or Installed (View B) Module
2
Hinge
(Right Side
of Door)
2
Network Port
20-pin
Connector
(insertion
end)
Metal Locking
Bar in the
"Up" Position
Alignment Slot
Module
(not installed
in chassis)
Module
(Installed in Chassis)
Top Side
of GPIM
Top Side of GPIM
Hinge
(Top of Door)
Alignment Slot
Metal Locking
Bar in the
"Up" Position
25491_05
Network Port
A
B


