ENIGMA II DR-81000 Digital Receiver
Version 2.00
The Menu
The Enigma II has a context-sensitive menu system.
The menu is displayed on the bottom of the screen,
the items (functions) can be activated by pressing the
Function keys below them.
Figure 5. The Main Menu
At different levels of the menu, the actual functions
assigned to the Function keys are changing
accordingly.
Some of the menu functions are free accessible,
some of them can only be accessed in protected
mode.
Utilities
The utility functions can be reached with pressing the
“Util” button (F3) in the main menu.
Figure 6. The Util Menu
Report
The receiver stores the last 2000 events in the
memory even after it had reported to the computer or
printed. At this menu some (last 50, today) or all of
these events can be resent to the central station
computer regardless that they were reported before
or not. This menu is protected.
This menu works the same way as the Report menu,
except that it sends the contents of the memory
buffer to the printer. This menu is protected.
Reset
This menu allows the central station operator to make
a full receiver reset. This can be useful if receiver
malfunctions encountered. There are three different
levels of system reset. The Factory reset will reset
the receiver parameters to default. This option might
be useful, if the user has misprogrammed the unit
and wants to return to the factory default state. This
option is protected.
Figure 7. The Reset Menu
The Memory function will erase the contents of the
memory buffer. This option is protected.
The Reset function will only do a warm-reset. The
receiver will be restarted from the POS Test, but the
parameters and the contents of the memory will be
left unchanged. This option is not protected.
WARNING:
Use the Memory and Factory commands
with extreme caution because these commands will
erase the contents of the memory buffer that may
result in data loss.
Setup
The programming functions of the receiver can be
accessed under this menu.
Figure 8. The Setup Menu
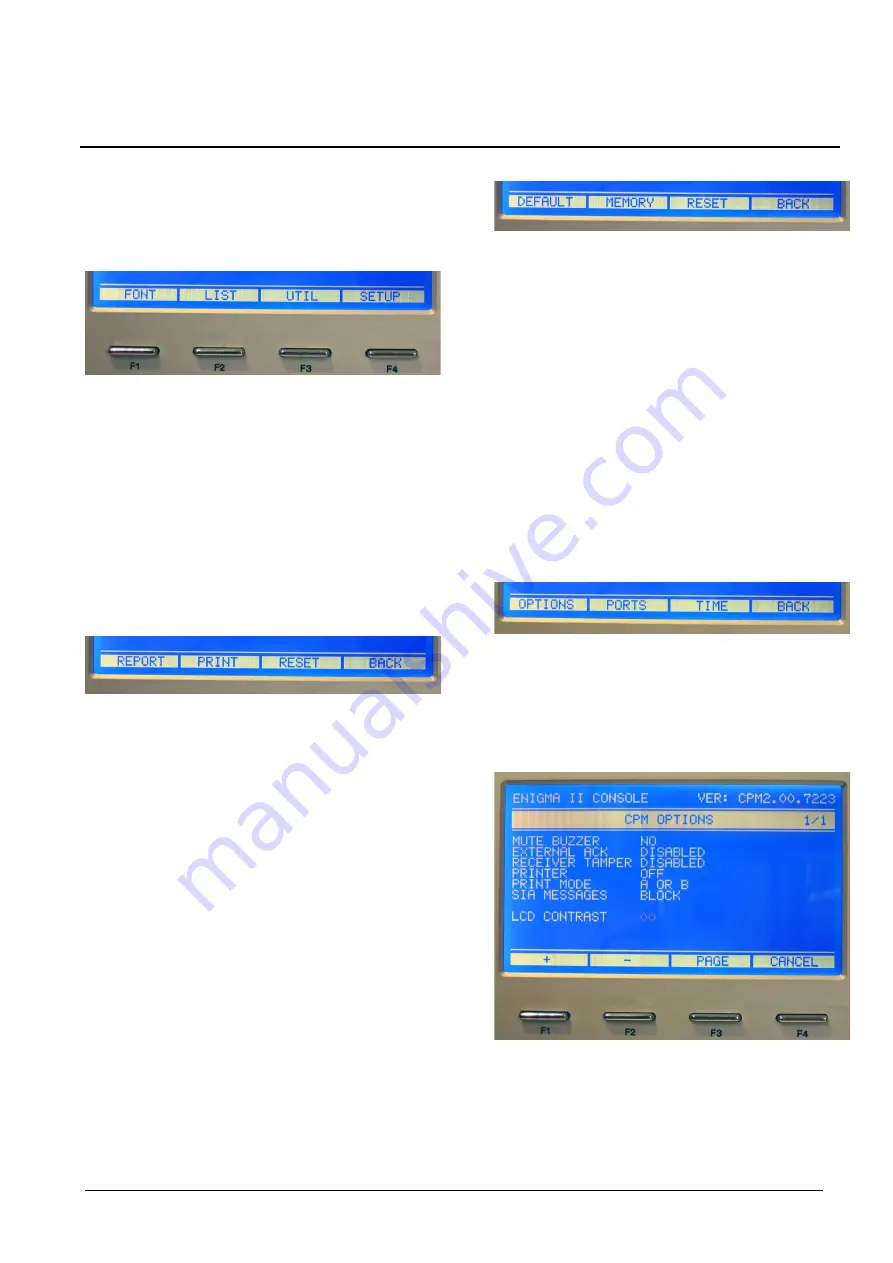
Options
The general options of the CPM2 can be set at the
Options menu. The menu is protected. When
selected a dialog will appear as follows:
Figure 9. CPM Options
The currently selected field is flashing. Skip between
fields with the Left and Right arrow keys. The field
contents can be increased with the + (F1) button and
16


