38
/55
5.1.
REC
a)
Press
●
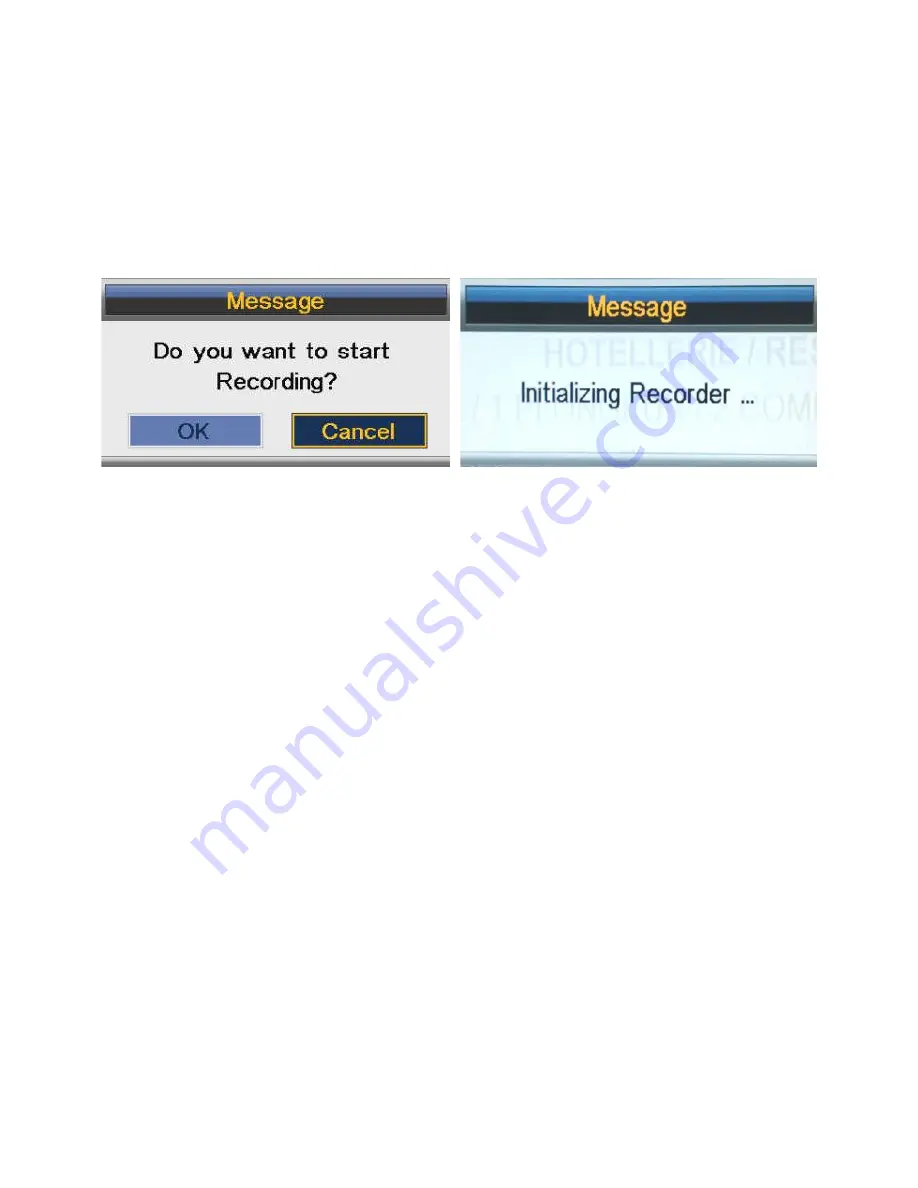
REC to start recording, when there is a program playing, it will pop up a
message “Do you want to start Recording?”. After confirming, the system will read
the speed of the storage device. If the speed is too low for recording, there is a
message “Device speed not enough, RECORD anyway?” if the user chooses Yes, it
will record constrainedly. In addition, the speed is high enough, it initializes in the
first instance and starts to record later.
b)
As the initialization successfully ends, a REC input info menu appears on the right
top corner of the picture and it starts to record while the program is playing in the
background;
c)
Press DISPLAY to get the current recording information from the Info Banner, such
as current recording time and the recording progress. The recording time depends on
how much of the program has been recorded actually;
d)
If the signal is not stable there may be some pause;
e)
The recording progress will stop when the device has no more free spaces if there is
no setting about when to end before. A warning message pops up, the recording
process stops and it will keep on the normal playback process. Otherwise, the progress
ends naturally when the timer is a timeout. Also, user could press STOP to end
recording manually;
f)
The system will prompt user error message and try to continue recording if there are
some bad tracks on the disk.
5.2.
Timer REC
There are two methods to set a timer. As follows:
1. In the EPG menu user can pre-engage programs for watching or recording;
a) Pressing GREEN once is to pre-engage the program only for watching (when
timeout, it jumps to the program and only play.)
b) Pressing GREEN twice is to pre-engage the program for recording (when timeout,
it jumps to the program and starts recording). If it is a timeout in standby mode, it
will power on 2 minutes in advance and starts to record under background without


