Programming - First steps
P.
90 of 349
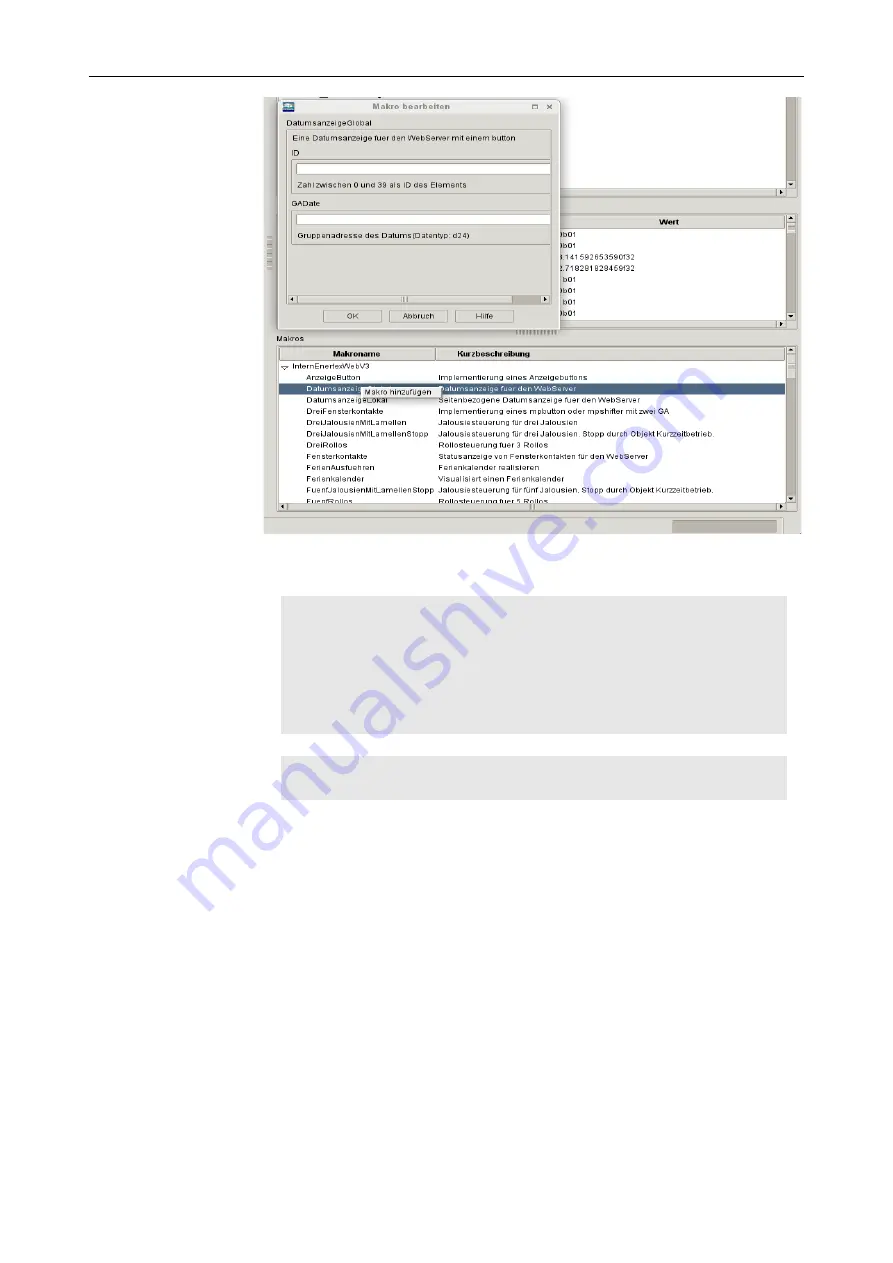
Figure 45:Macro selection
If the correct macro is applied for each Button / Shifter and the corresponding fields are filled in, the
following lines are created in the [
Macros
] section
[
Macros
]
// Macros for the weather page in the category General:
DateDisplayGlobal(DateID,"Date-7/0/0")
TimeDisplayGlobal(ClockID,"Time-7/0/1")
WindDisplayButtonGlobal(WINDID,"Wind-14/6/0")
MinMaxTemperatureDisplayButtonLokal(2,GeneralWeatherPageID,"Outdoor temperature-14/6/3")
LightDisplayButtonLocal(4,GeneralWeatherPageID,"Light-14/6/4")
SunRiseSetDisplayShifterLokal(5, GeneralWeatherPageID)
OnlineDisplayButtonLocal(9,GeneralWeatherPageID)
Now all display buttons are assigned a function, up to
pbutton(1)[TEMPERATURE]$Outdoor temperature$
pbutton(3)[OKCIRCLE]$Status HG$
pbutton(6)[OKCIRCLE]$Status NG$
The ID's (3) and (6) will be used later. The pbutton (1), however, is to be given a dynamic icon, which
is colored according to the outside temperature and also indicates this. So blue is said to be cold,
gray for moderate, dark red for pleasant warm and red for hot.
This is achieved by the following function:
pdisplay
(
ID, Text, Icon, State, Text Style, PageID, [Mbutton]
)
This is used to call pbutton or pshifter
First the division of the different states must be created. We opted for:
>= 27 °C = hot
< 27 °C und >= 18 °C = pleasant warm
< 18 °C und >= 5 °C = moderate
< 5 °C = cold
The return value of the sensor may vary depending on the outside temperature sensor. Our weather
station returns the value f16. Thus: 0f16 = 0°C
HandbuchEibPC_USA-30.odt, 2017-05-11
Enertex
®
Bayern GmbH - Erlachstraße 13 - 91301 Forchheim - [email protected]


