


13
Quick Network Setup
1. After the camera is connected to the network, start
‘eneo Scan Device’
tool (enclosed
CD).
2. Use the
button to find the camera in your network.
‘Scan eneo’
3. By default the camera is set to DHCP. If there is no DHCP server present in the net-
work the camera will fall back to a default IP address after a while. In this scenario
please only add one camera at a time to the network to avoid conflicts due to identical
IP addresses.
The network camera‘s default IP address is:
192.168.1.10
.
4. Right clicking the device name in the eneo Scan Device tool will bring up the context
menu. Use the
‘Open Device Web Site’
option to access the camera.
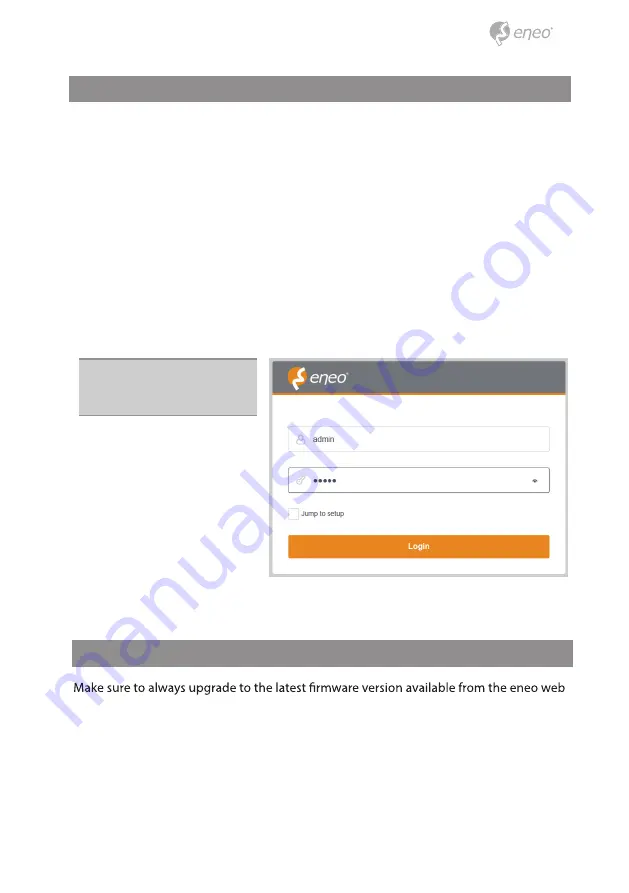
5. The web viewer login page will open up in your default web browser.
In case of Microsoft Internet Explorer install Active-X named VIDEOR E. Hartig GmbH
according to the instruction at the bottom of the browser.
6. Use the default user name and password to log in.
Default user name: admin
Default password: admin
XXX-XXXXXXXXXX
Further information
site at www.eneo-security.com to receive the latest functionality for your product.
The manual, and other software tools are available on the eneo website at www.eneo-se
curity.com or on the included CD.
Information on compatible video management software solutions can be found in the
category
Videomanagement
at www.eneo-security.com.


