1.3 General
Controls
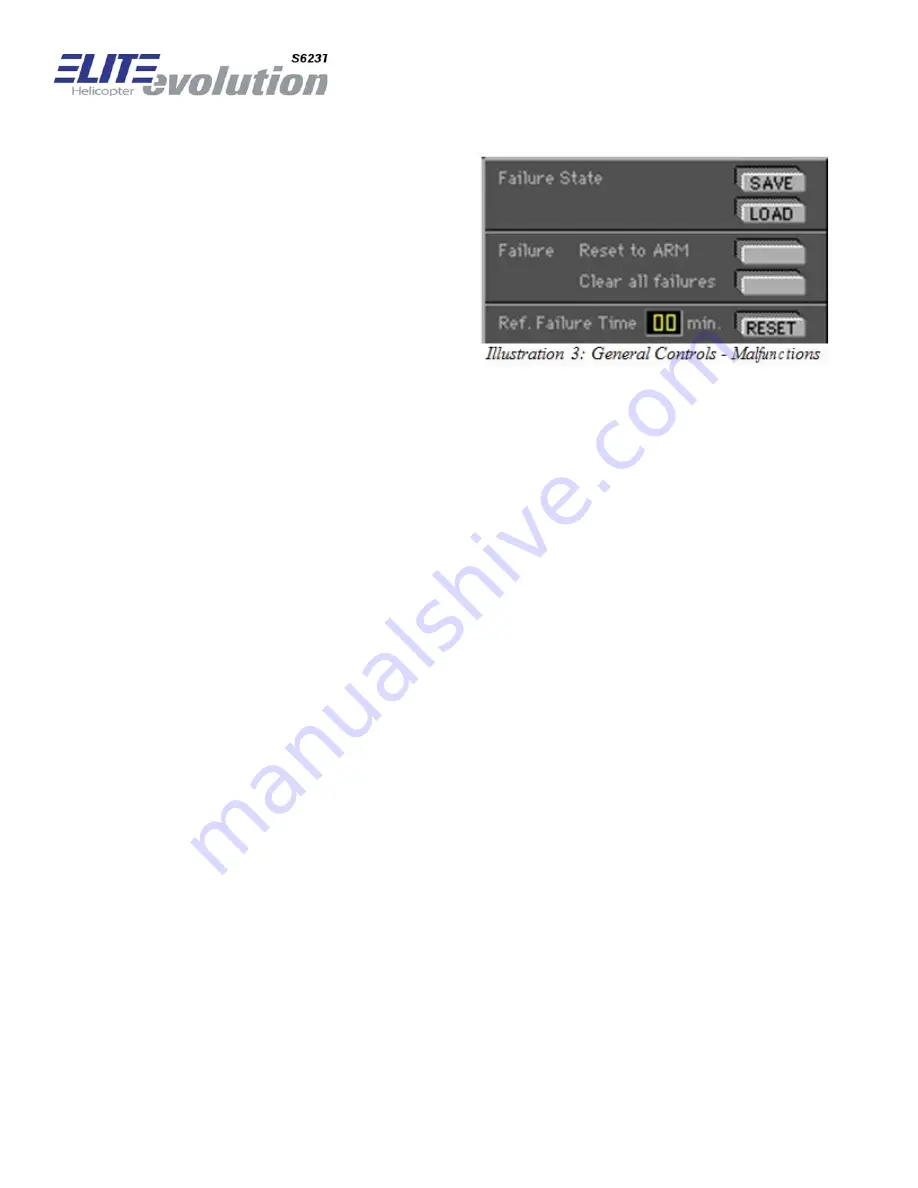
At the lower-left of the MALFUNCTIONS Page you
will fi nd a box containing several buttons that are
applicable to the entire MALFUNCTIONS Page as
opposed to the control of individual failures de-
scribed previously.
1.3.1 Failure states
Similar to saving and loading METEO States, the SAVE and LOAD buttons next to “Failure State”
enable you to Save and Load Failure States. You can literally develop a library of these states that
can be instantly recalled for use anytime. Create a failure scenario (state) and tweak it until you
are satisfi ed, then click the SAVE button to open the Save Malfunction fi les dialog box. Type a
unique name in the “File name:” box such as “OilPressLoss” then click Save to complete the oper-
ation.
To load this failure state (or any other) in the future, just click on the LOAD button to open the Open
Malfunction fi les dialog box. Select a failure state from those listed (previously saved) and click Open.
1.3.2 Reset to ARM
The “ Reset to ARM” and “Clear all failures” buttons provide a quick way to RESET the MALFUNC-
TIONS Page as required.
Use the “Reset to ARM” button when a completed failure scenario sequence needs to be repeated.
Pressing this button will leave the failure “state”
intact, but RESET all FAIL buttons back to ARM (much easier than having to reset each individual
Fail button). Use the “Clear all failures” button to
RESET the entire MALFUNCTIONS Page (including failure time intervals).
1.3.3 Ref. Failure Time
The Ref. Failure Time RESET button sets the Reference Failure Time back to zero minutes.
This is used in conjunction with the failure time window interval set tings as described previ-
ously.
The MALFUNCTIONS page is extremely fl exible and provides an opportunity for an almost infi nite
amount of failure scenario possibilities. Please feel free to experiment.
Содержание S623T
Страница 11: ......
Страница 19: ......
Страница 20: ...2 4 Overhead Panel...
Страница 23: ...Layout Aft Left Side Switch panel 1...
Страница 25: ...Layout Aft Right Side Switch panel 4...
Страница 32: ...2 4 6 Overhead Panel General Overview...
Страница 50: ......
Страница 52: ...RealView visual database example Custom generated visual database example...
Страница 57: ......
Страница 59: ...Required room dimensions 4 x 4 meters...
Страница 60: ......
Страница 62: ...CAVE External Visual System Required room dimensions 7 5 x 7 5 meters 25 ft x 25 ft...
Страница 64: ...6 1 7 3D Objects available optionally Examples of some of the 3D objects available at cost...
Страница 70: ...Setup with 4 LED 55 inch TV Visual system...
Страница 71: ...Sample layout with Garmin GNS 530W and EFS 40 and Gear Lever...
Страница 72: ......
Страница 73: ...Software screen shot Pilot Instruments EFIS Version...
Страница 74: ...Software screen shot Co Pilot Instruments EFIS Version...
Страница 75: ...Software screen shot Pilot Instruments conventional Version...
Страница 76: ...Software screen shot engine instruments EFIS convention Version...
Страница 77: ...Software screen shot Co Pilot Instruments non_EFIS Version...
Страница 84: ...Gyro Horizon ADI Horizontal Situation Indicator HSI...
Страница 123: ......
Страница 124: ...Supplement to the ELITE Evolution Series Manual Helicopter IOS Malfunction Generator...
Страница 141: ......


